Parents & Guardians: How To Register Your Child For A Trip:
This video will below will demonstrate how to register your child for a trip. Check it out:
Here are written steps for how to register your child for a trip:
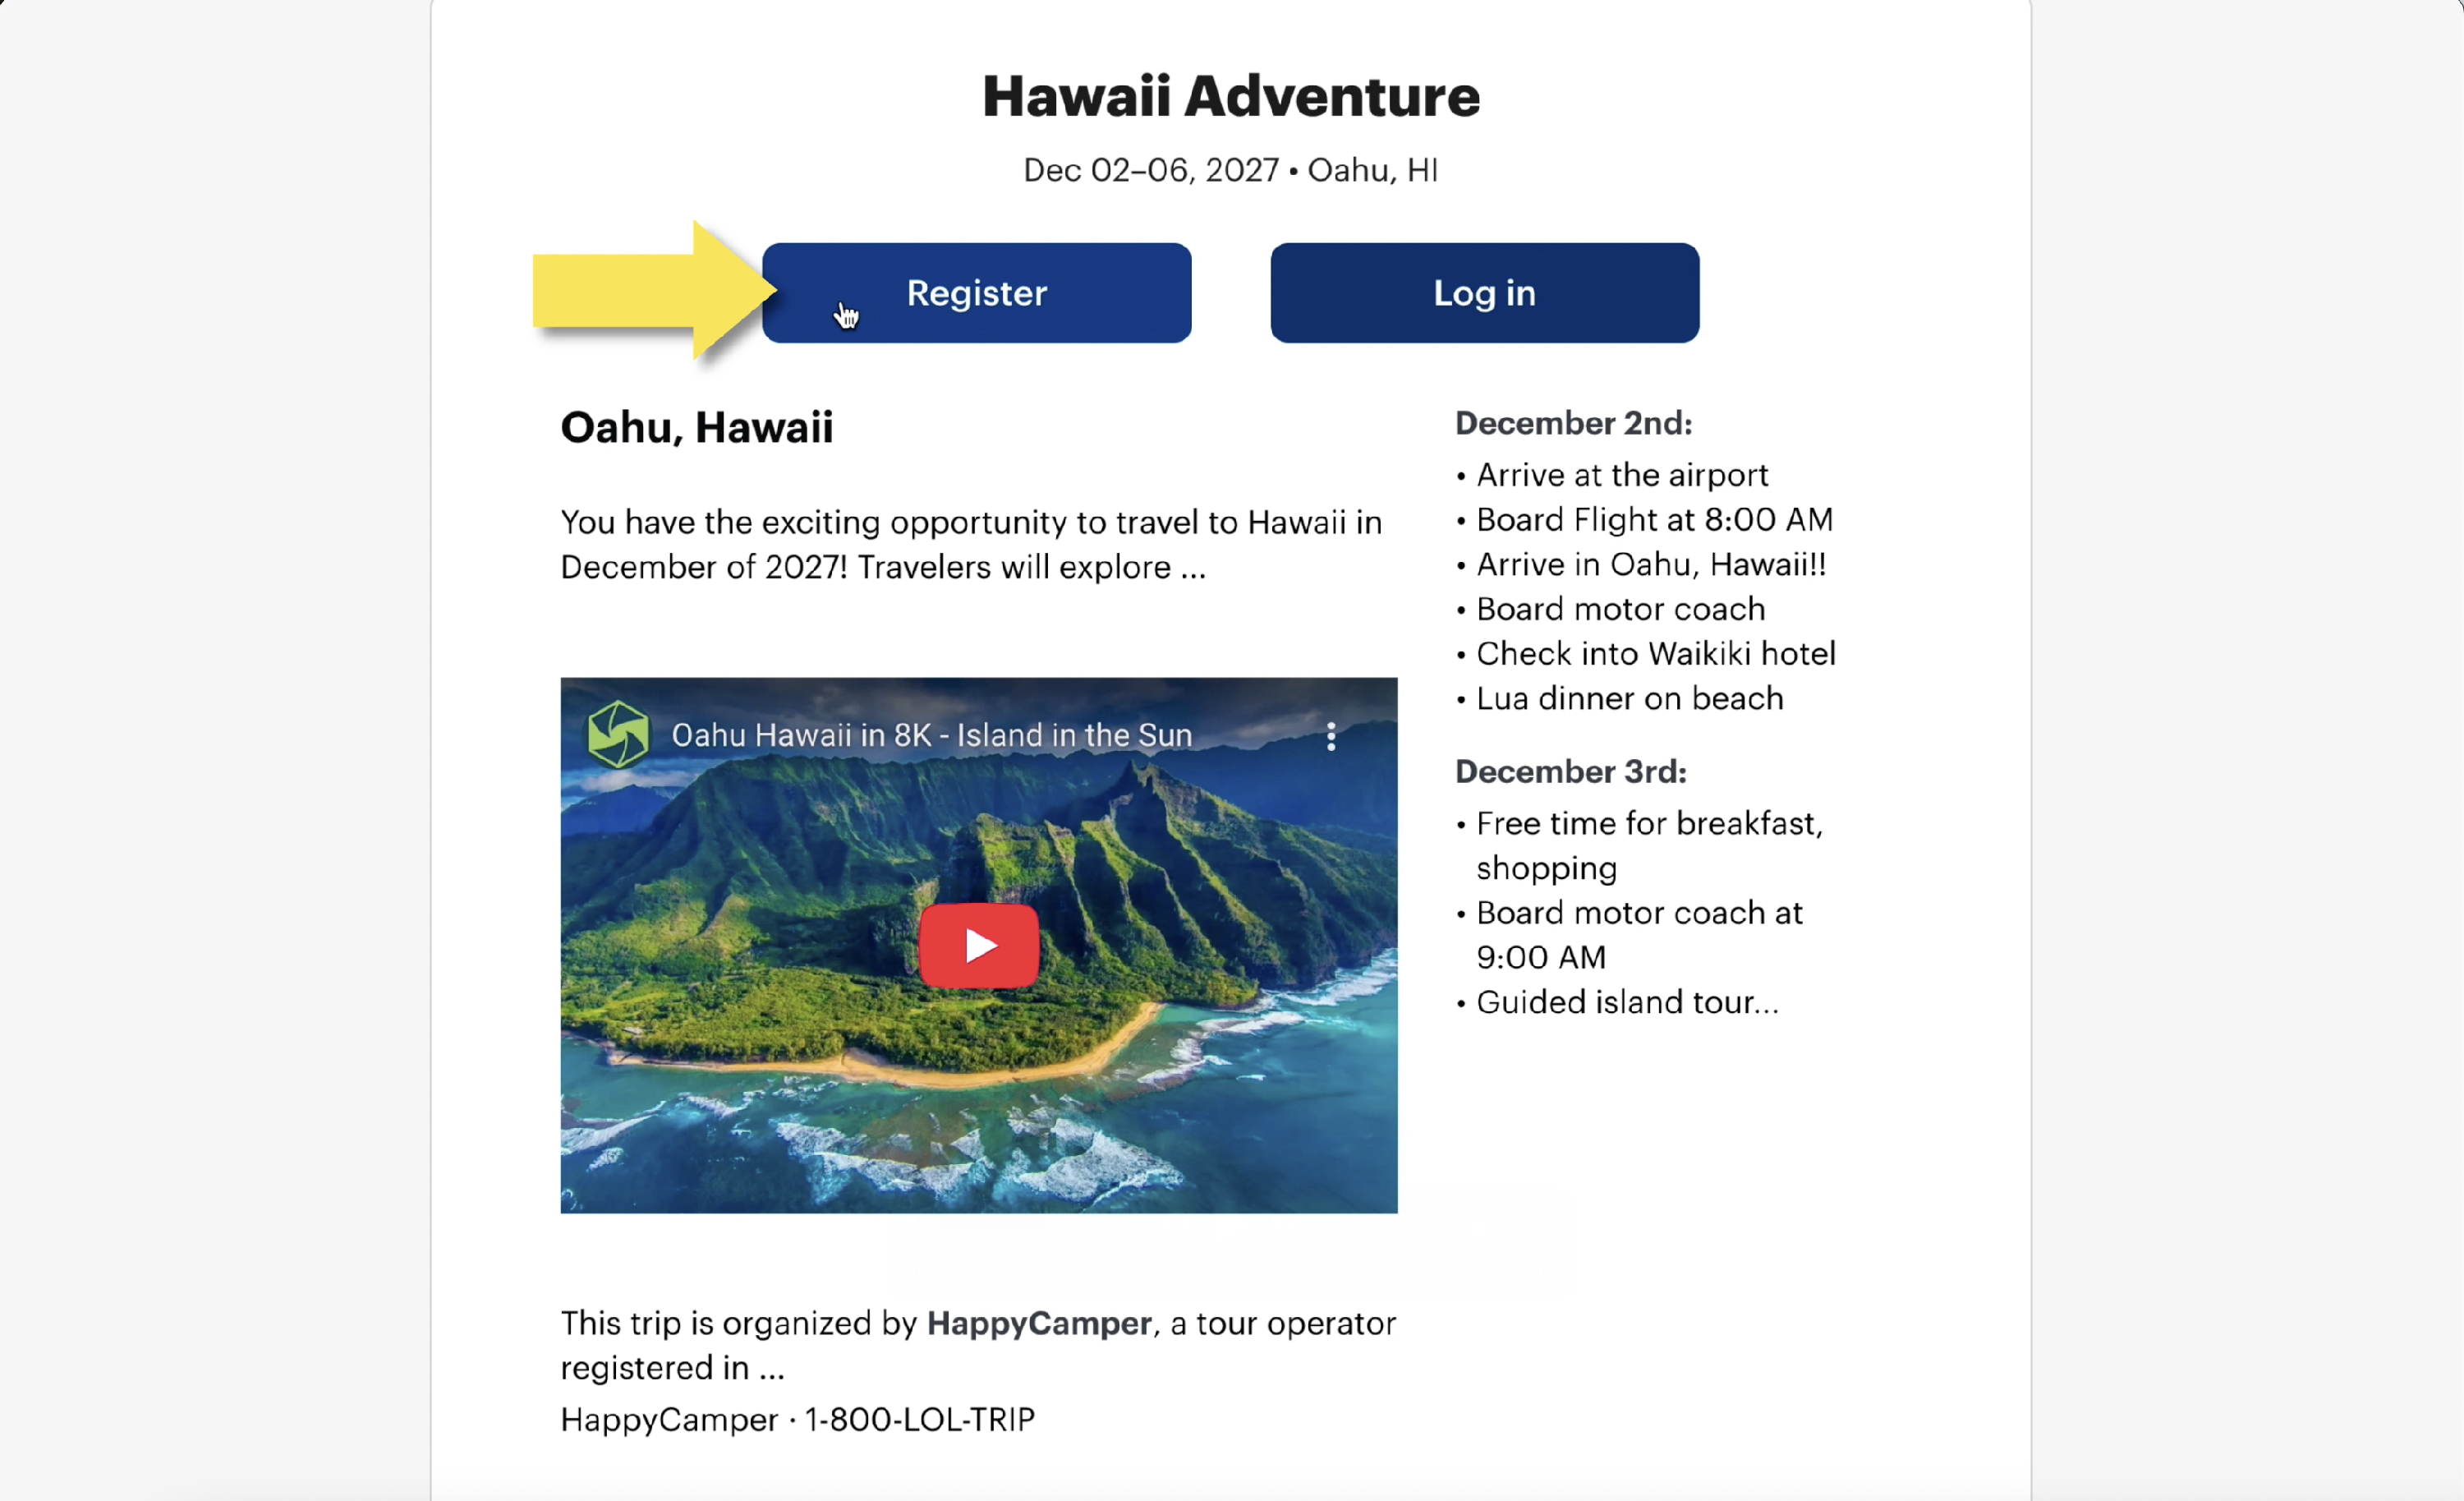
Go To The Trip Registration Page
If you were given a link to a trip registration page, visit the page and click the Register button.
Create An Account
If this is your first time registering for a trip on this platform, you'll need to create an account. Add your email address, create a password, agree to the terms, and click the Create account button.

If you have previously registered for a trip on this platform, click the log in link near the top of the screen. This will allow you to login with your existing account information.
Confirm Your Email
Next- verify your email address. Check the email address you just provided for a message from your tour operator. If you do not see the confirmation email right away- it's ok! Check out this list of reasons why it might not have appeared just yet.

If you received the email, it will look something like this:

Click on the email and then click the link within to finish verifying your email address. This will complete the creation of your account and allow you to begin registering!

When you confirm your email address, you may be directed to a page to enter your trip code. Your trip code lets the system know what trip you're registering for and is necessary for some trips. If you do not have your trip code, please contact your trip leader, tour operator, or travel provider.

Let The Registration Begin!
After confirming your email address and entering the trip code if necessary, you'll be taken back to the registration website. This time you'll see a progress bar along the top with five sections indicated, so you can monitor where you are in the process.
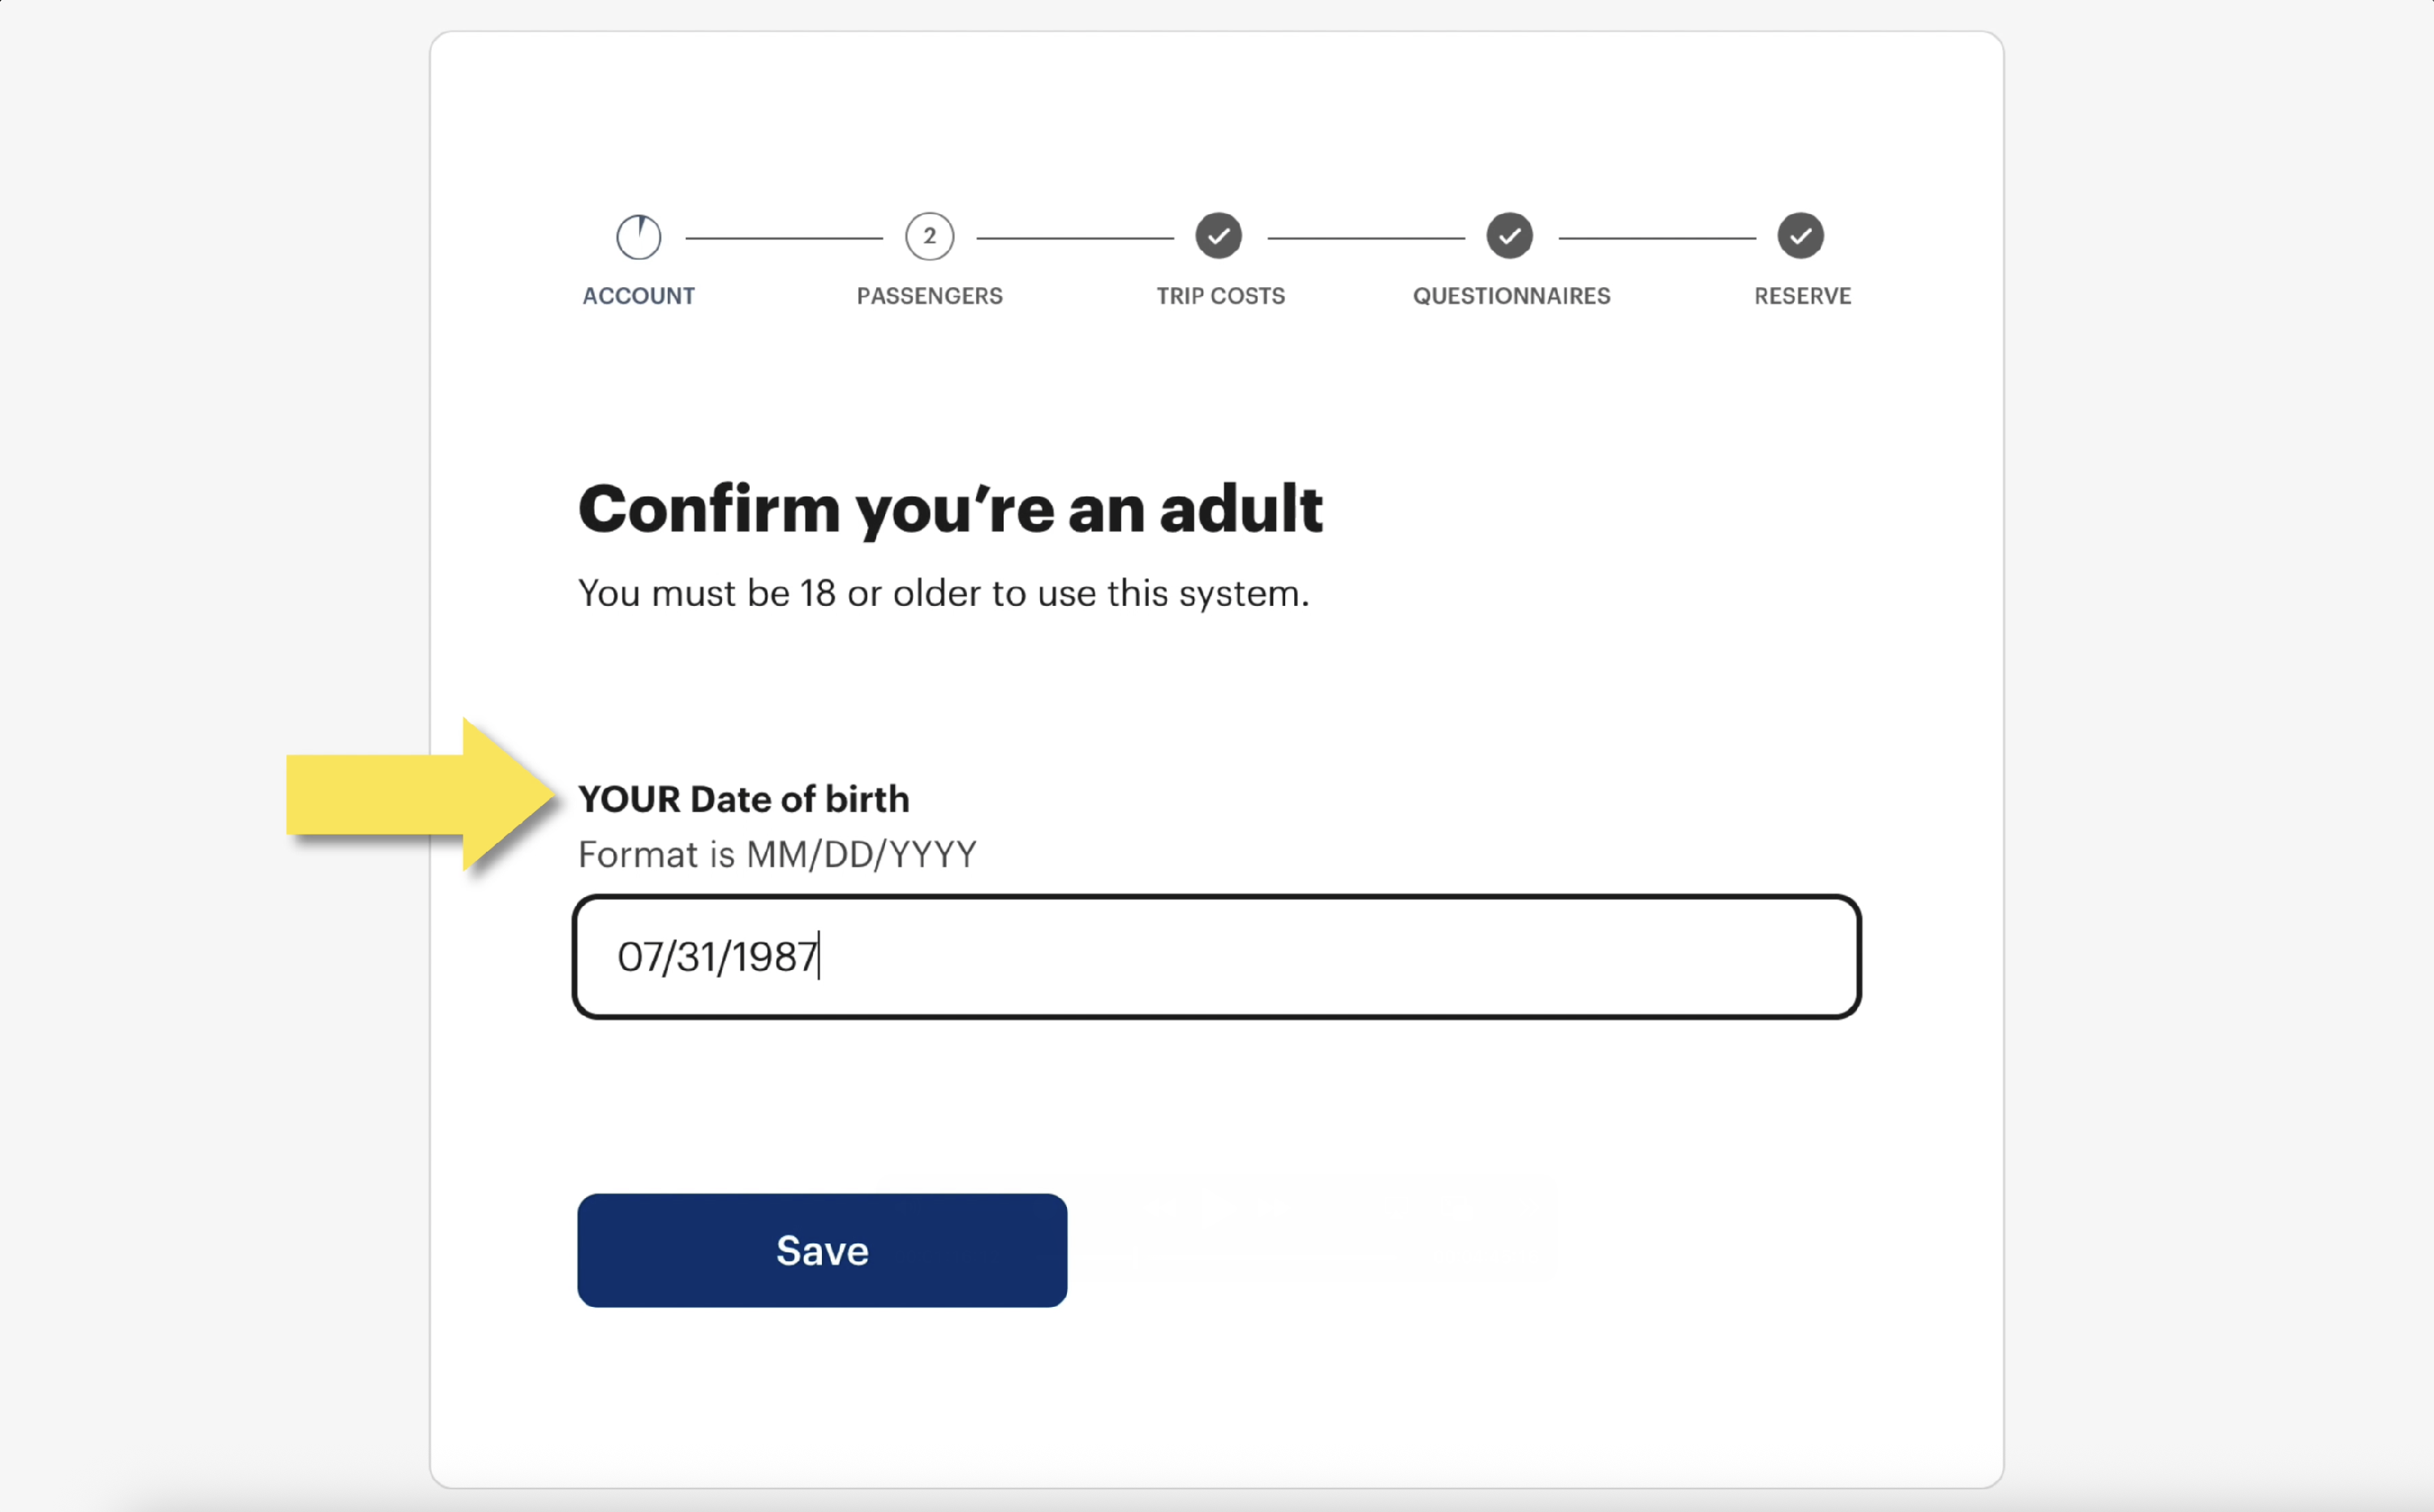
Section 1: Account
In this section you'll provide personal details to complete your account. Note: Entering your information here does not mean you're registering yourself to travel on the trip.
You'll be the account manager and you'll provide your child's information in the next section named Passengers. So to be clear, provide your date of birth on this page then, click Save.
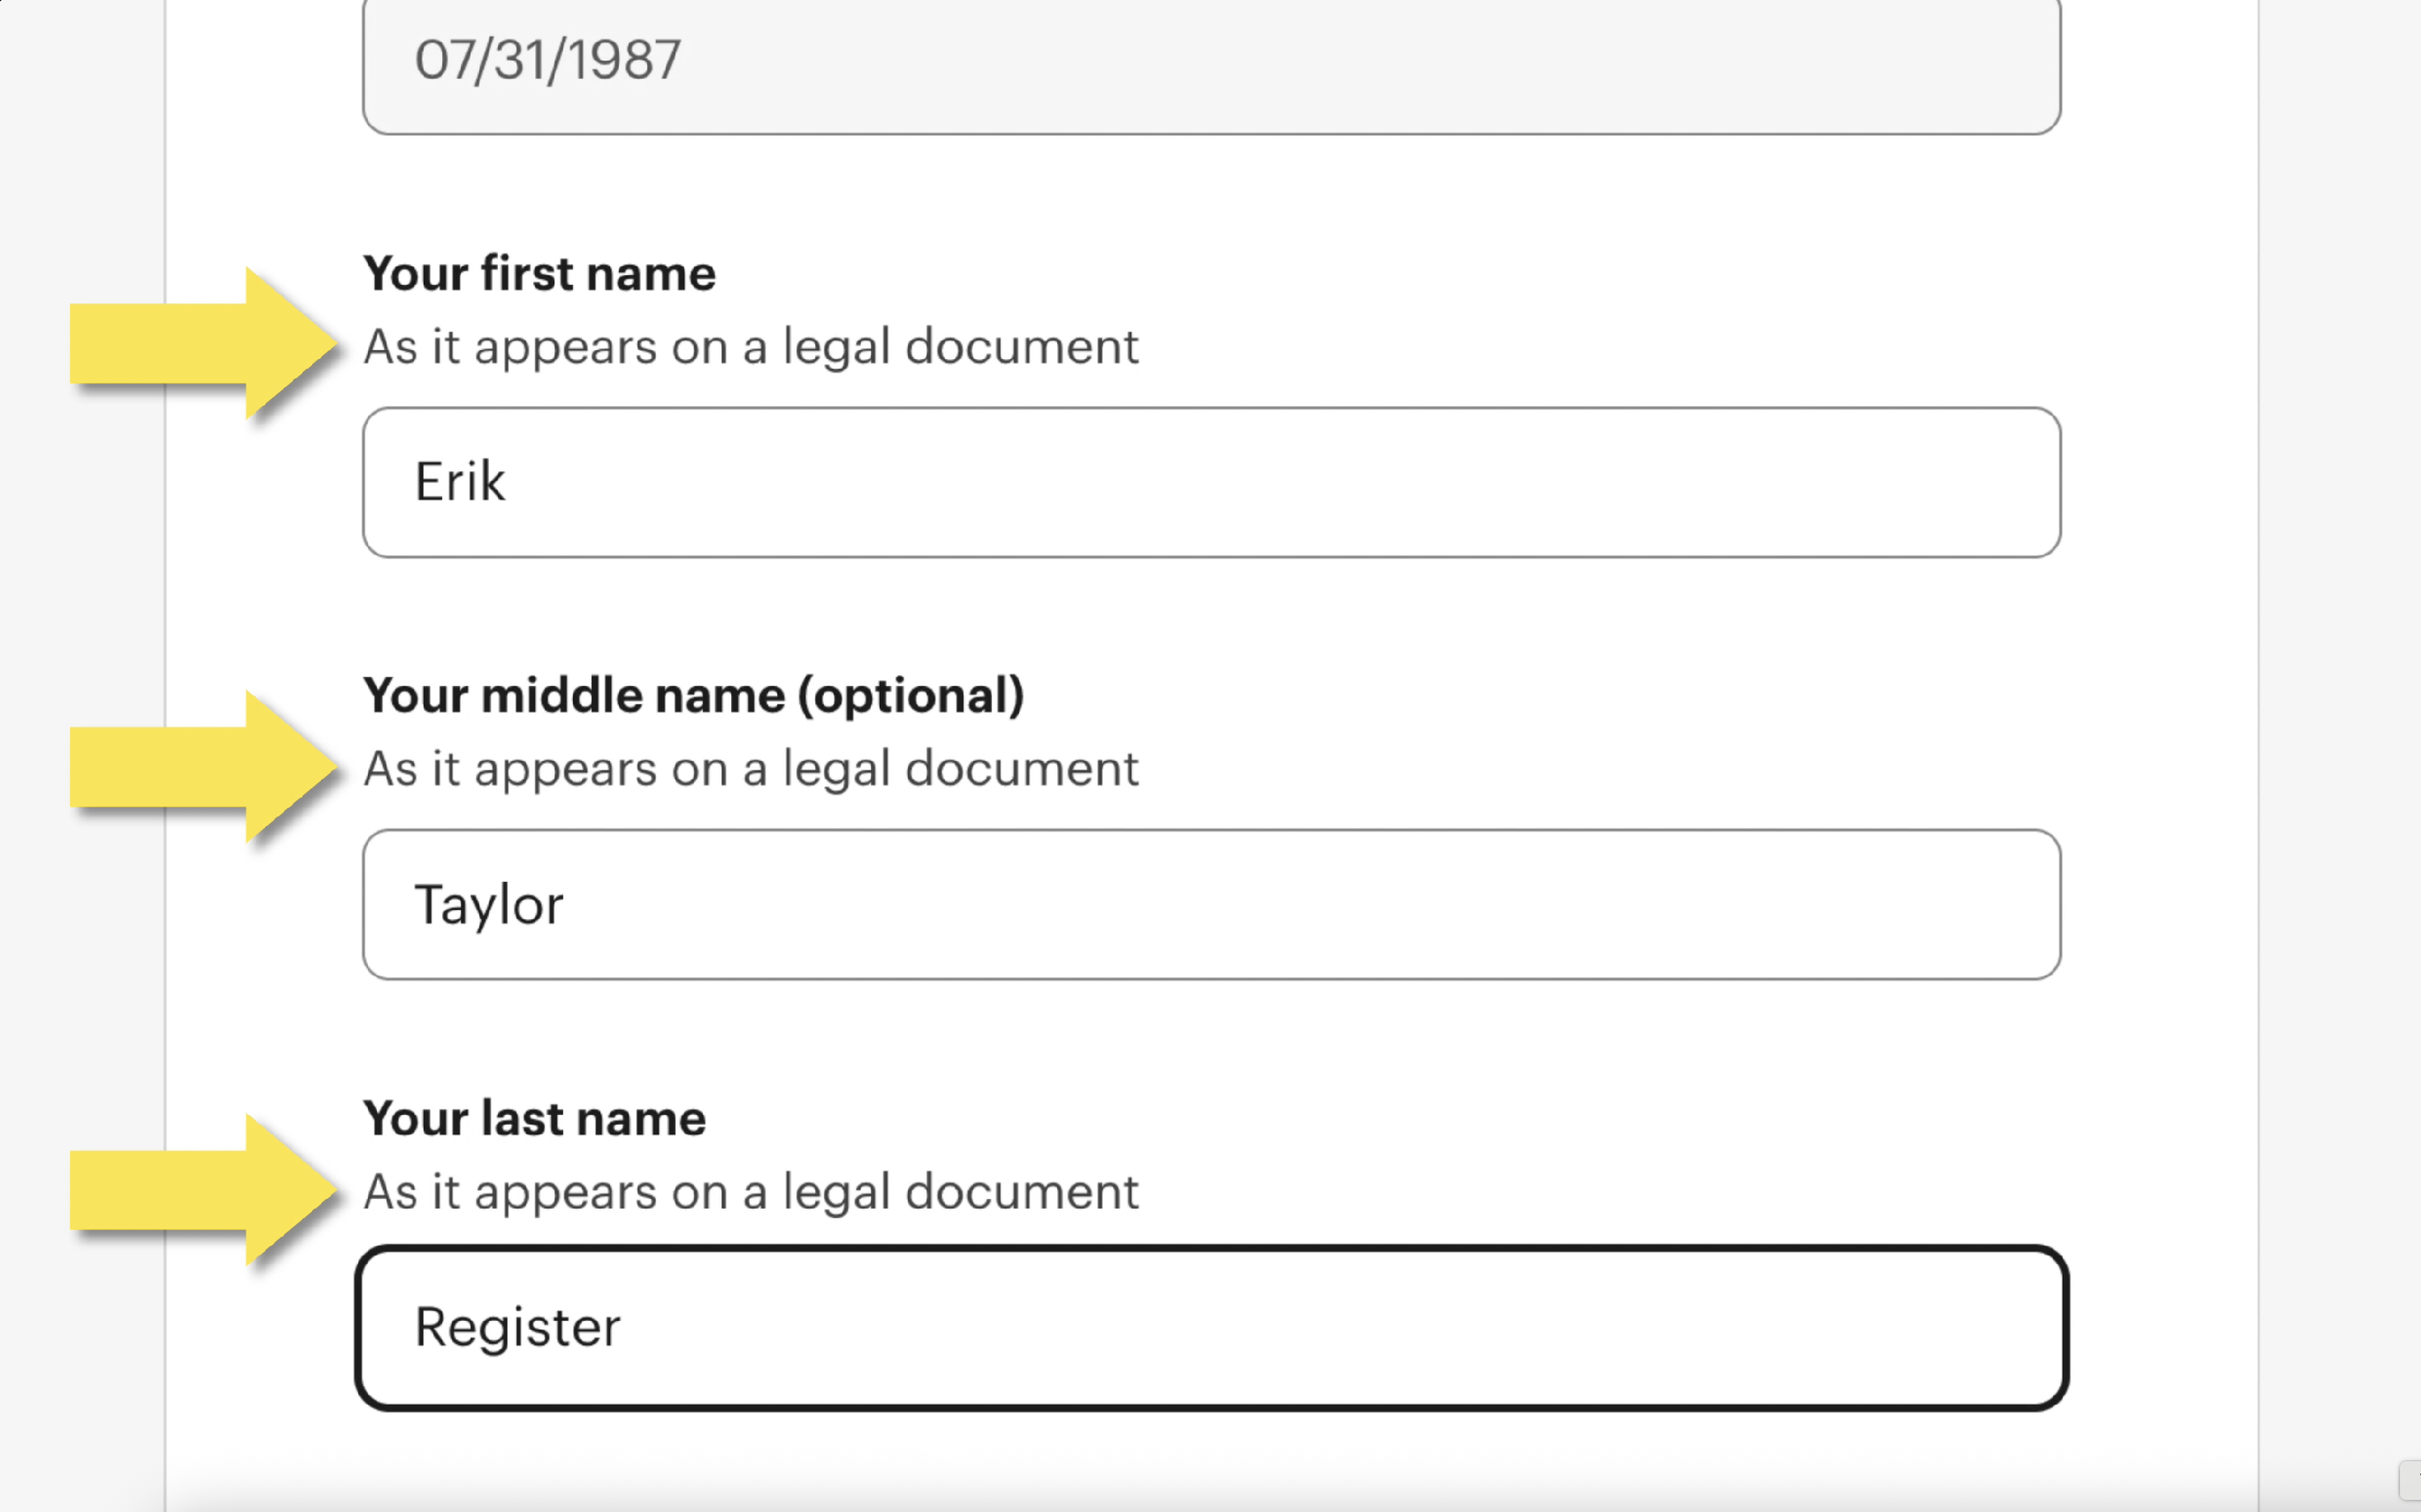
Next, complete the Create your profile page. Again, answer these questions about you, not your child.
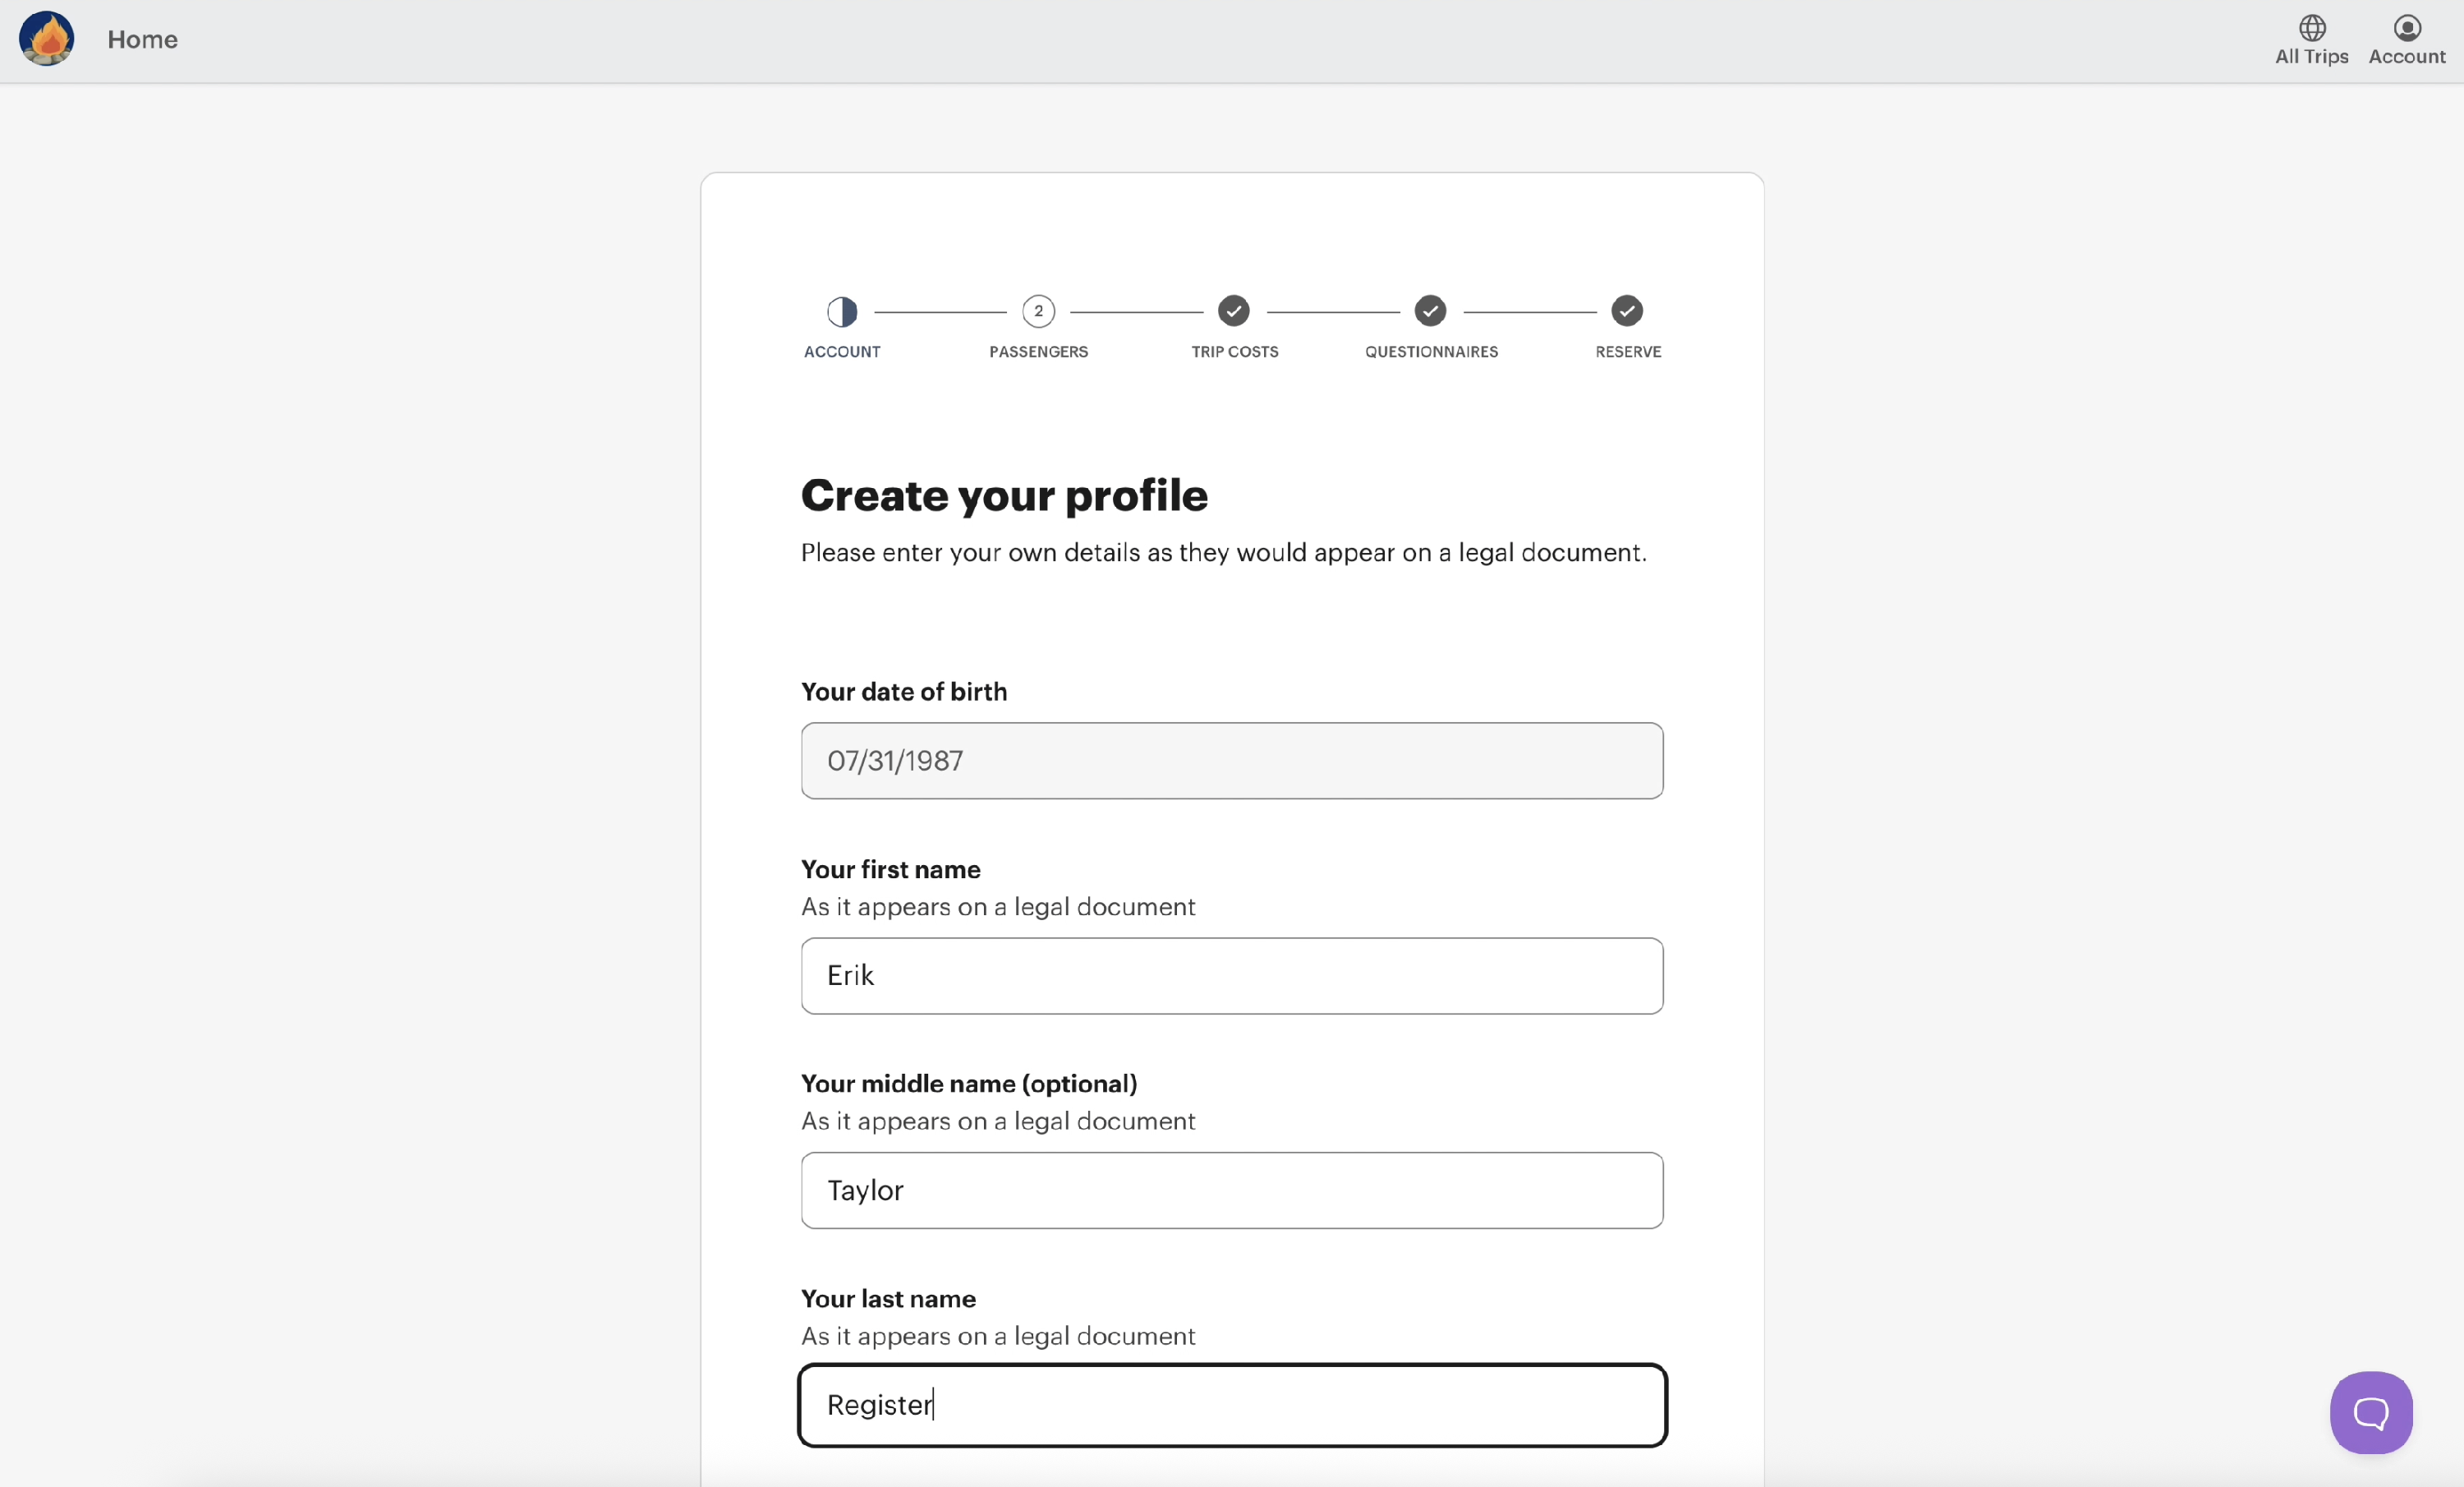
Make sure to use your name as it appears on legal documents and avoid nicknames.
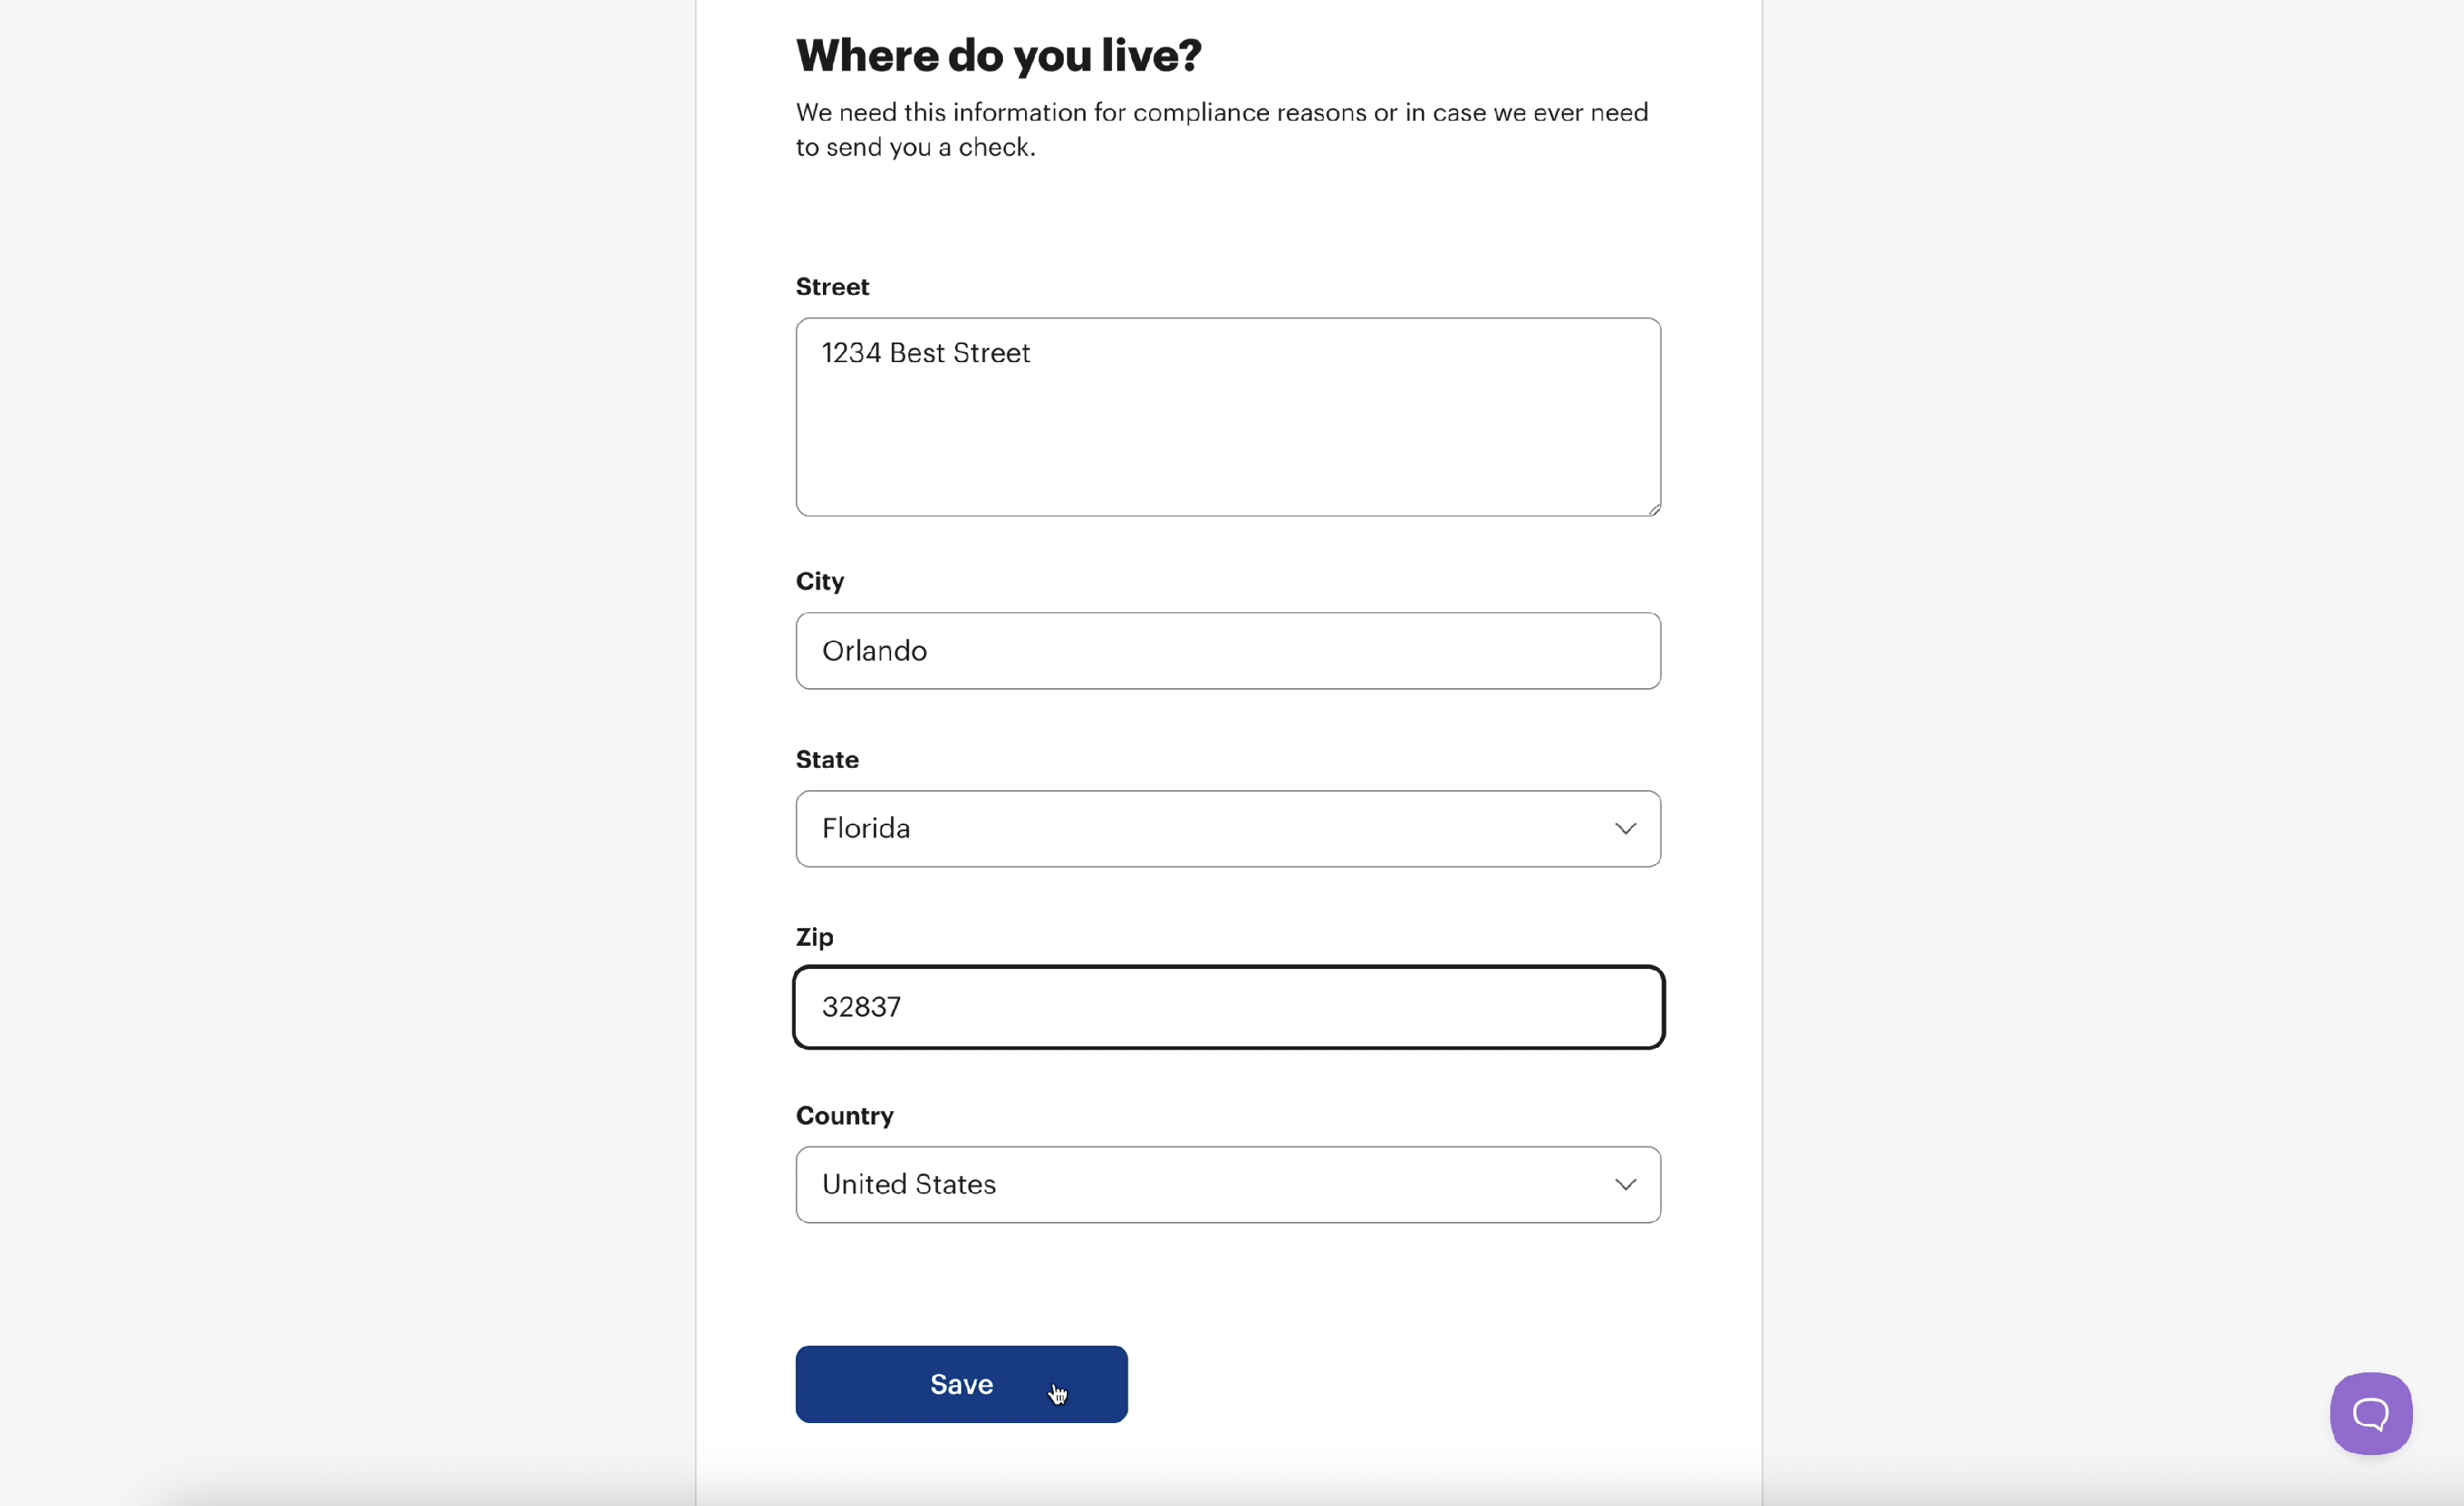
Next, complete the Where do you live page. If you and your child live at different addresses, please provide your address.
Section 2: Passengers
You've completed the account section! Next, you'll be asked a very important question: Will you be traveling? Since you're registering your child, we'll select No I'm registering someone else.

Note: If you are also traveling, you'll select 'Yes, I will be traveling' and indicate yourself and your child as passengers for the remainder of this registration process.
Add A New Passenger
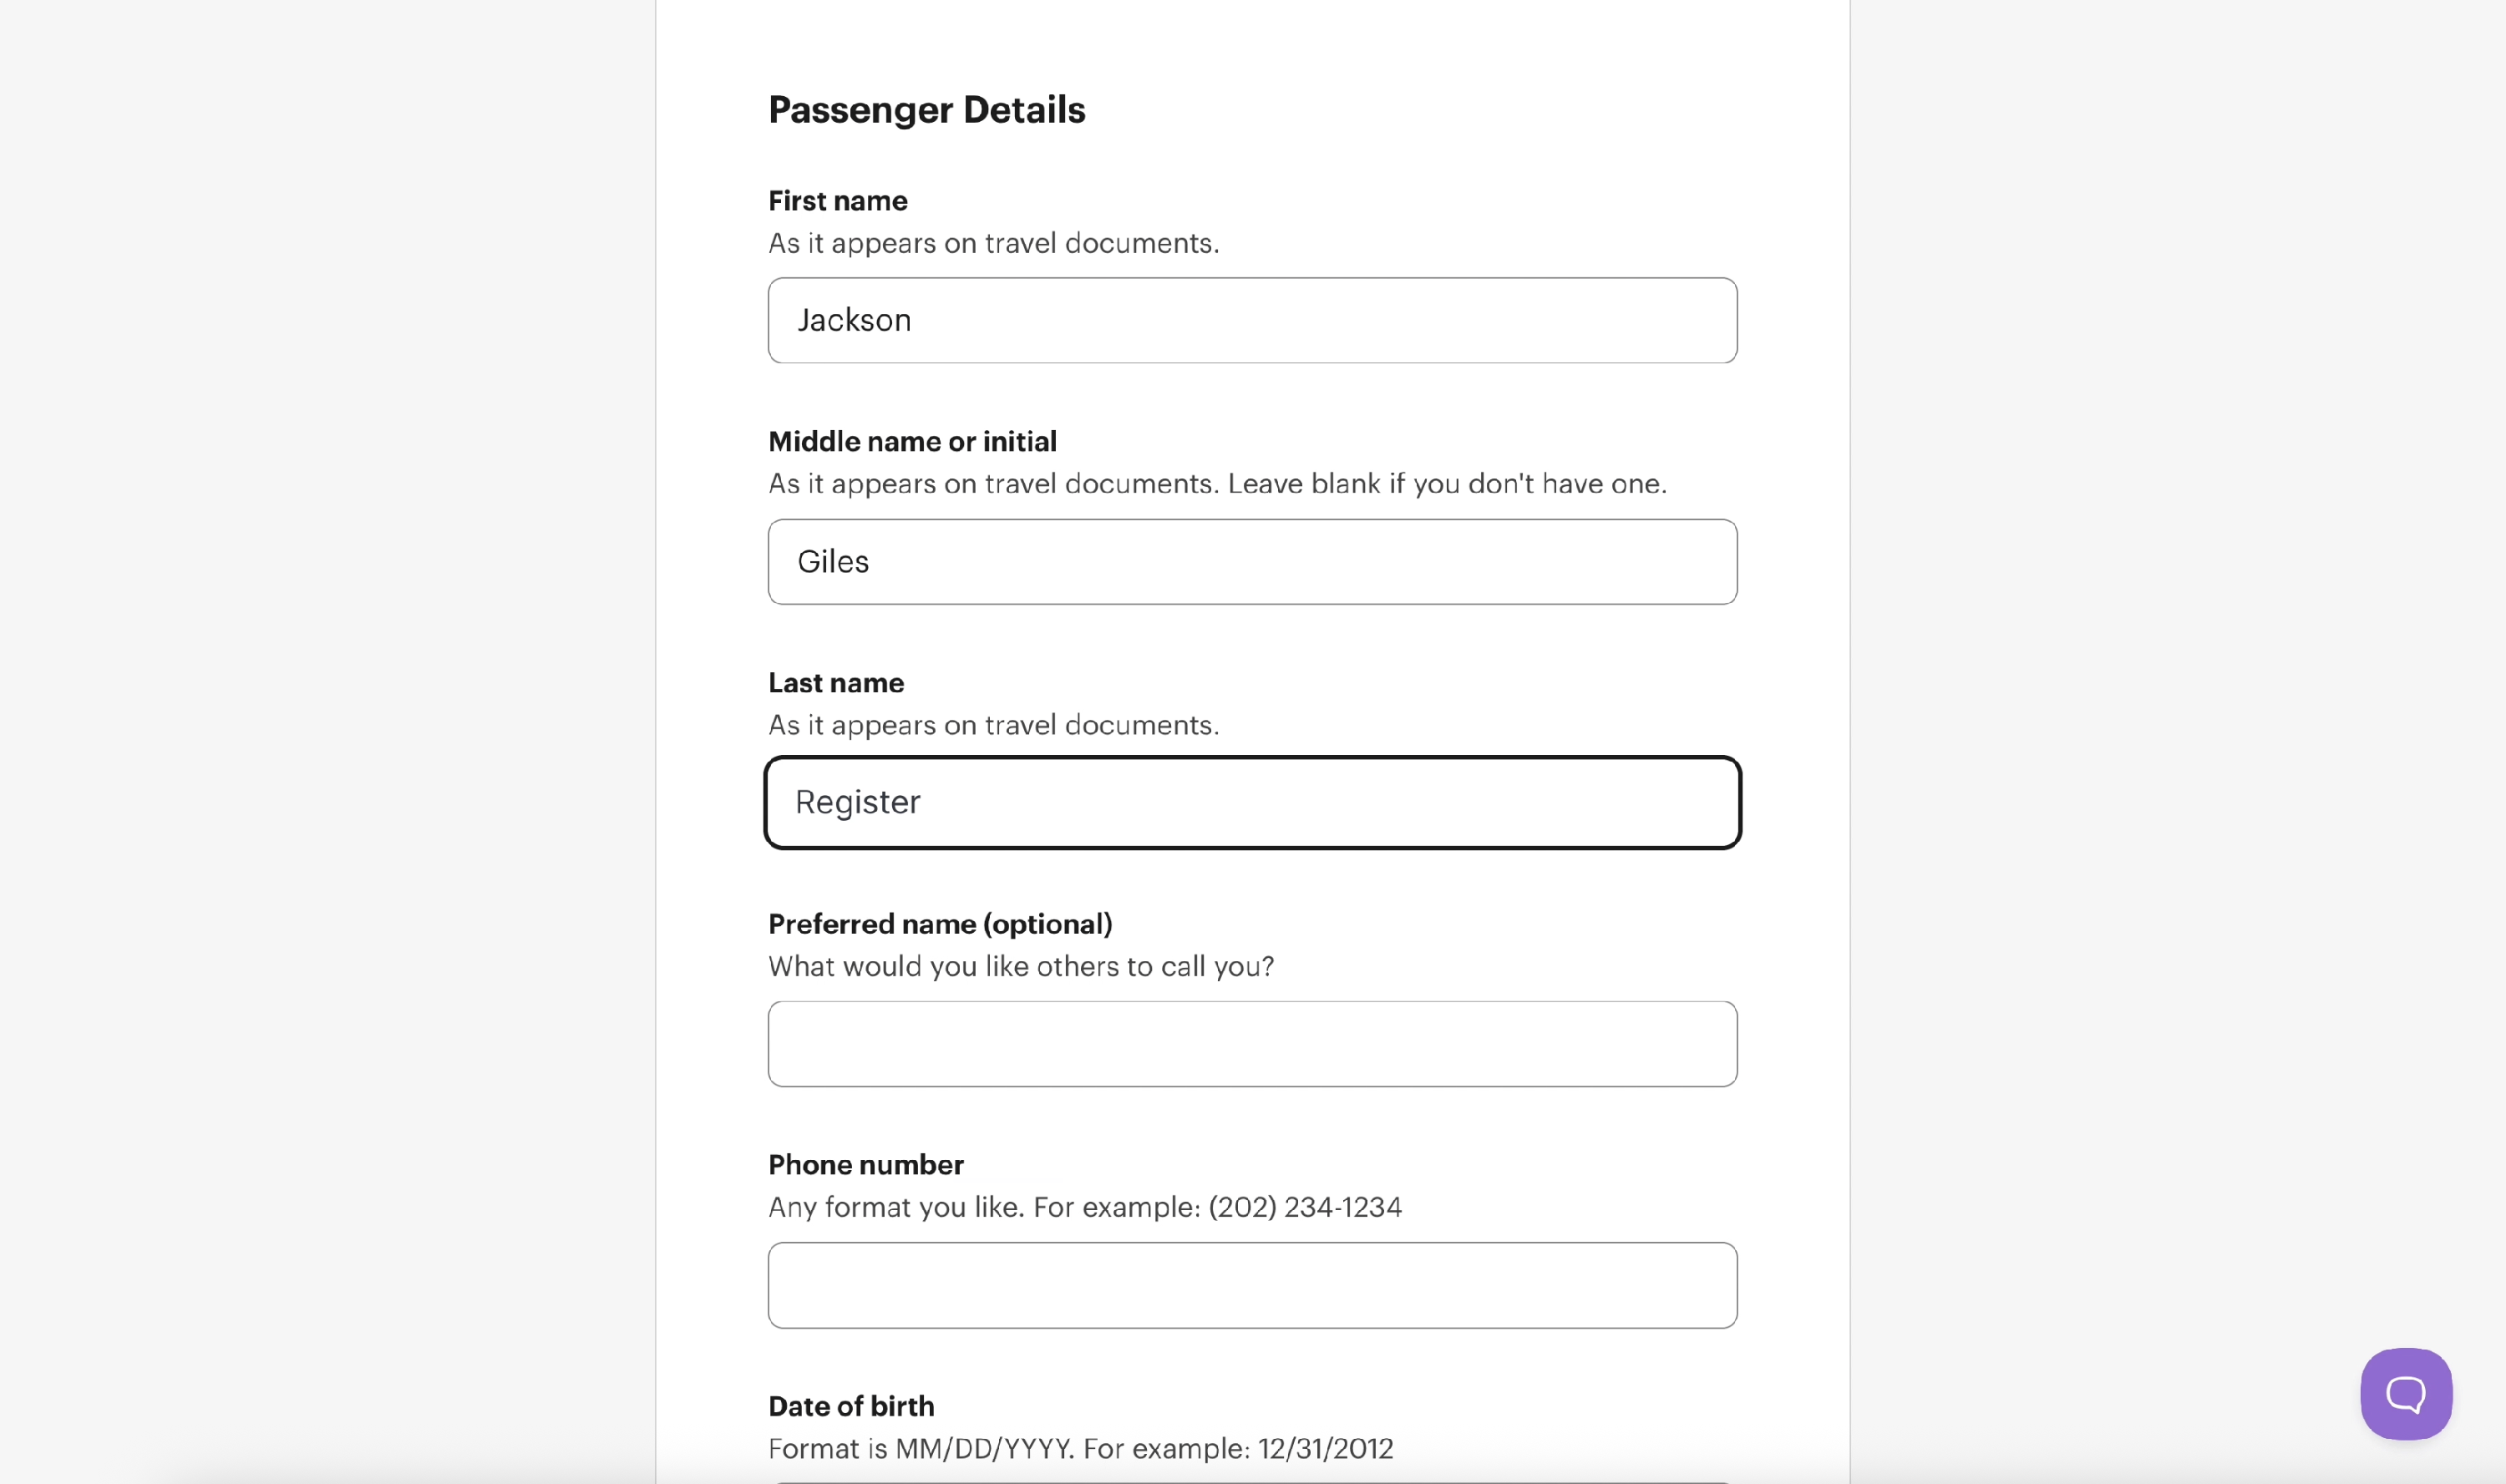
On the next screen, you'll provide your child's information as the individual who is traveling on this trip.
If your child does not have their own phone, you may enter in your phone number. This number will only be used for trip communications.

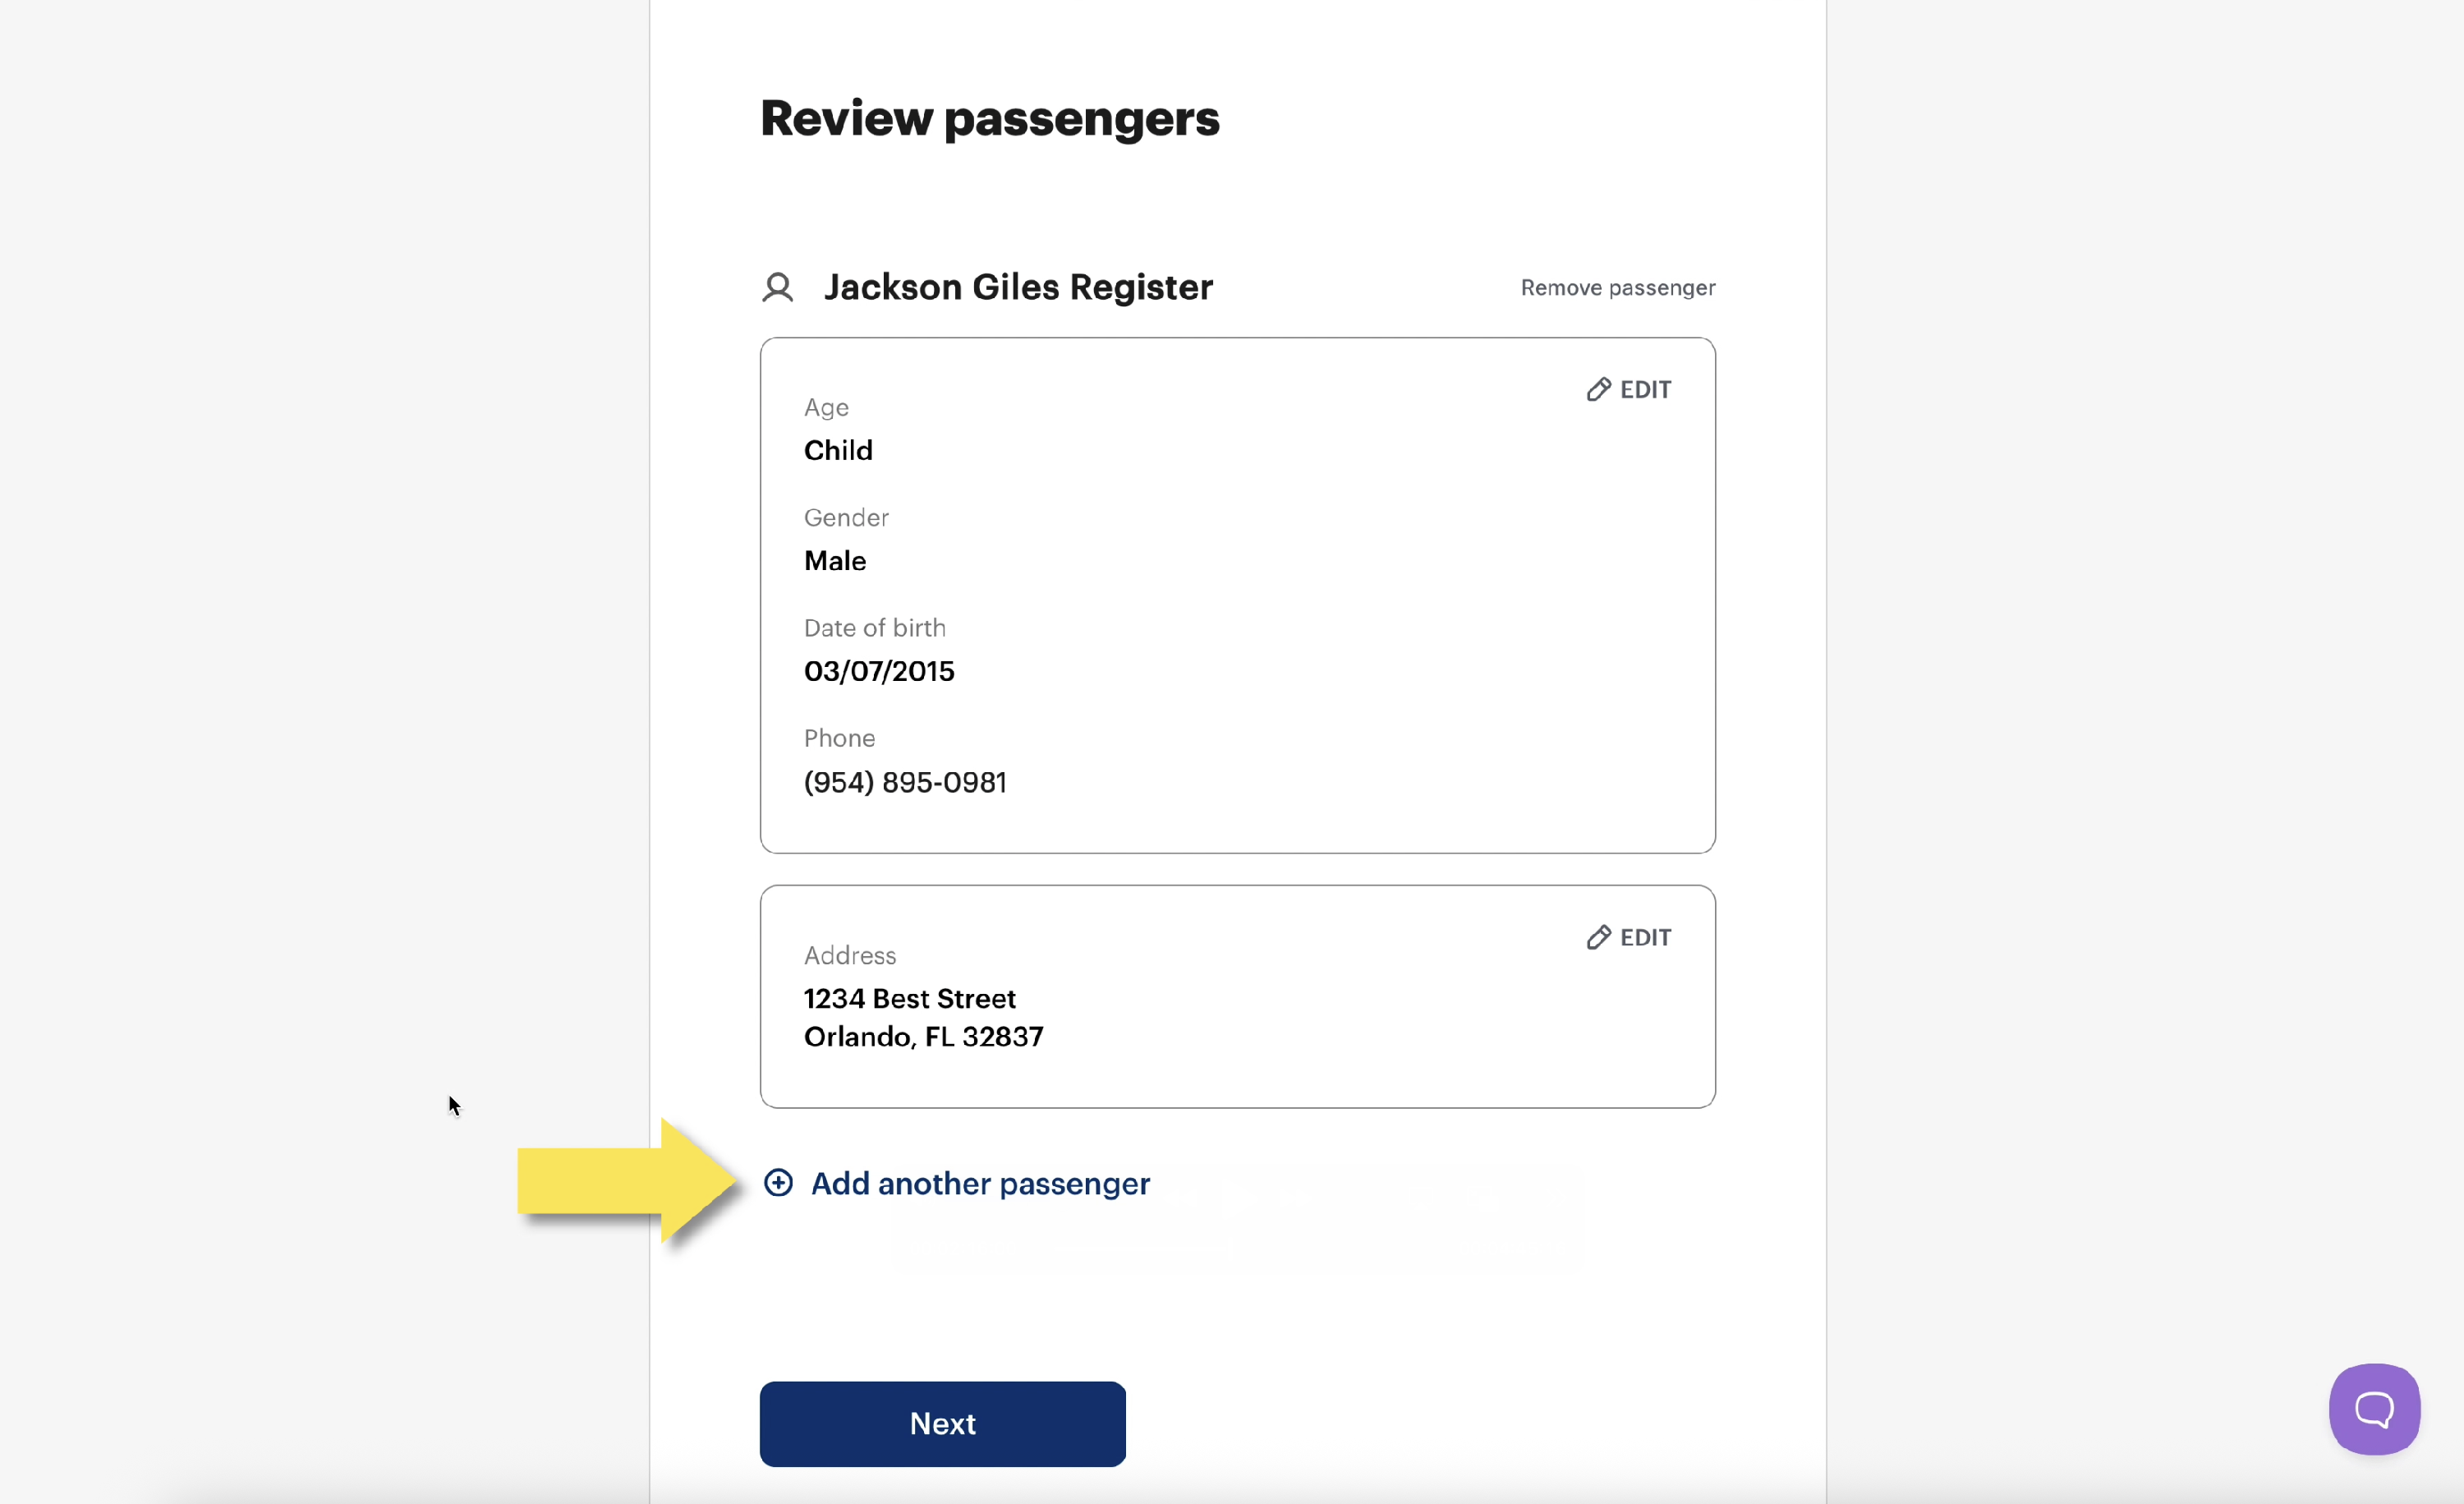
Review Your Passengers
Confirm everyone you indicated as a passenger. If you need to add more passengers, click the Add another passenger link near the bottom of the page.
Next, provide the address for the passenger you indicated in the previous section. Your address will auto-populate, so if your child passenger lives at the same address as you won't need to adjust anything.

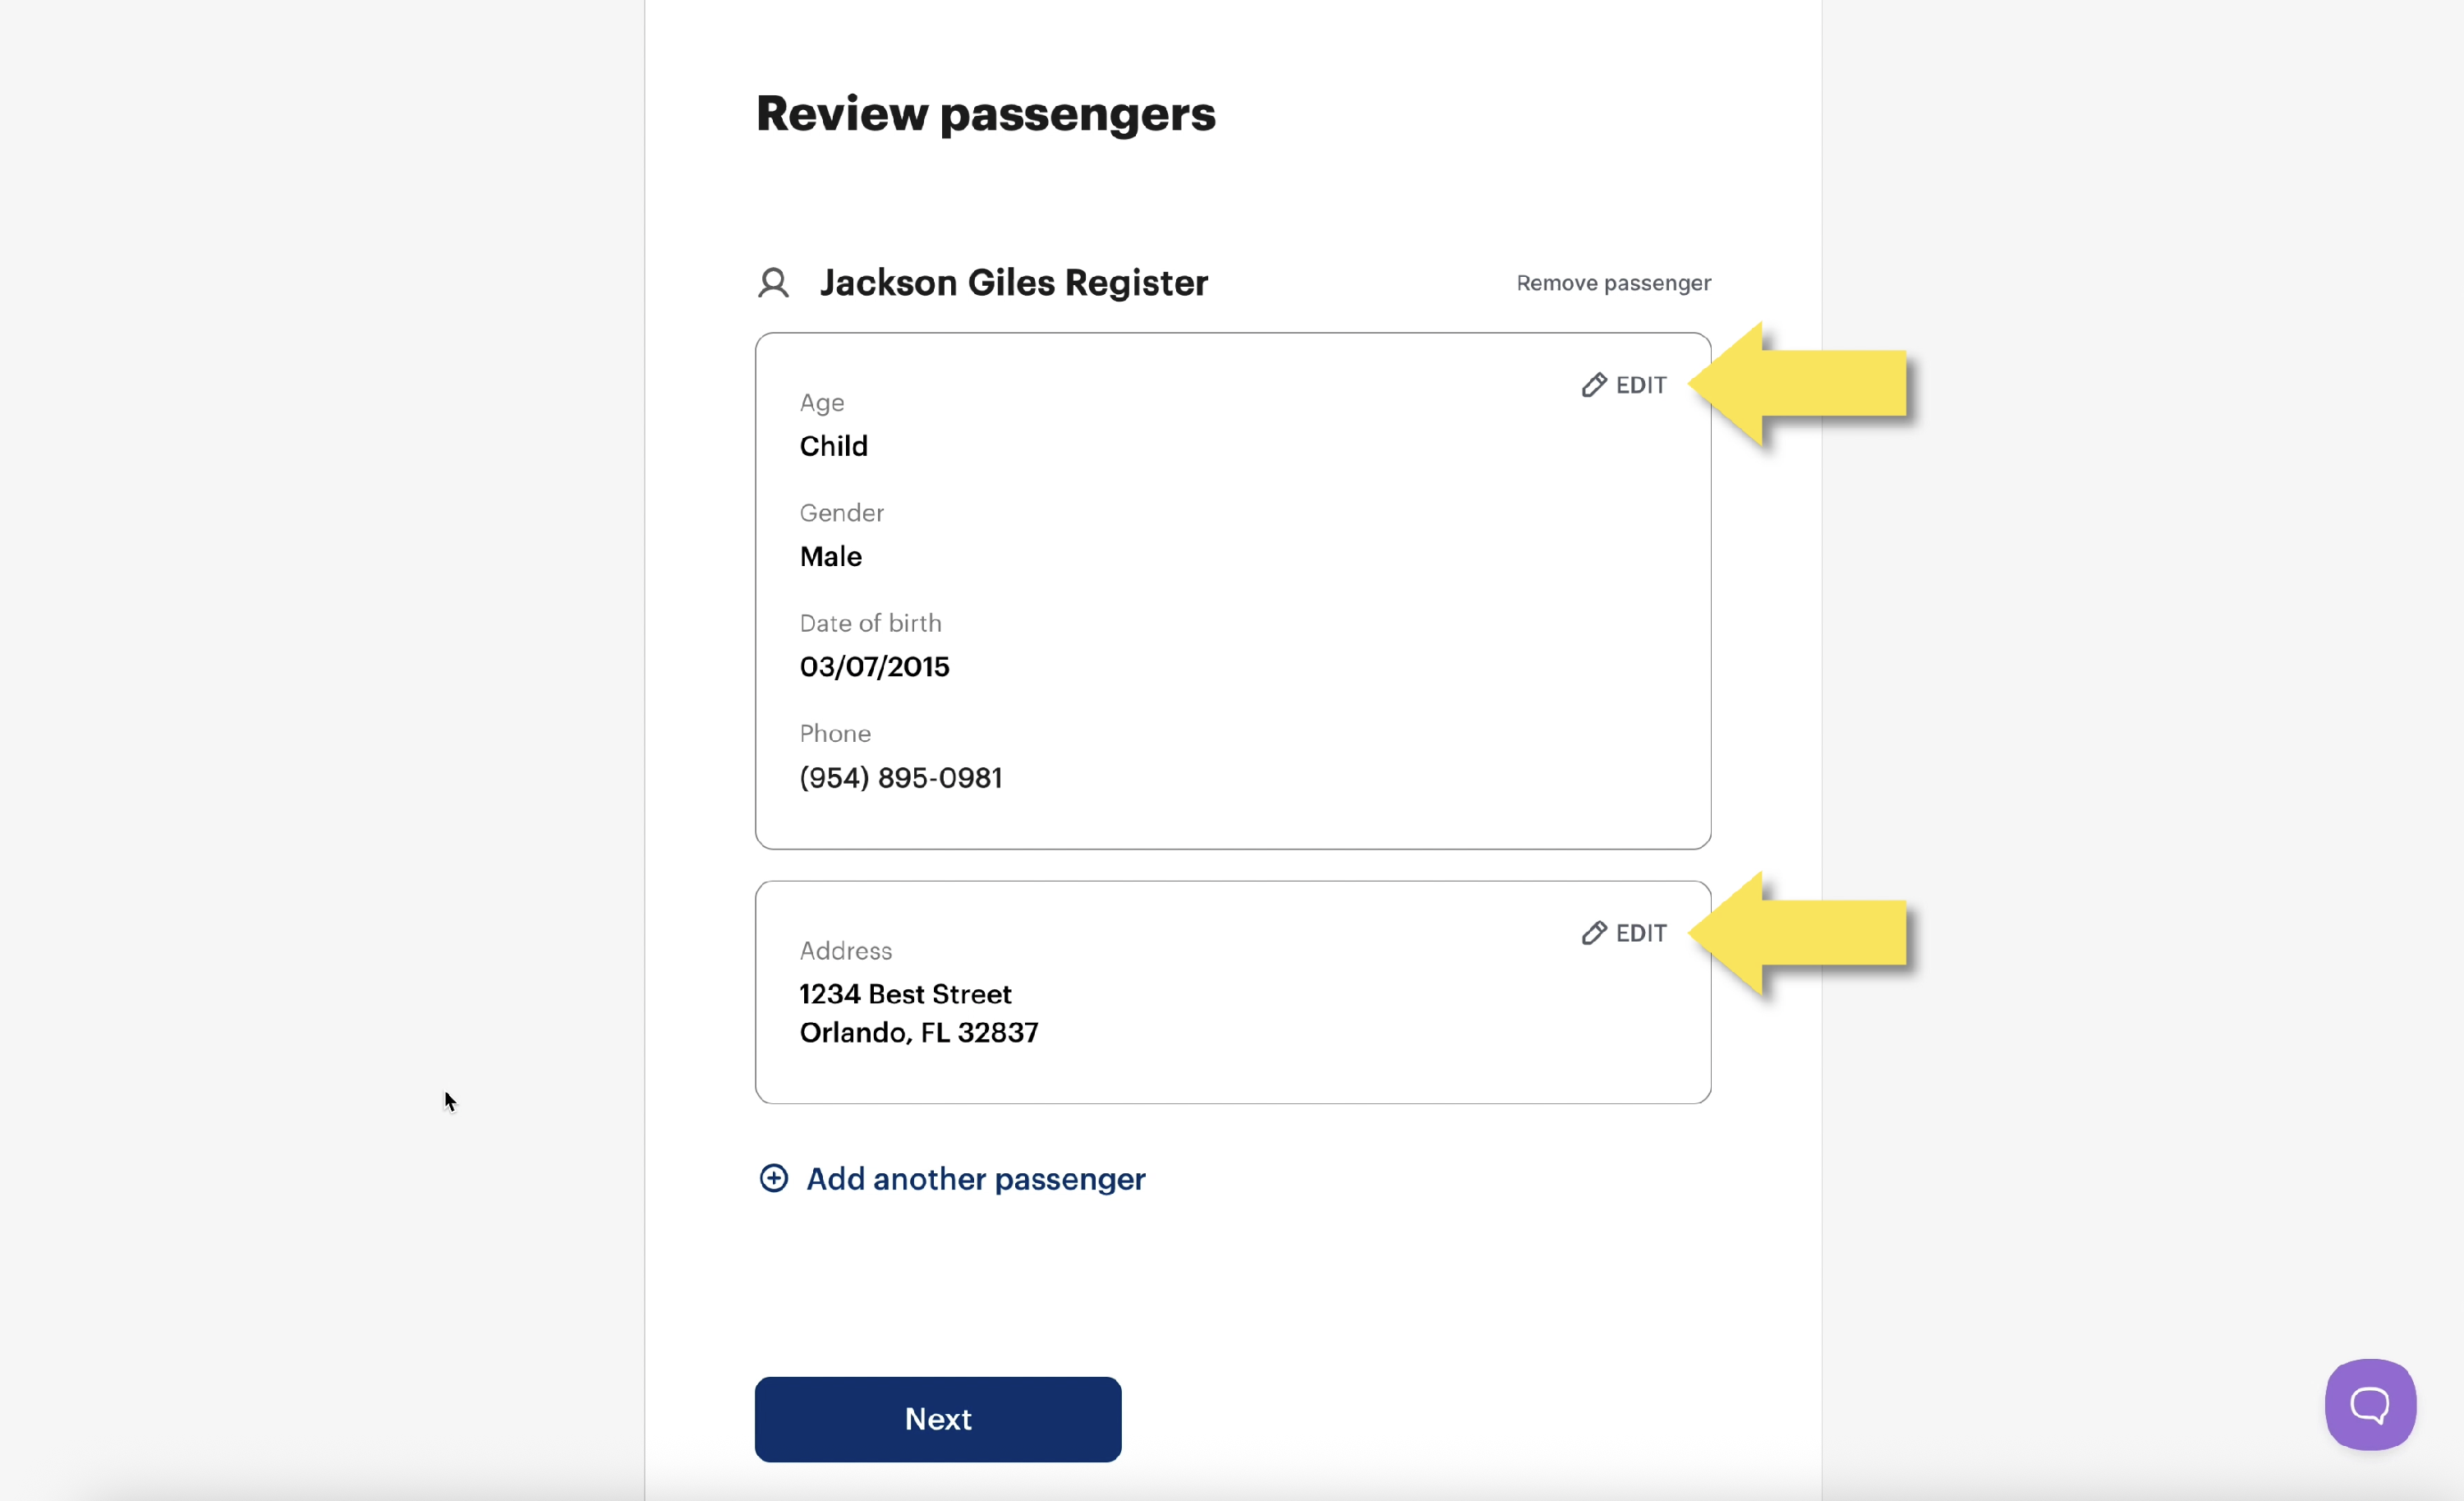
On the next page, confirm your passengers' address by clicking the Looks good button, and move on. If you see a mistake, click the Edit button near the section of information that needs to be adjusted.
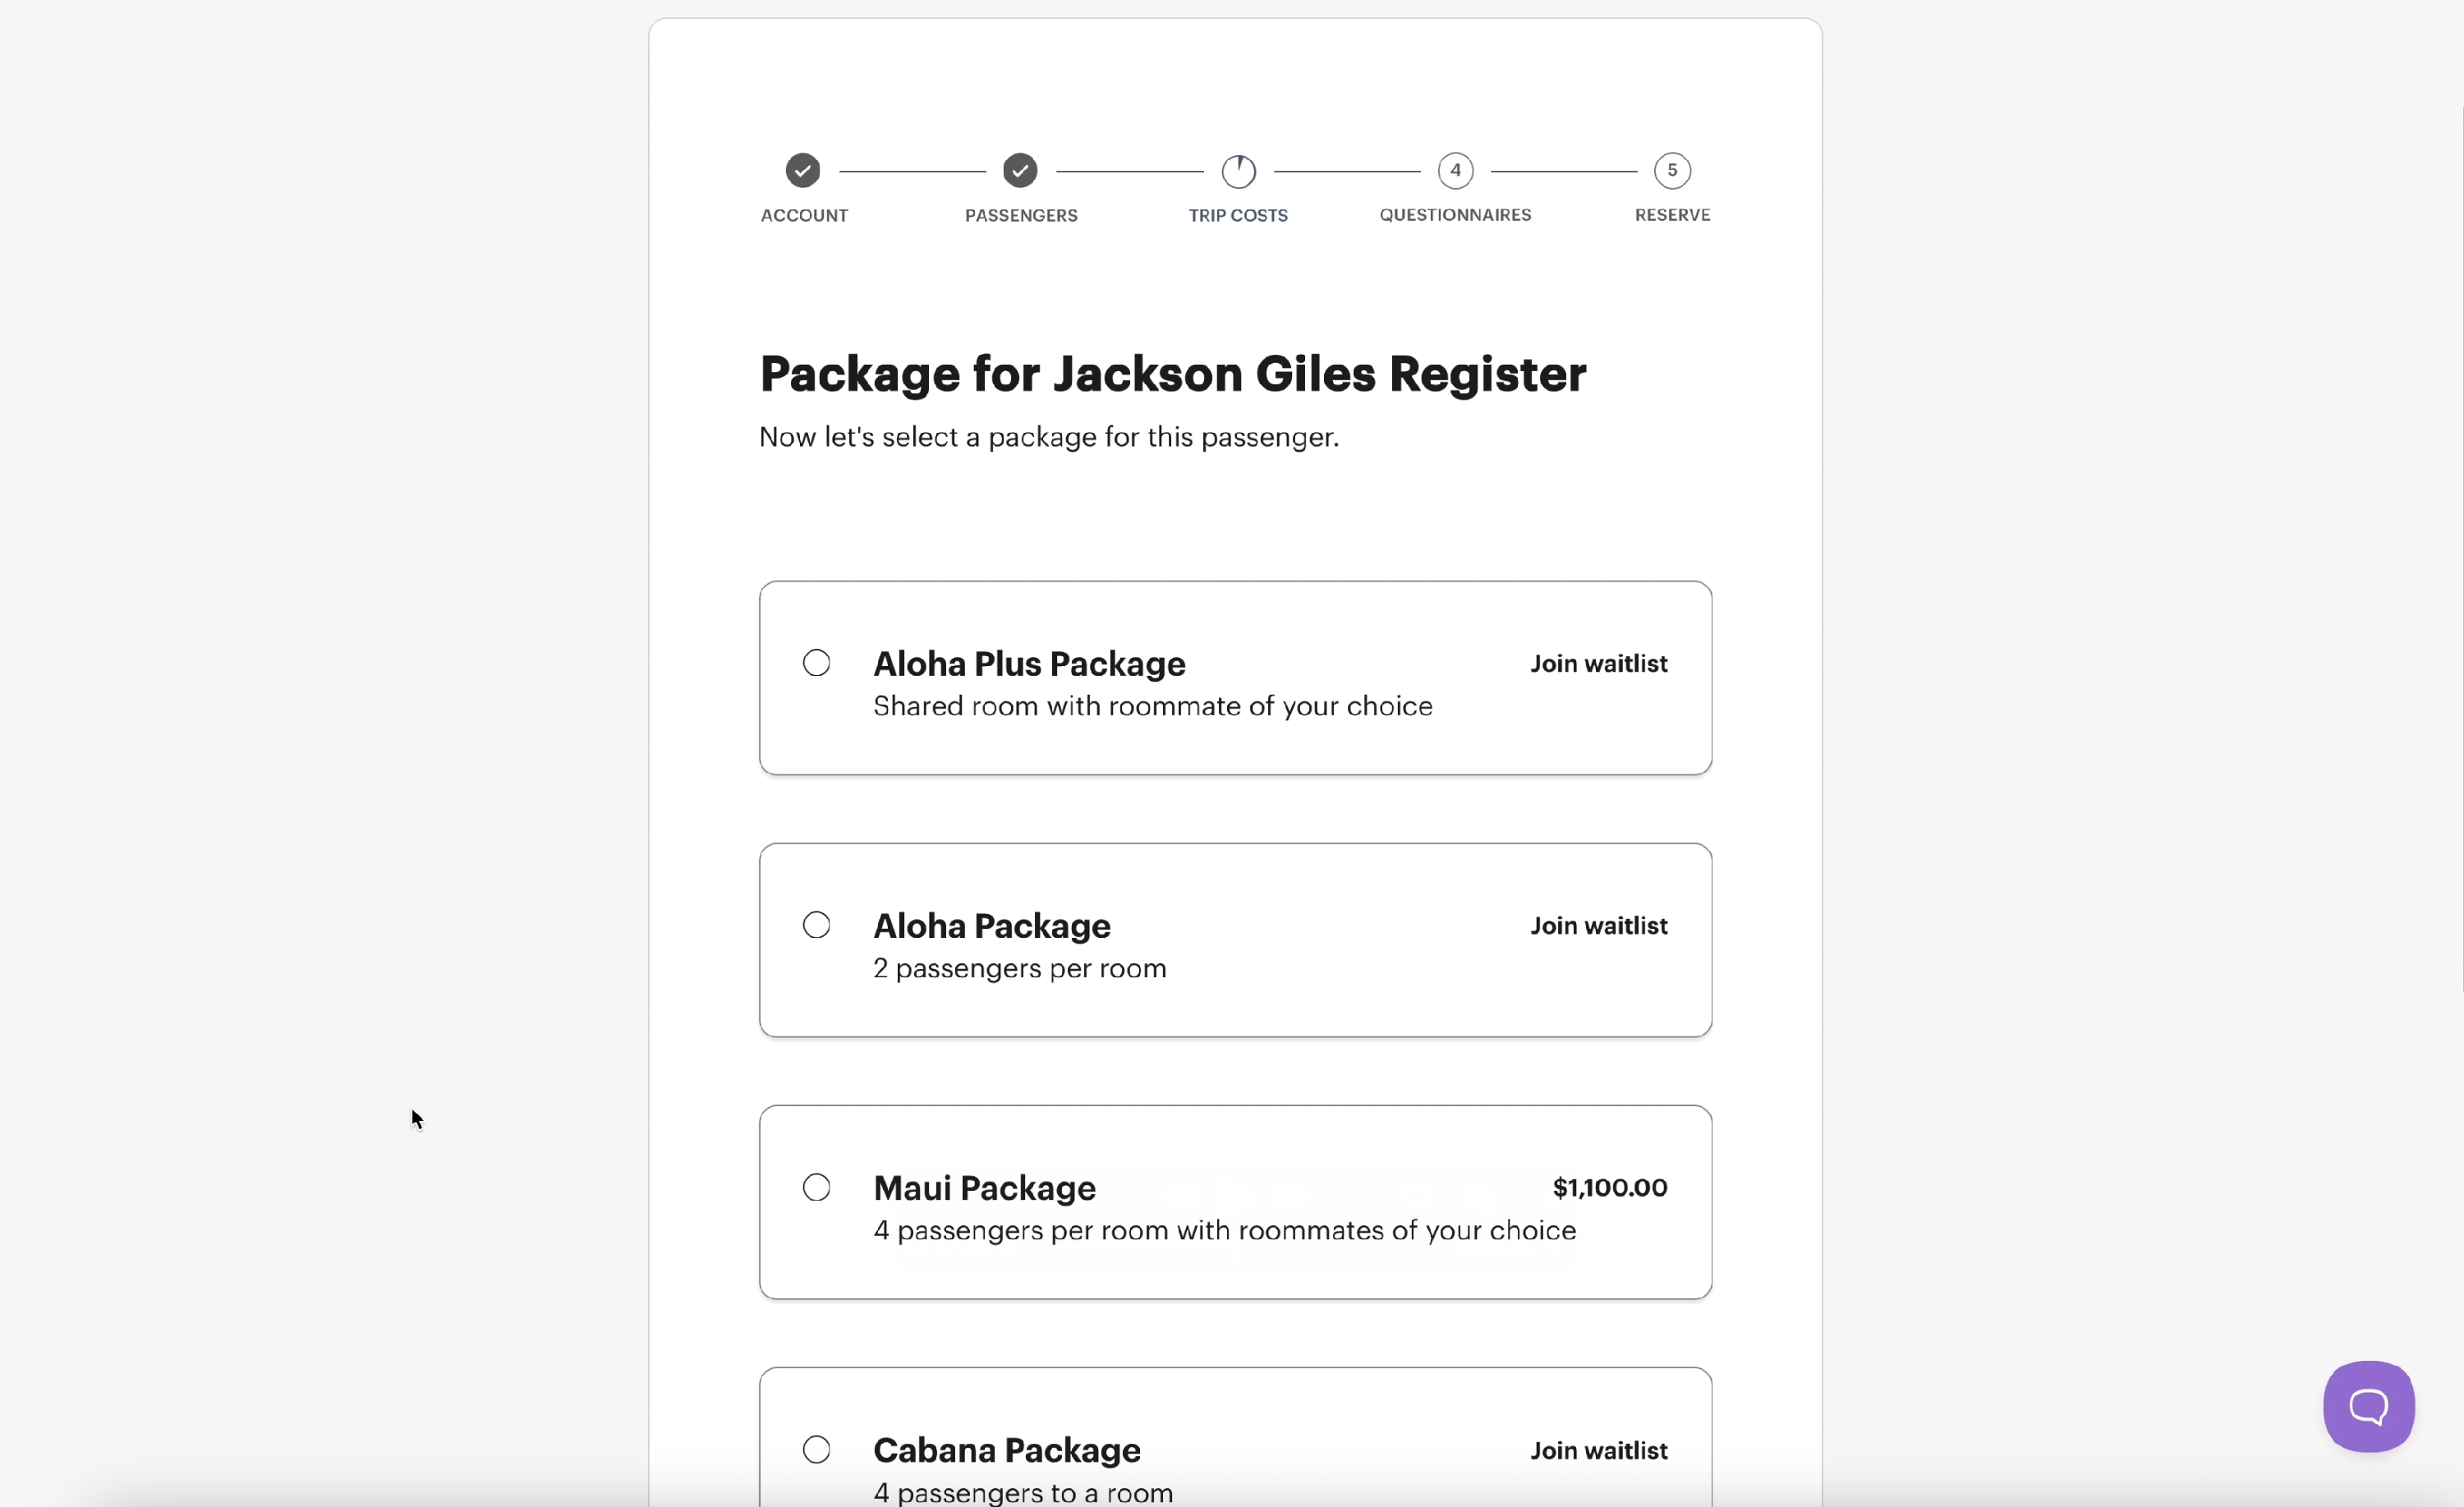
Section 3: Trip Costs
You're almost half way done with registration! In this section you'll make choices on the parts of the trip that cost money. The first will be selecting a trip package for your child. This normally indicates what kind of rooming accommodations they'll have for this trip.
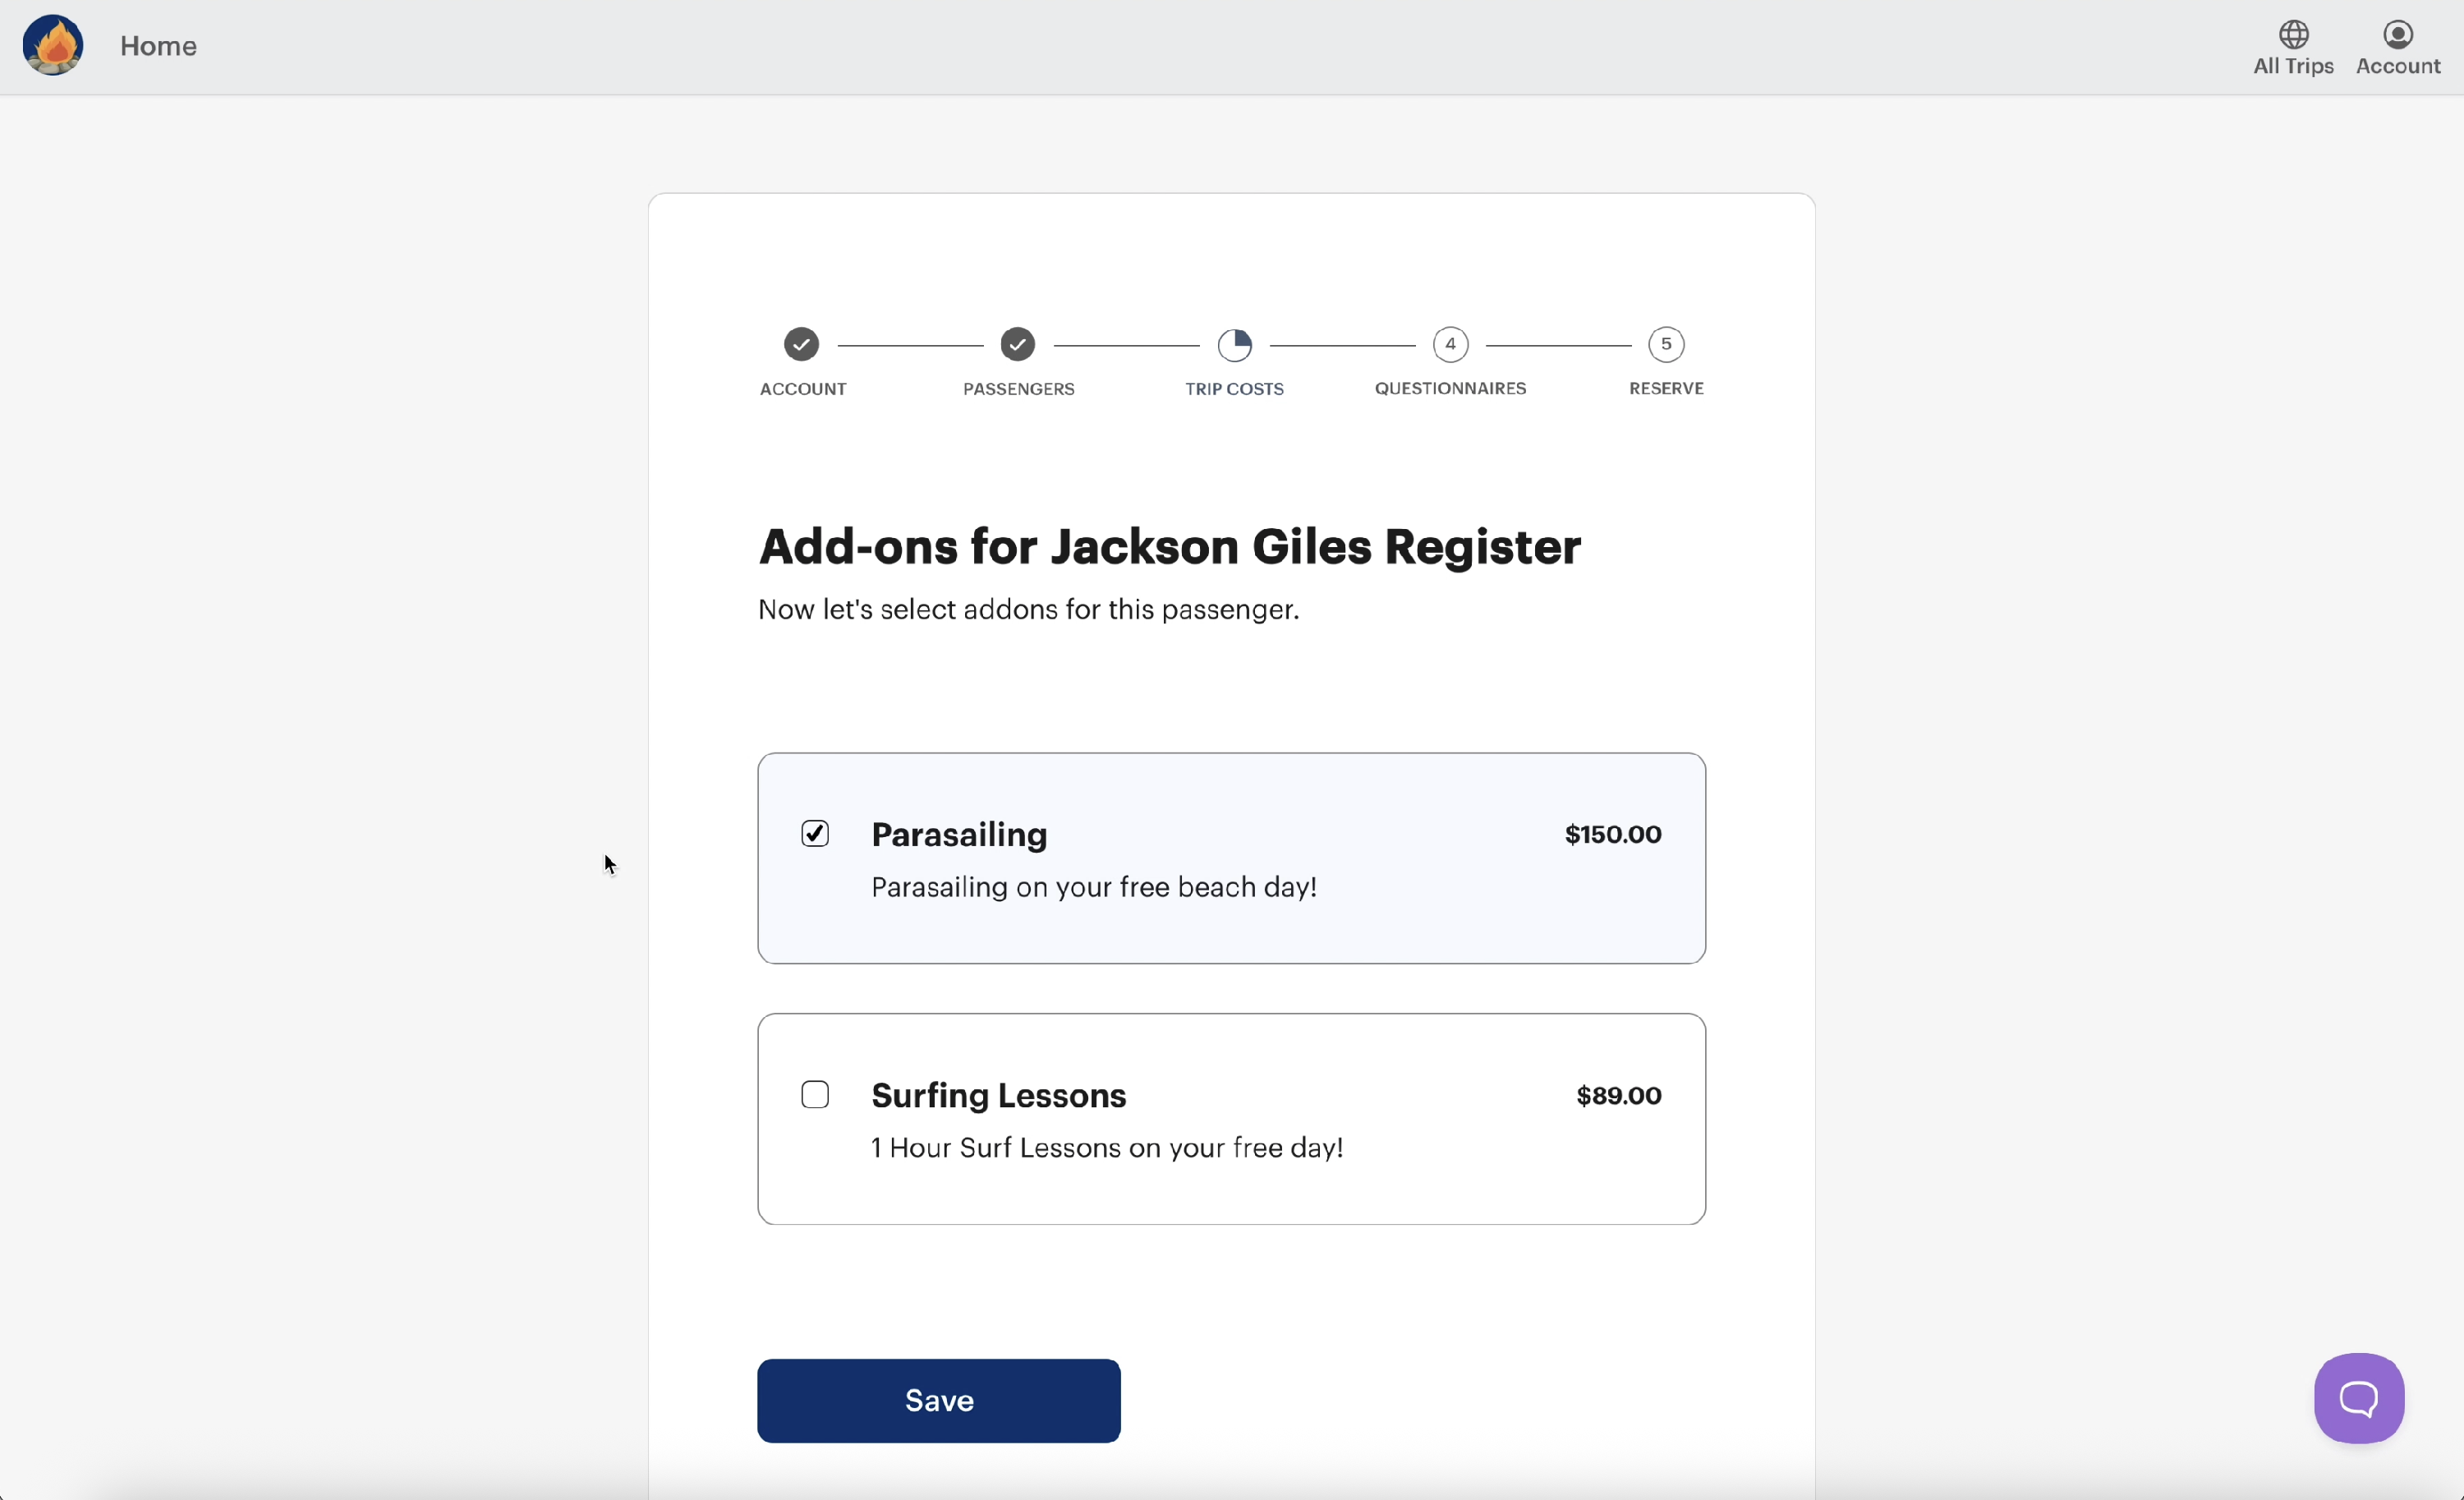
Next, select any trip add-ons you'd like to purchase for your child's trip. Add-ons can be anything like an extra excursions, group t-shirts, etc.
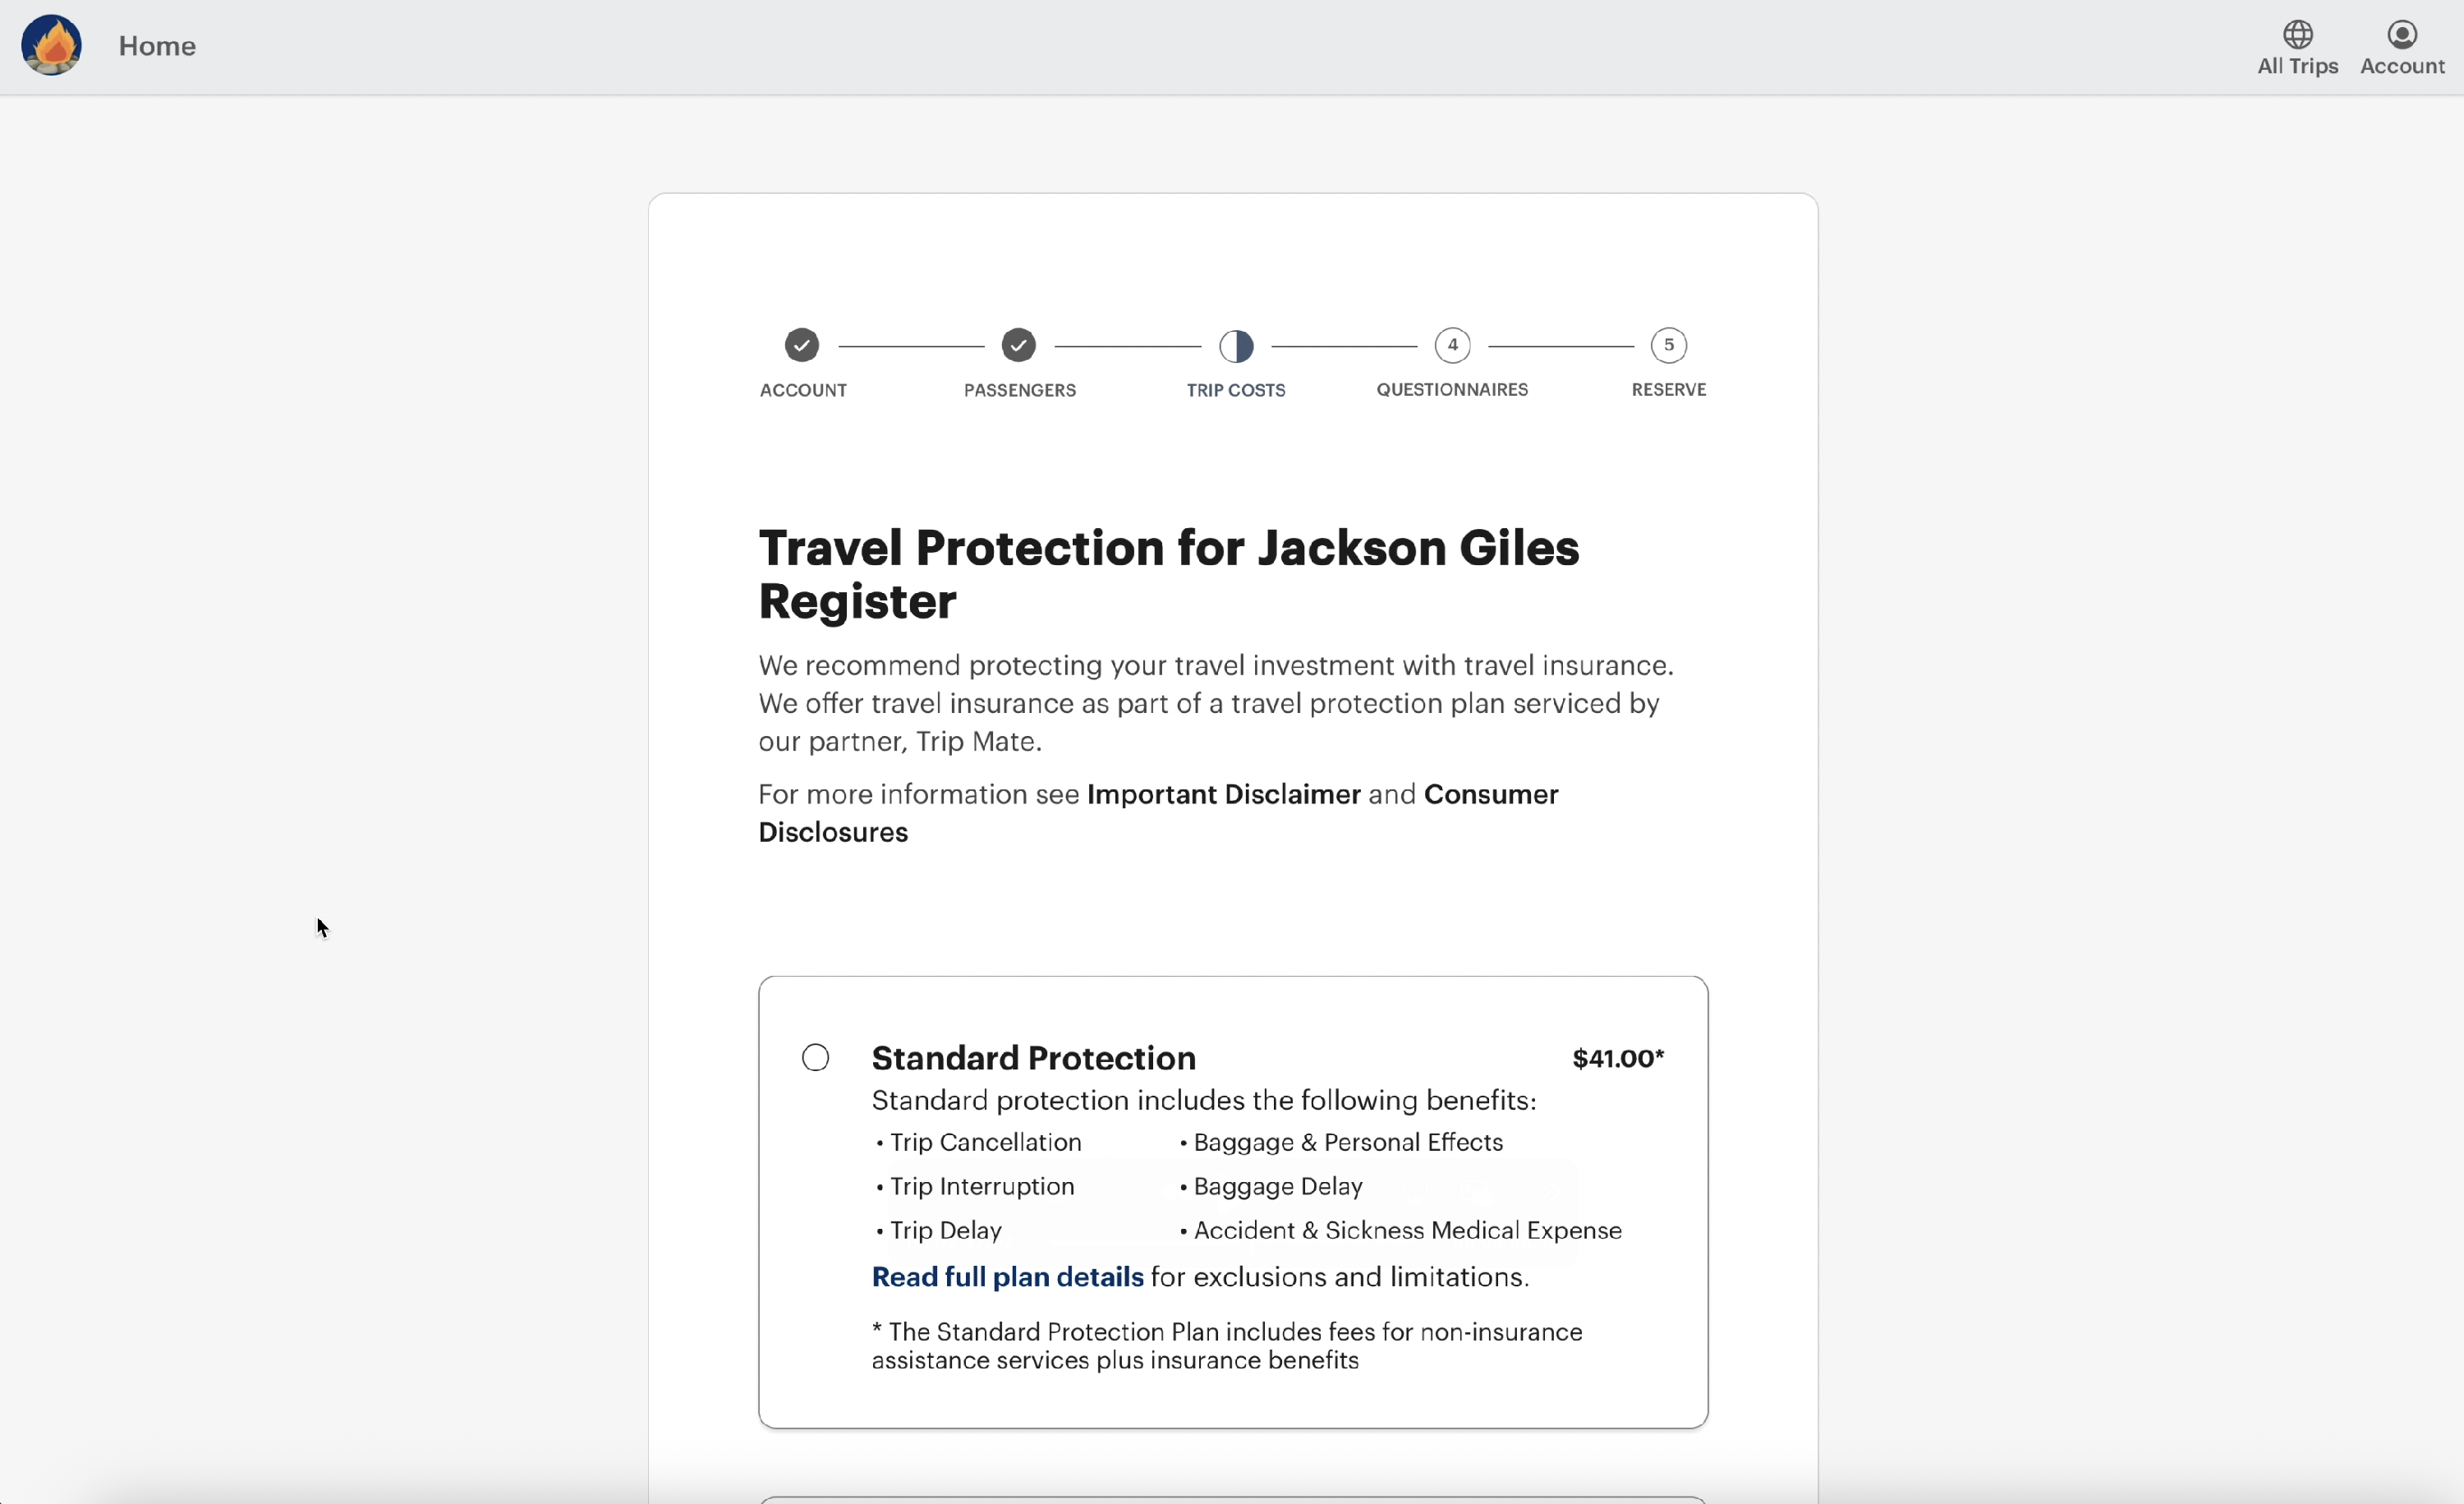
Trip Protection
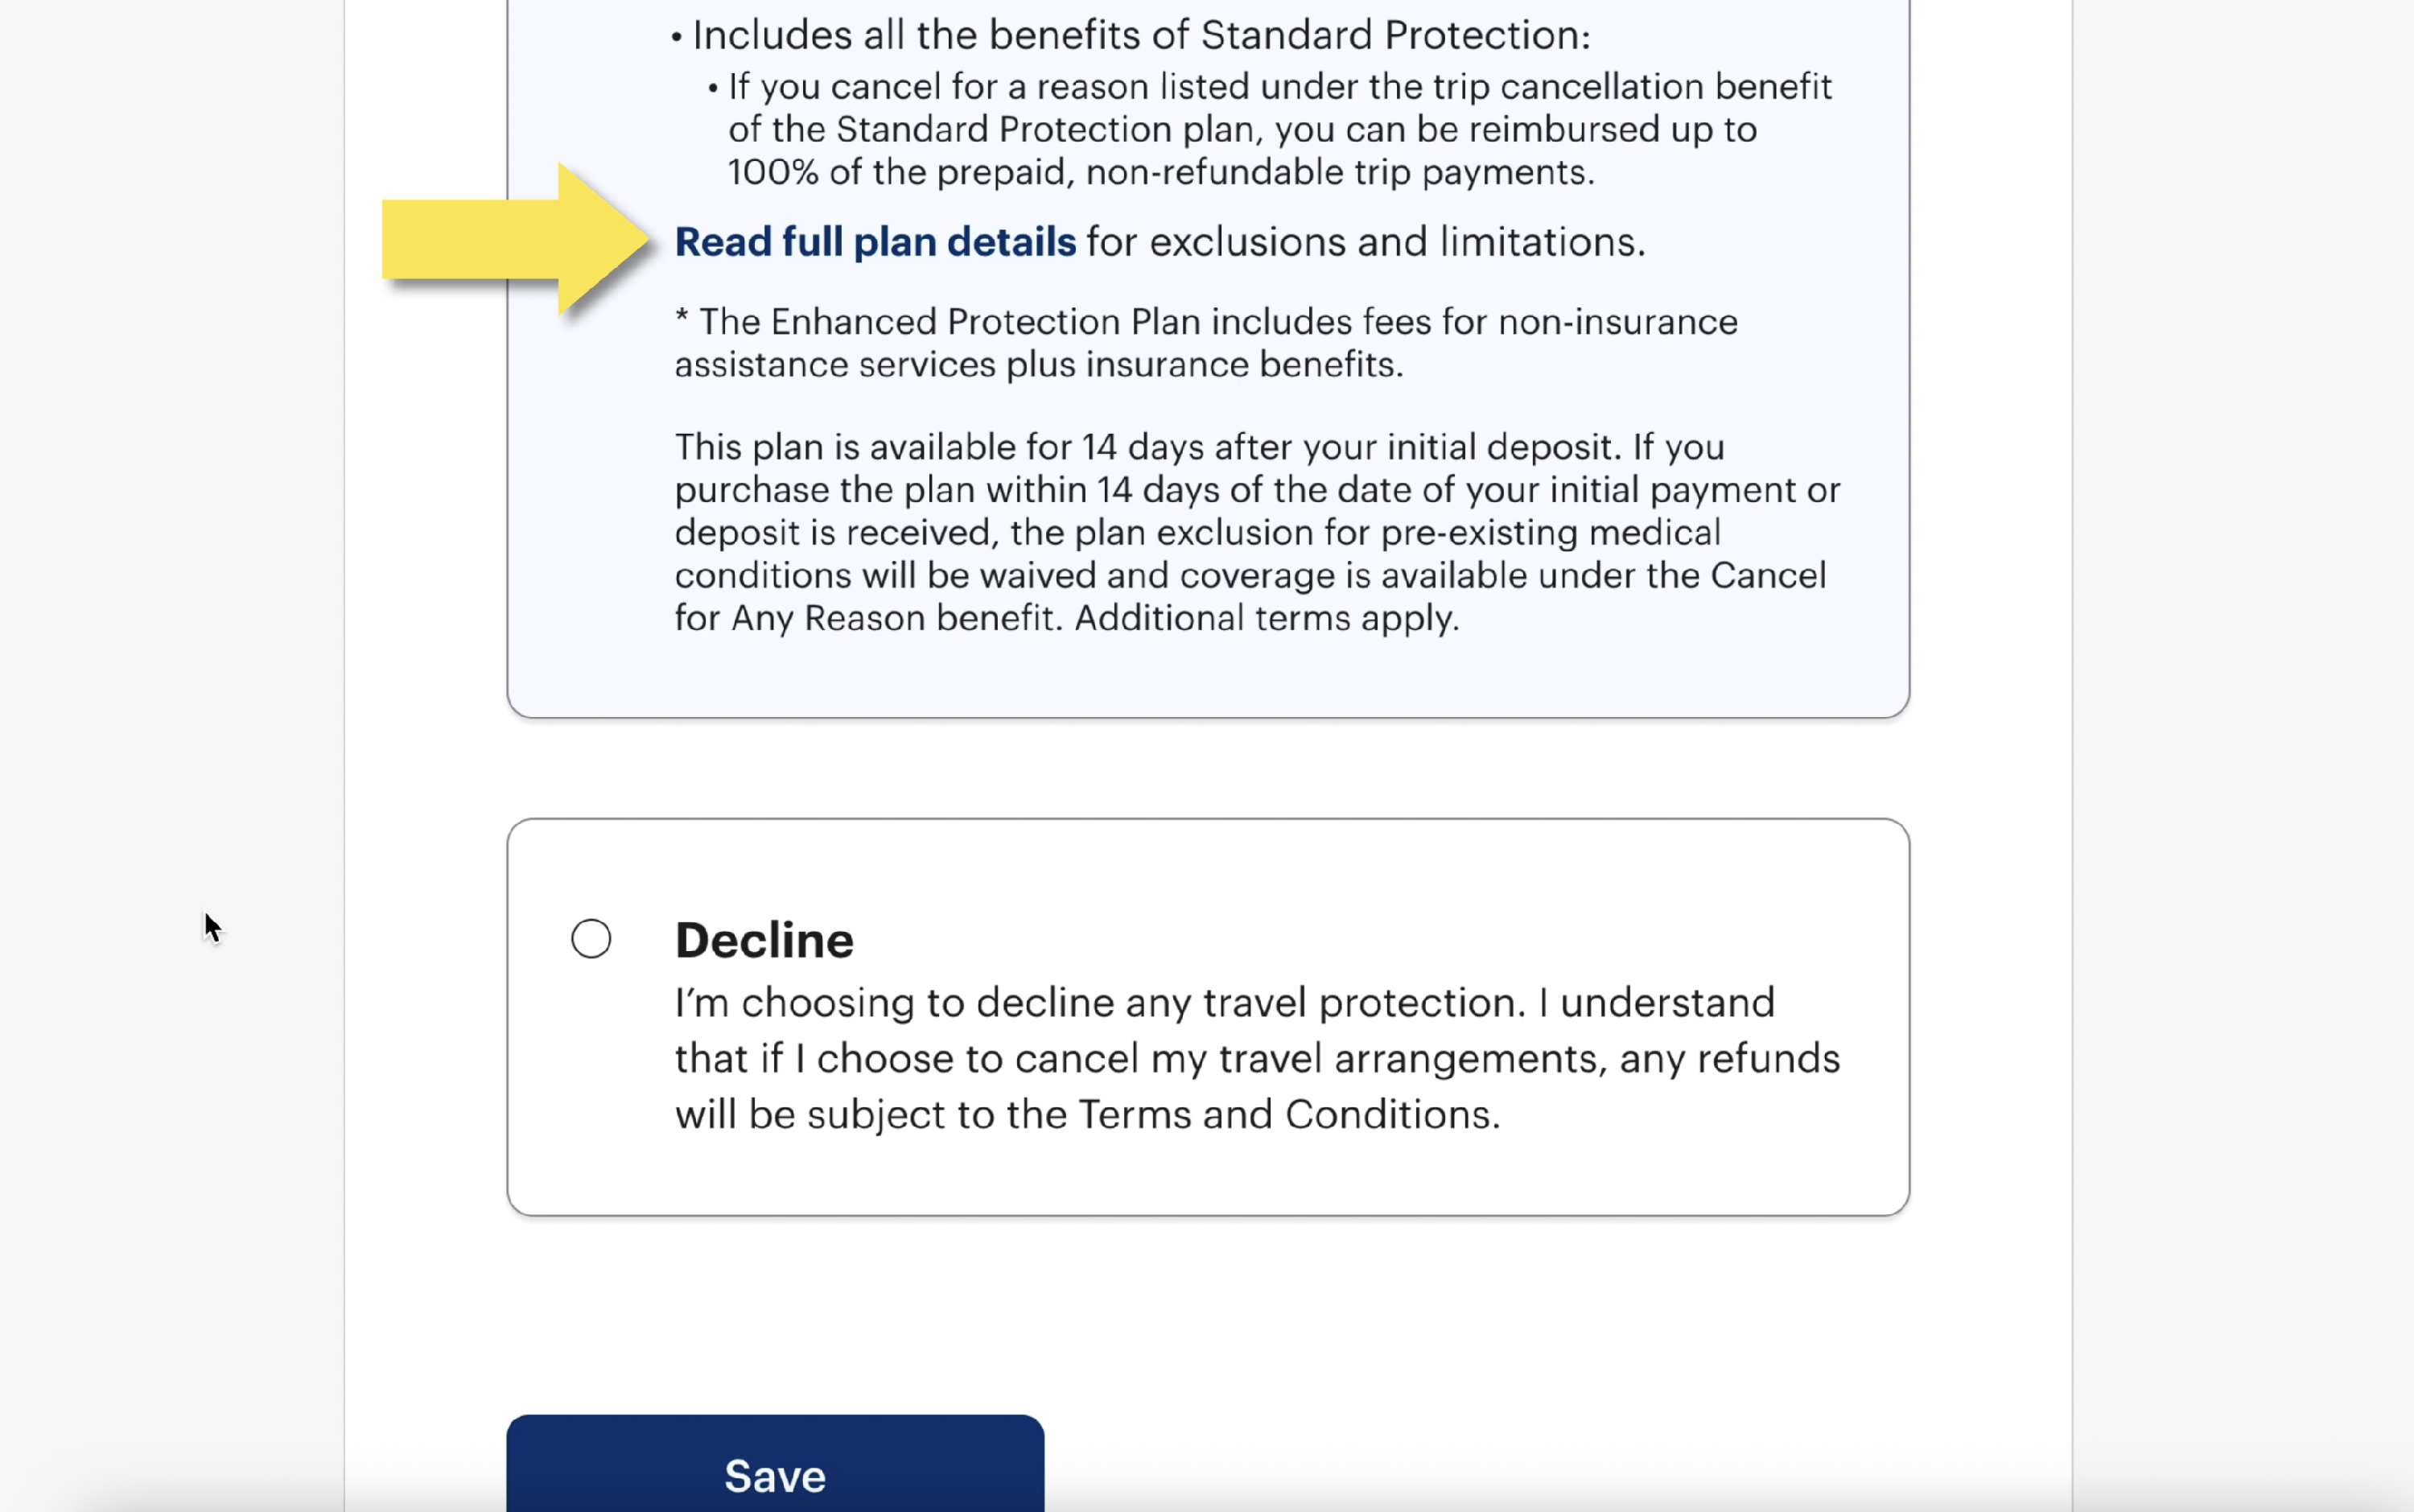
Most of the funds paid into group travel is non-refundable, however trip protection is designed to help passengers and families potentially recover a portion of those funds in the event a passenger does not travel. There are two different types of trip protection: standard and enhanced. To understand the differences in these types, click on the Read full plan details links. You also have the option to decline trip protection. Once you've made your selection, click the Save button to move on.
Review Your Trip Costs
Review the selections you've made in the trip costs section before proceeding on to the next. If everything looks good, click the Looks good button at the bottom of the screen.
Section 4: Questionnaires
This section will ask you to complete any questionnaires associated with this trip. Trip questionnaires are a collection of questions that your trip leader or travel provider may have for parents and passengers. Some questions are optional and some are required by your tour operator. Answer all the necessary questions to proceed.

Review Your Questionnaire answers
Another section completed, another page to review your answers! As usual, click the Looks good button if you're ready to move on.


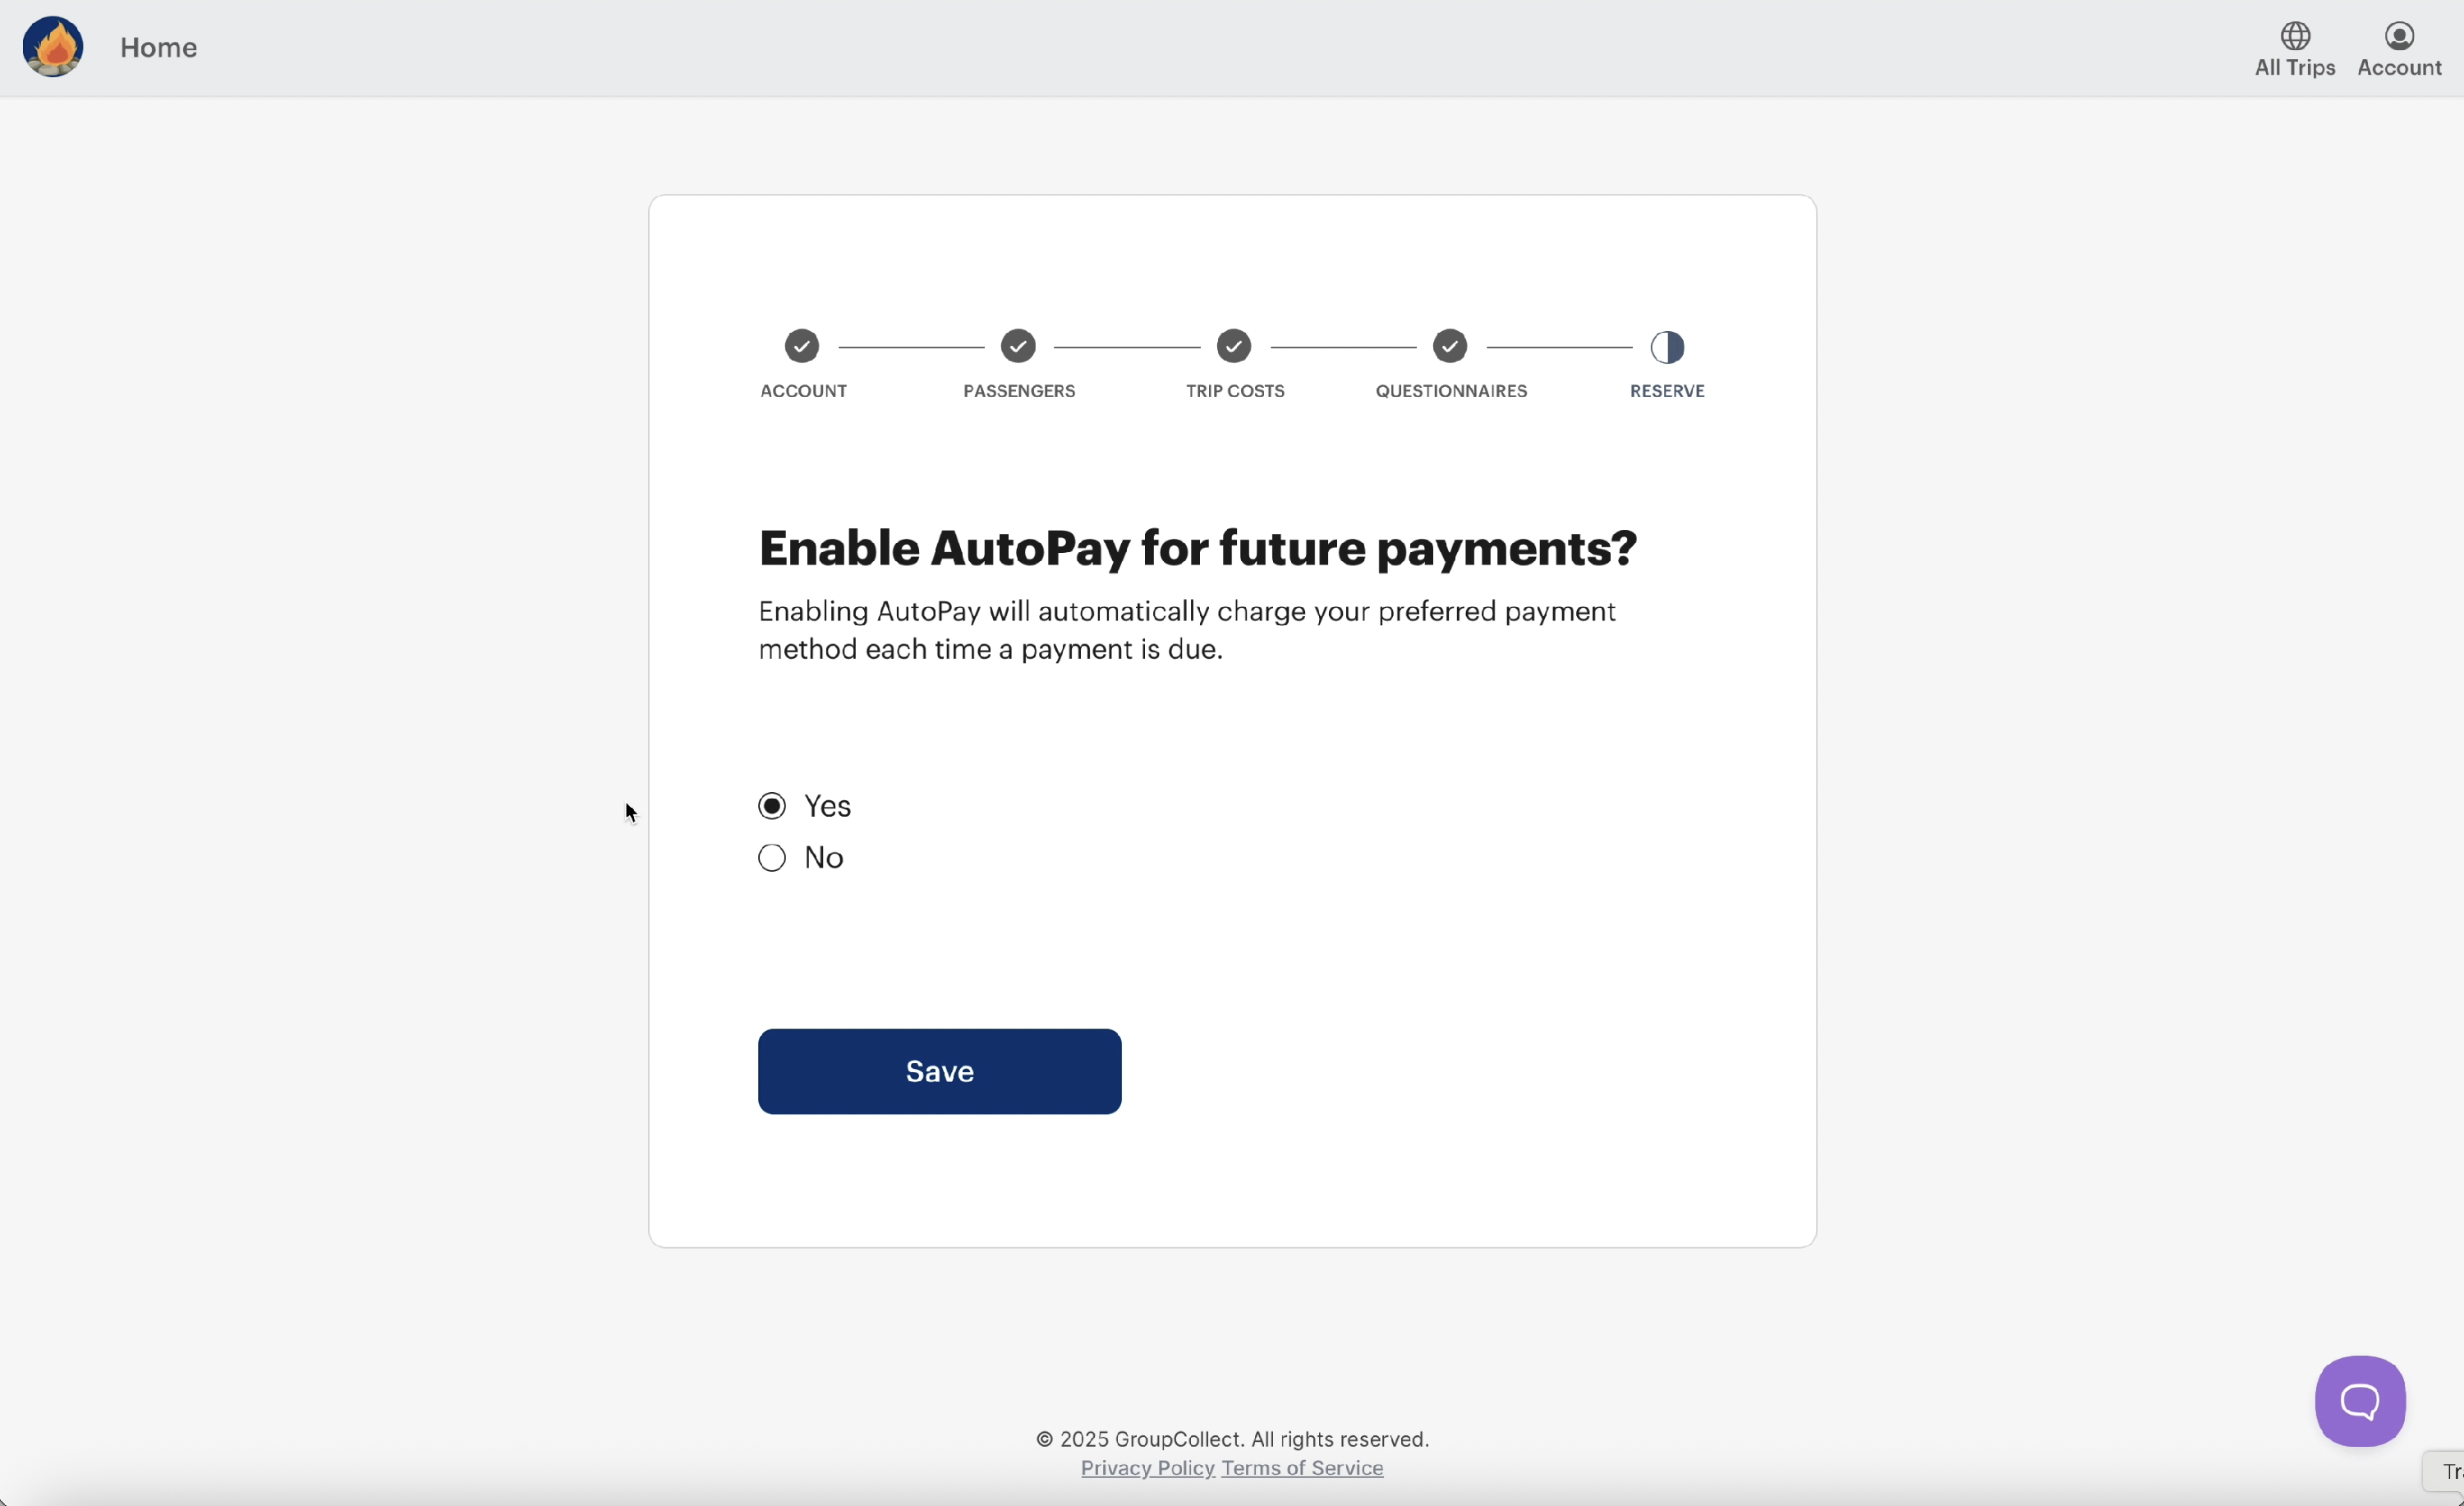
Section 5: Reserve
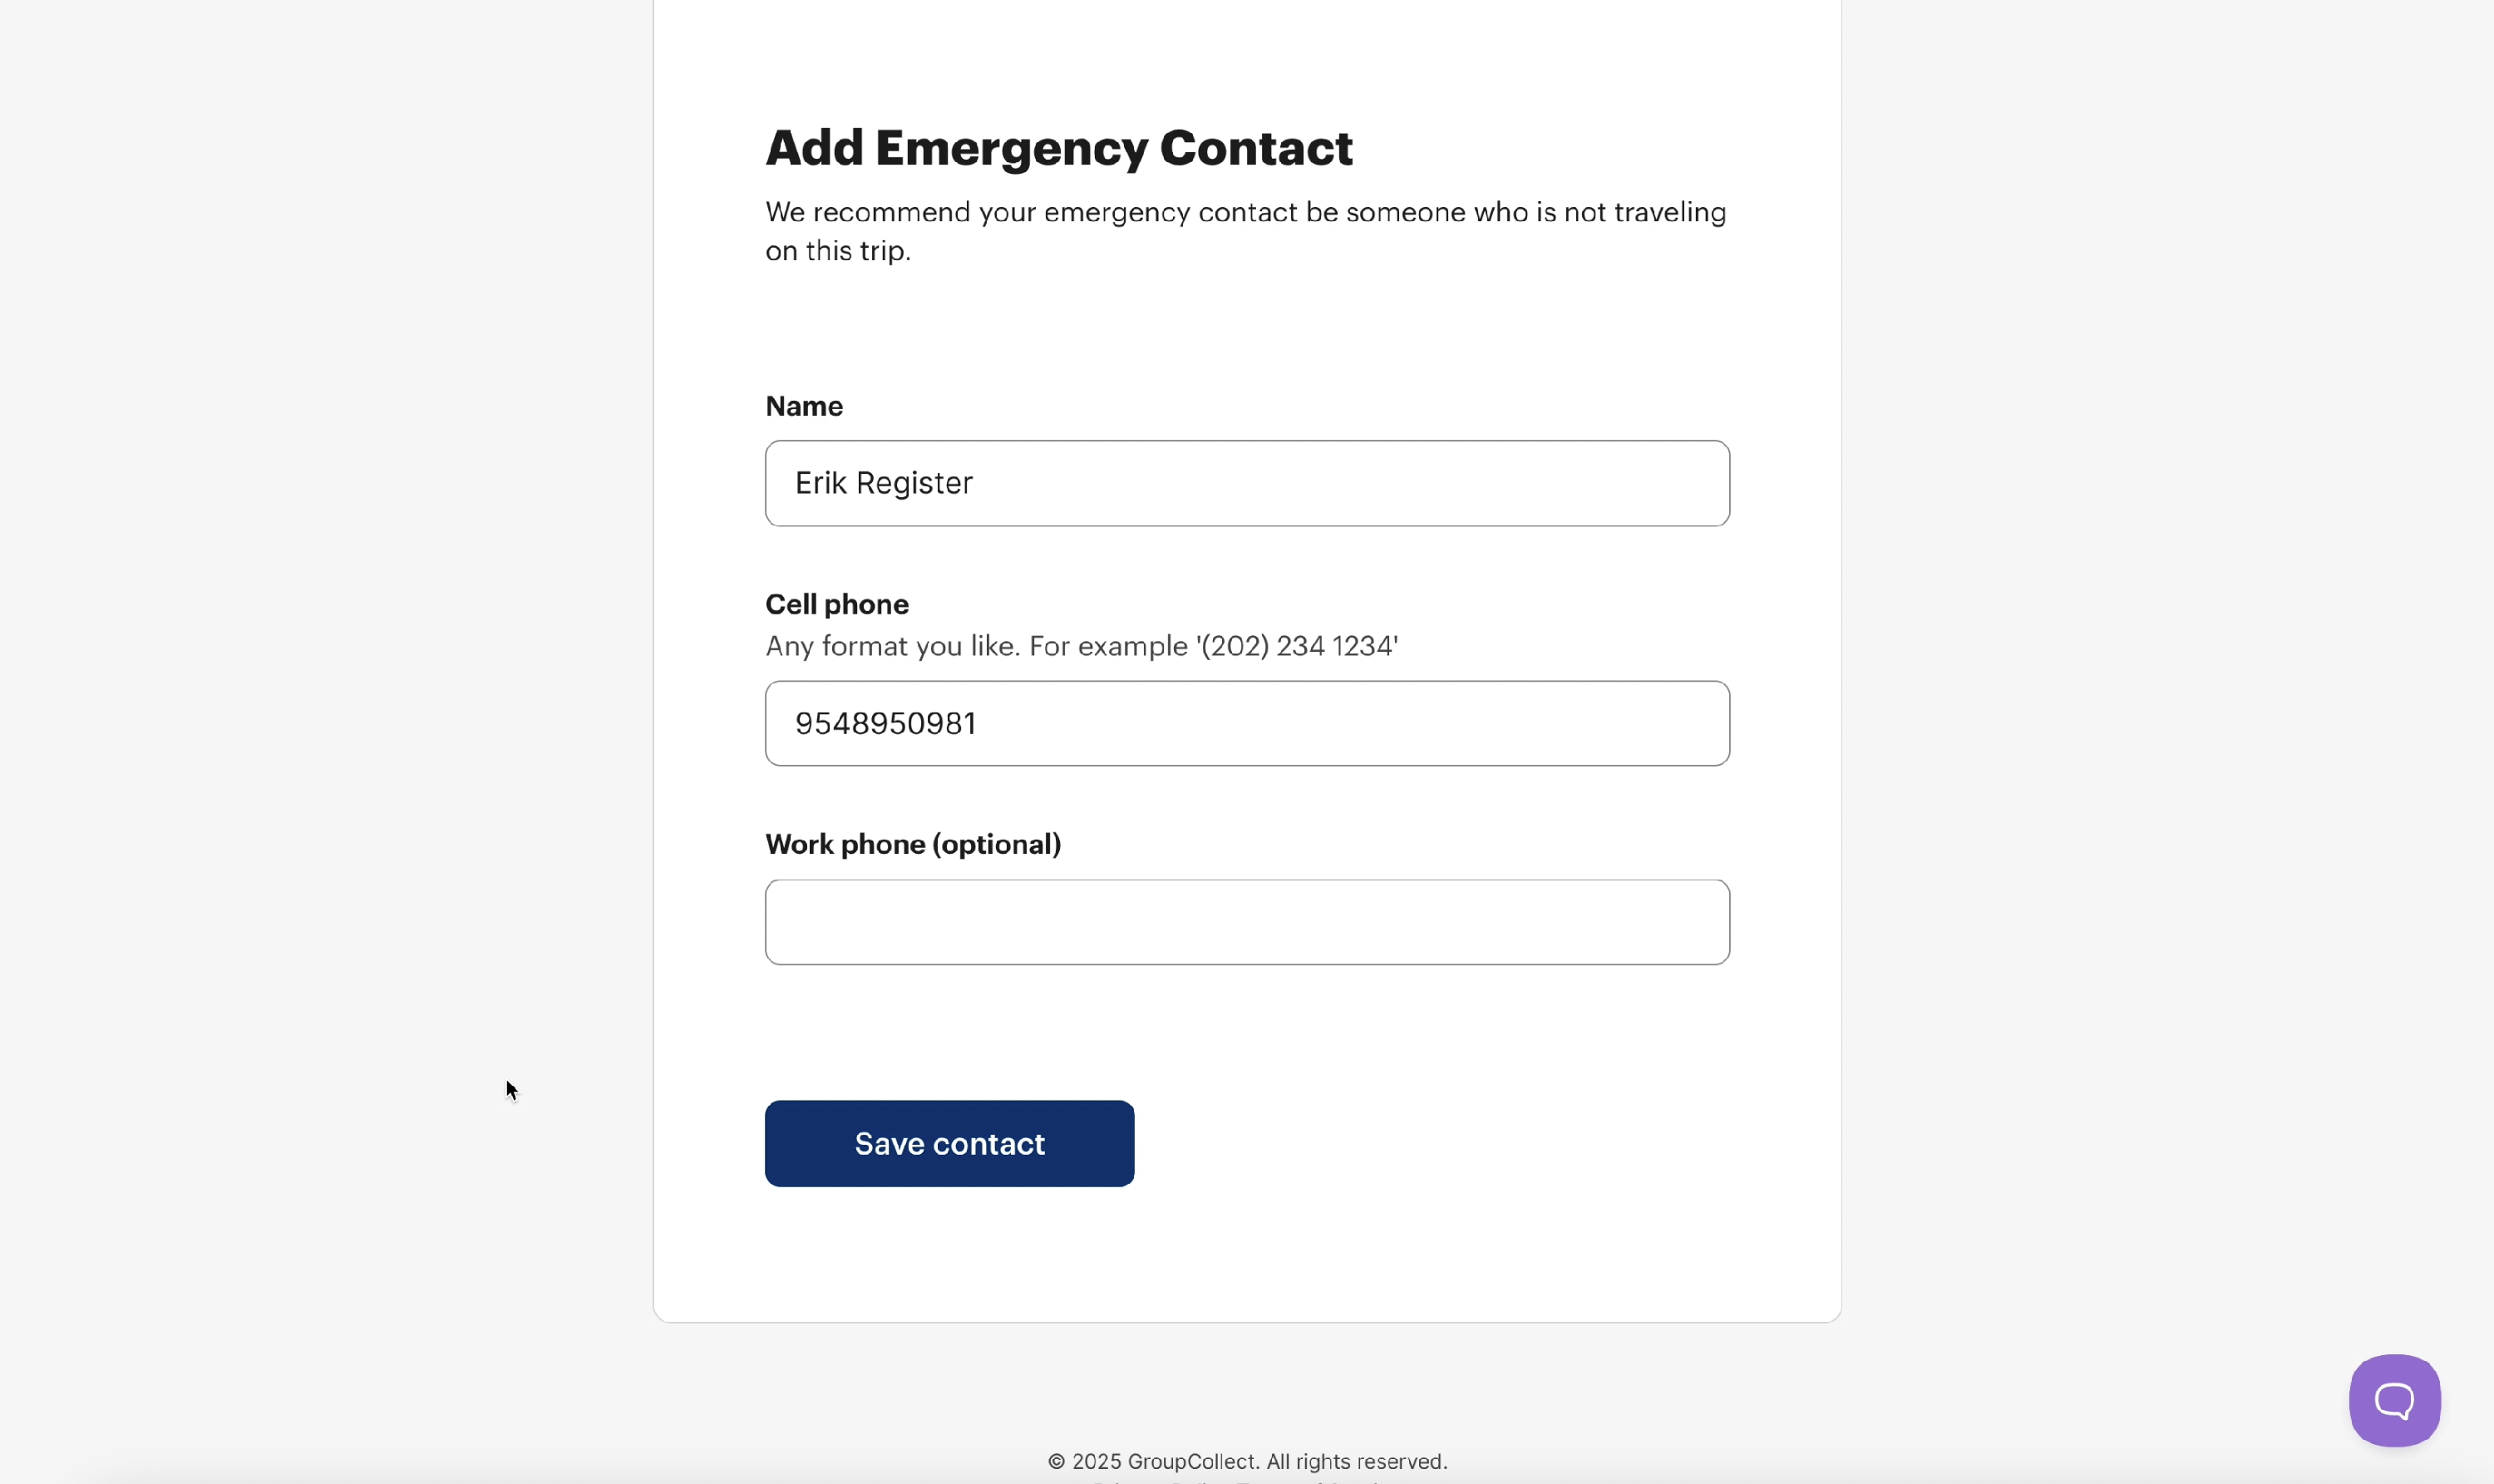
You're in the home stretch! In this final section, the first thing you'll be asked is to provide an emergency contact for the passenger. If you are the passenger's emergency contact, please provide your own contact information.
Payment
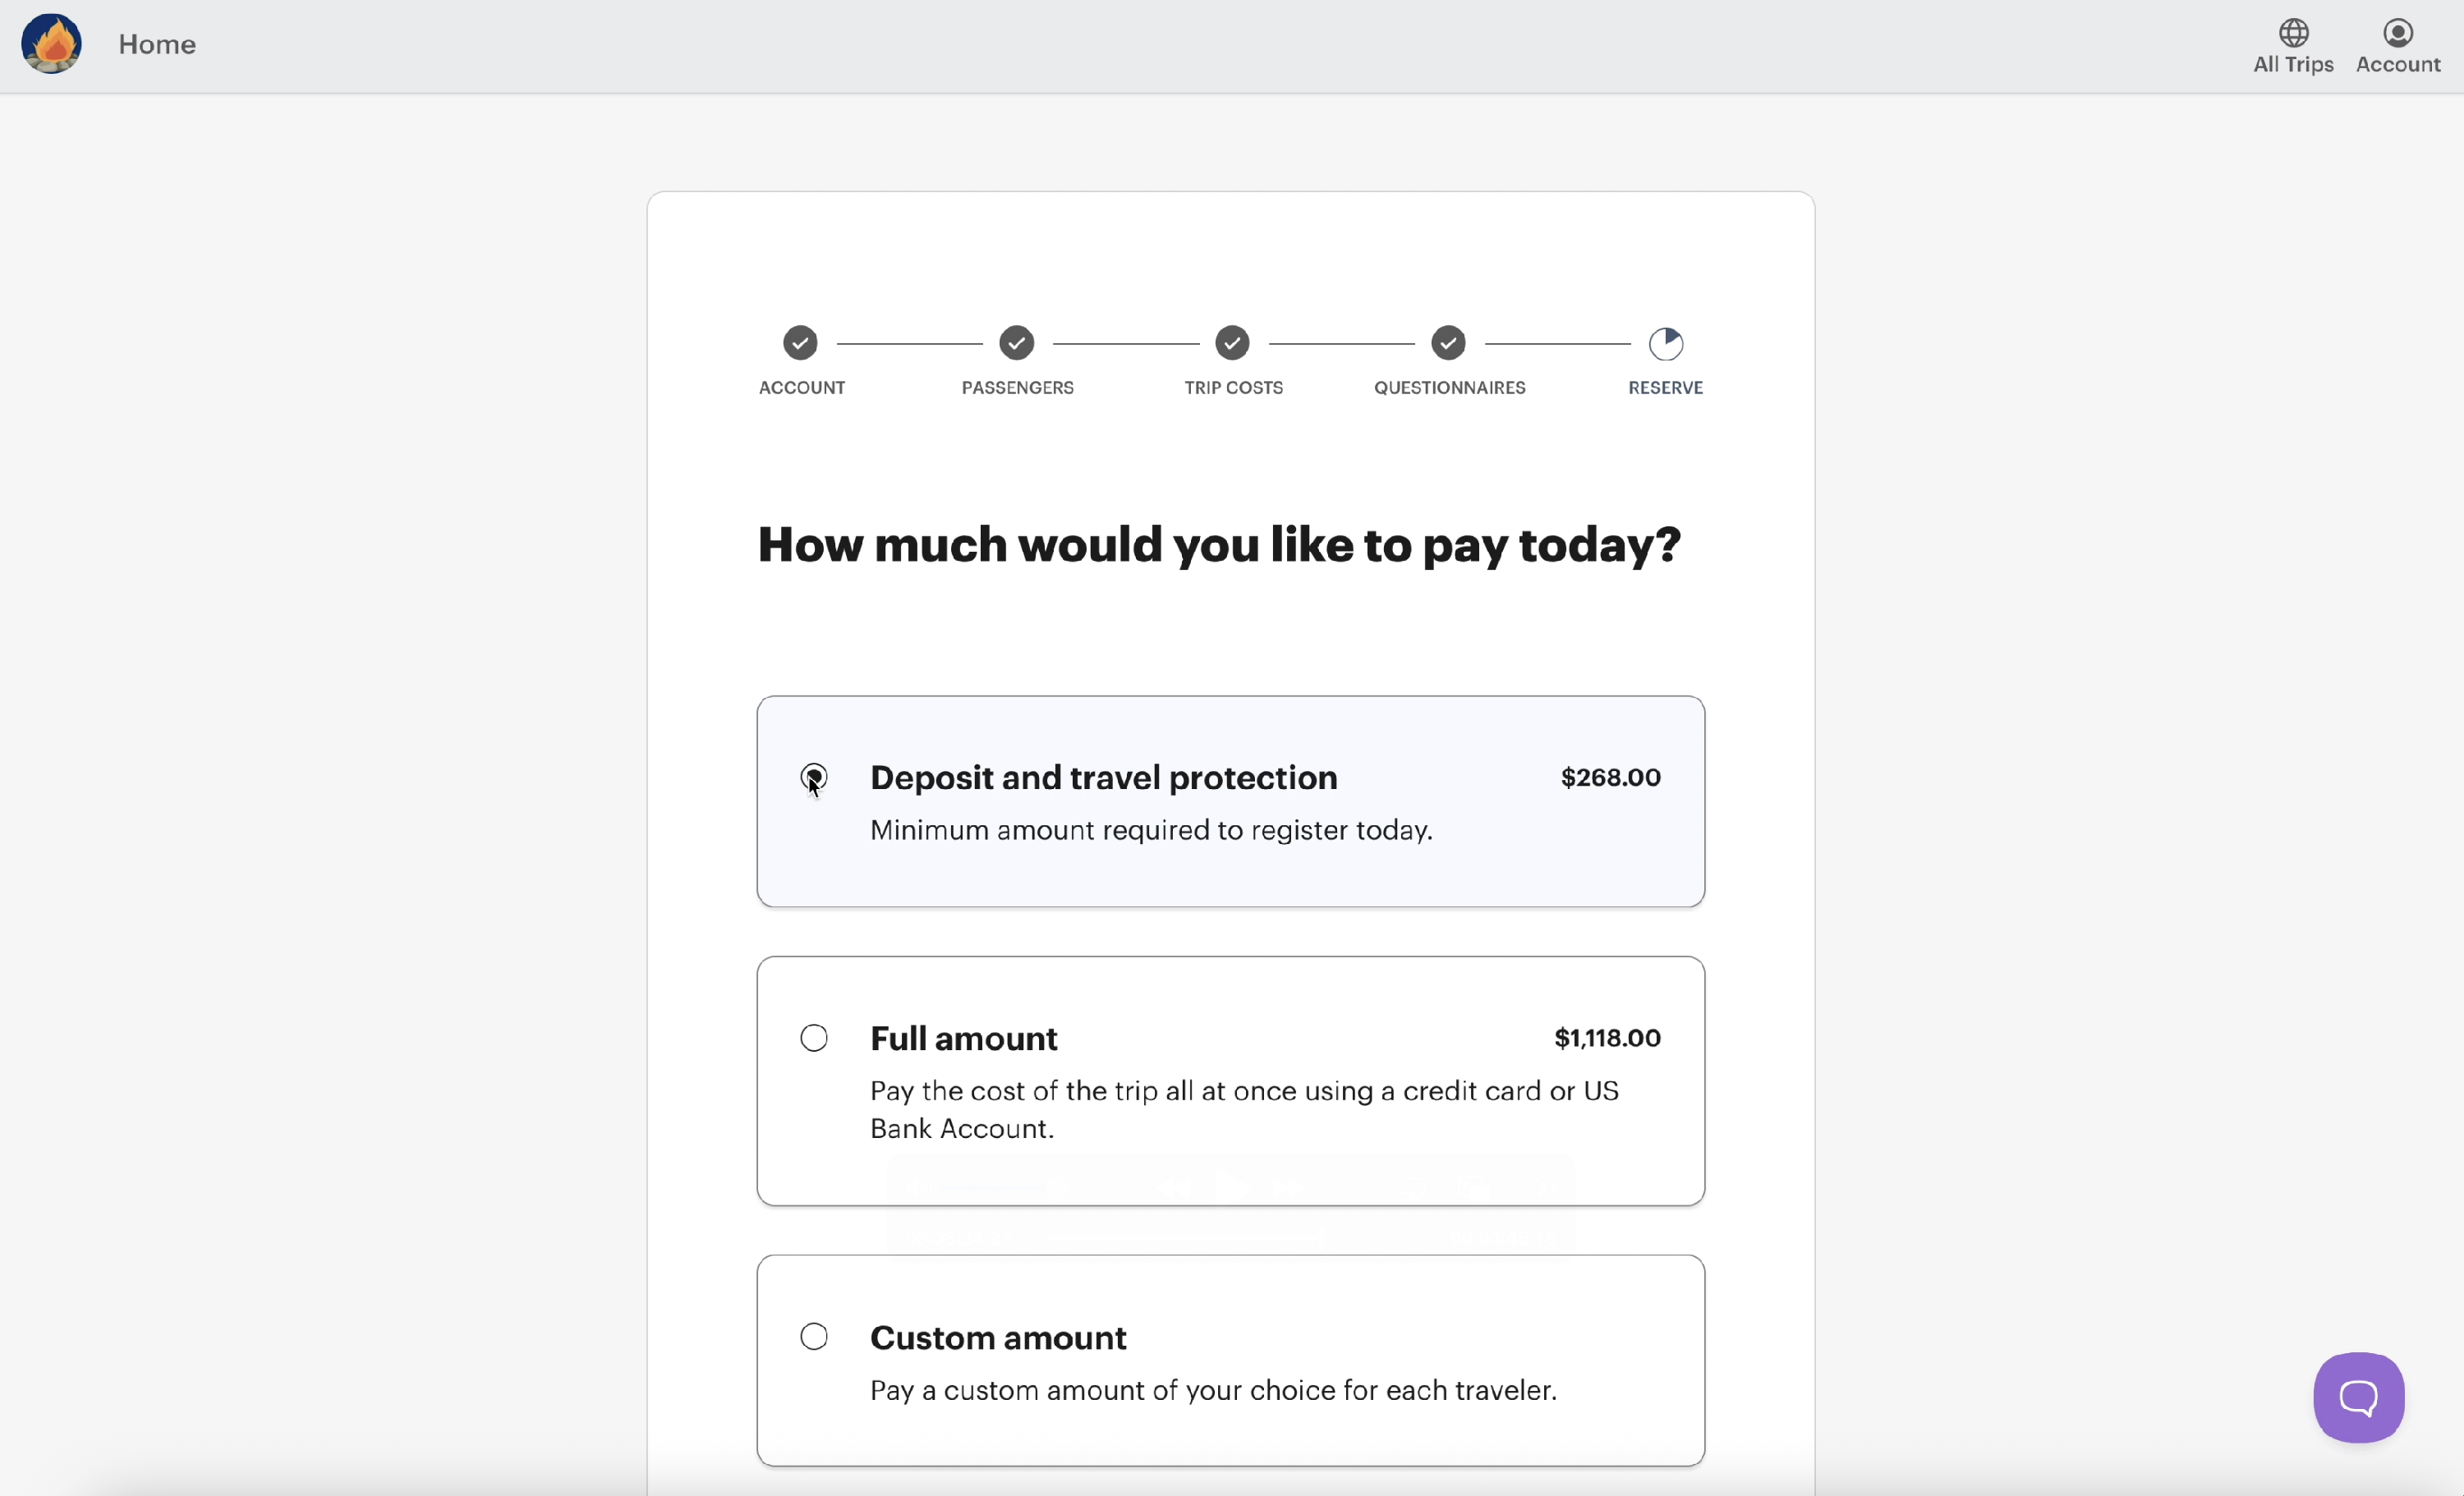
To pay, first select how much you'd like to pay.
Next you'll need to connect to a bank account or use a credit card to make your first payment. Select which method you'd like to use and follow the instructions to connect to your online checking account or enter your credit card information.

US Bank Account
If you'd like to connect to a bank account, start by searching for your institution in the Bank account field. Once your institution is located, select it and the system will walk you through an instant verification process.
You'll provide your online bank credentials to securely connect your checking account to this system. Choosing and connecting to an account will look something like this.
NOTE: you can only connect to a checking account to make an online payment in this system

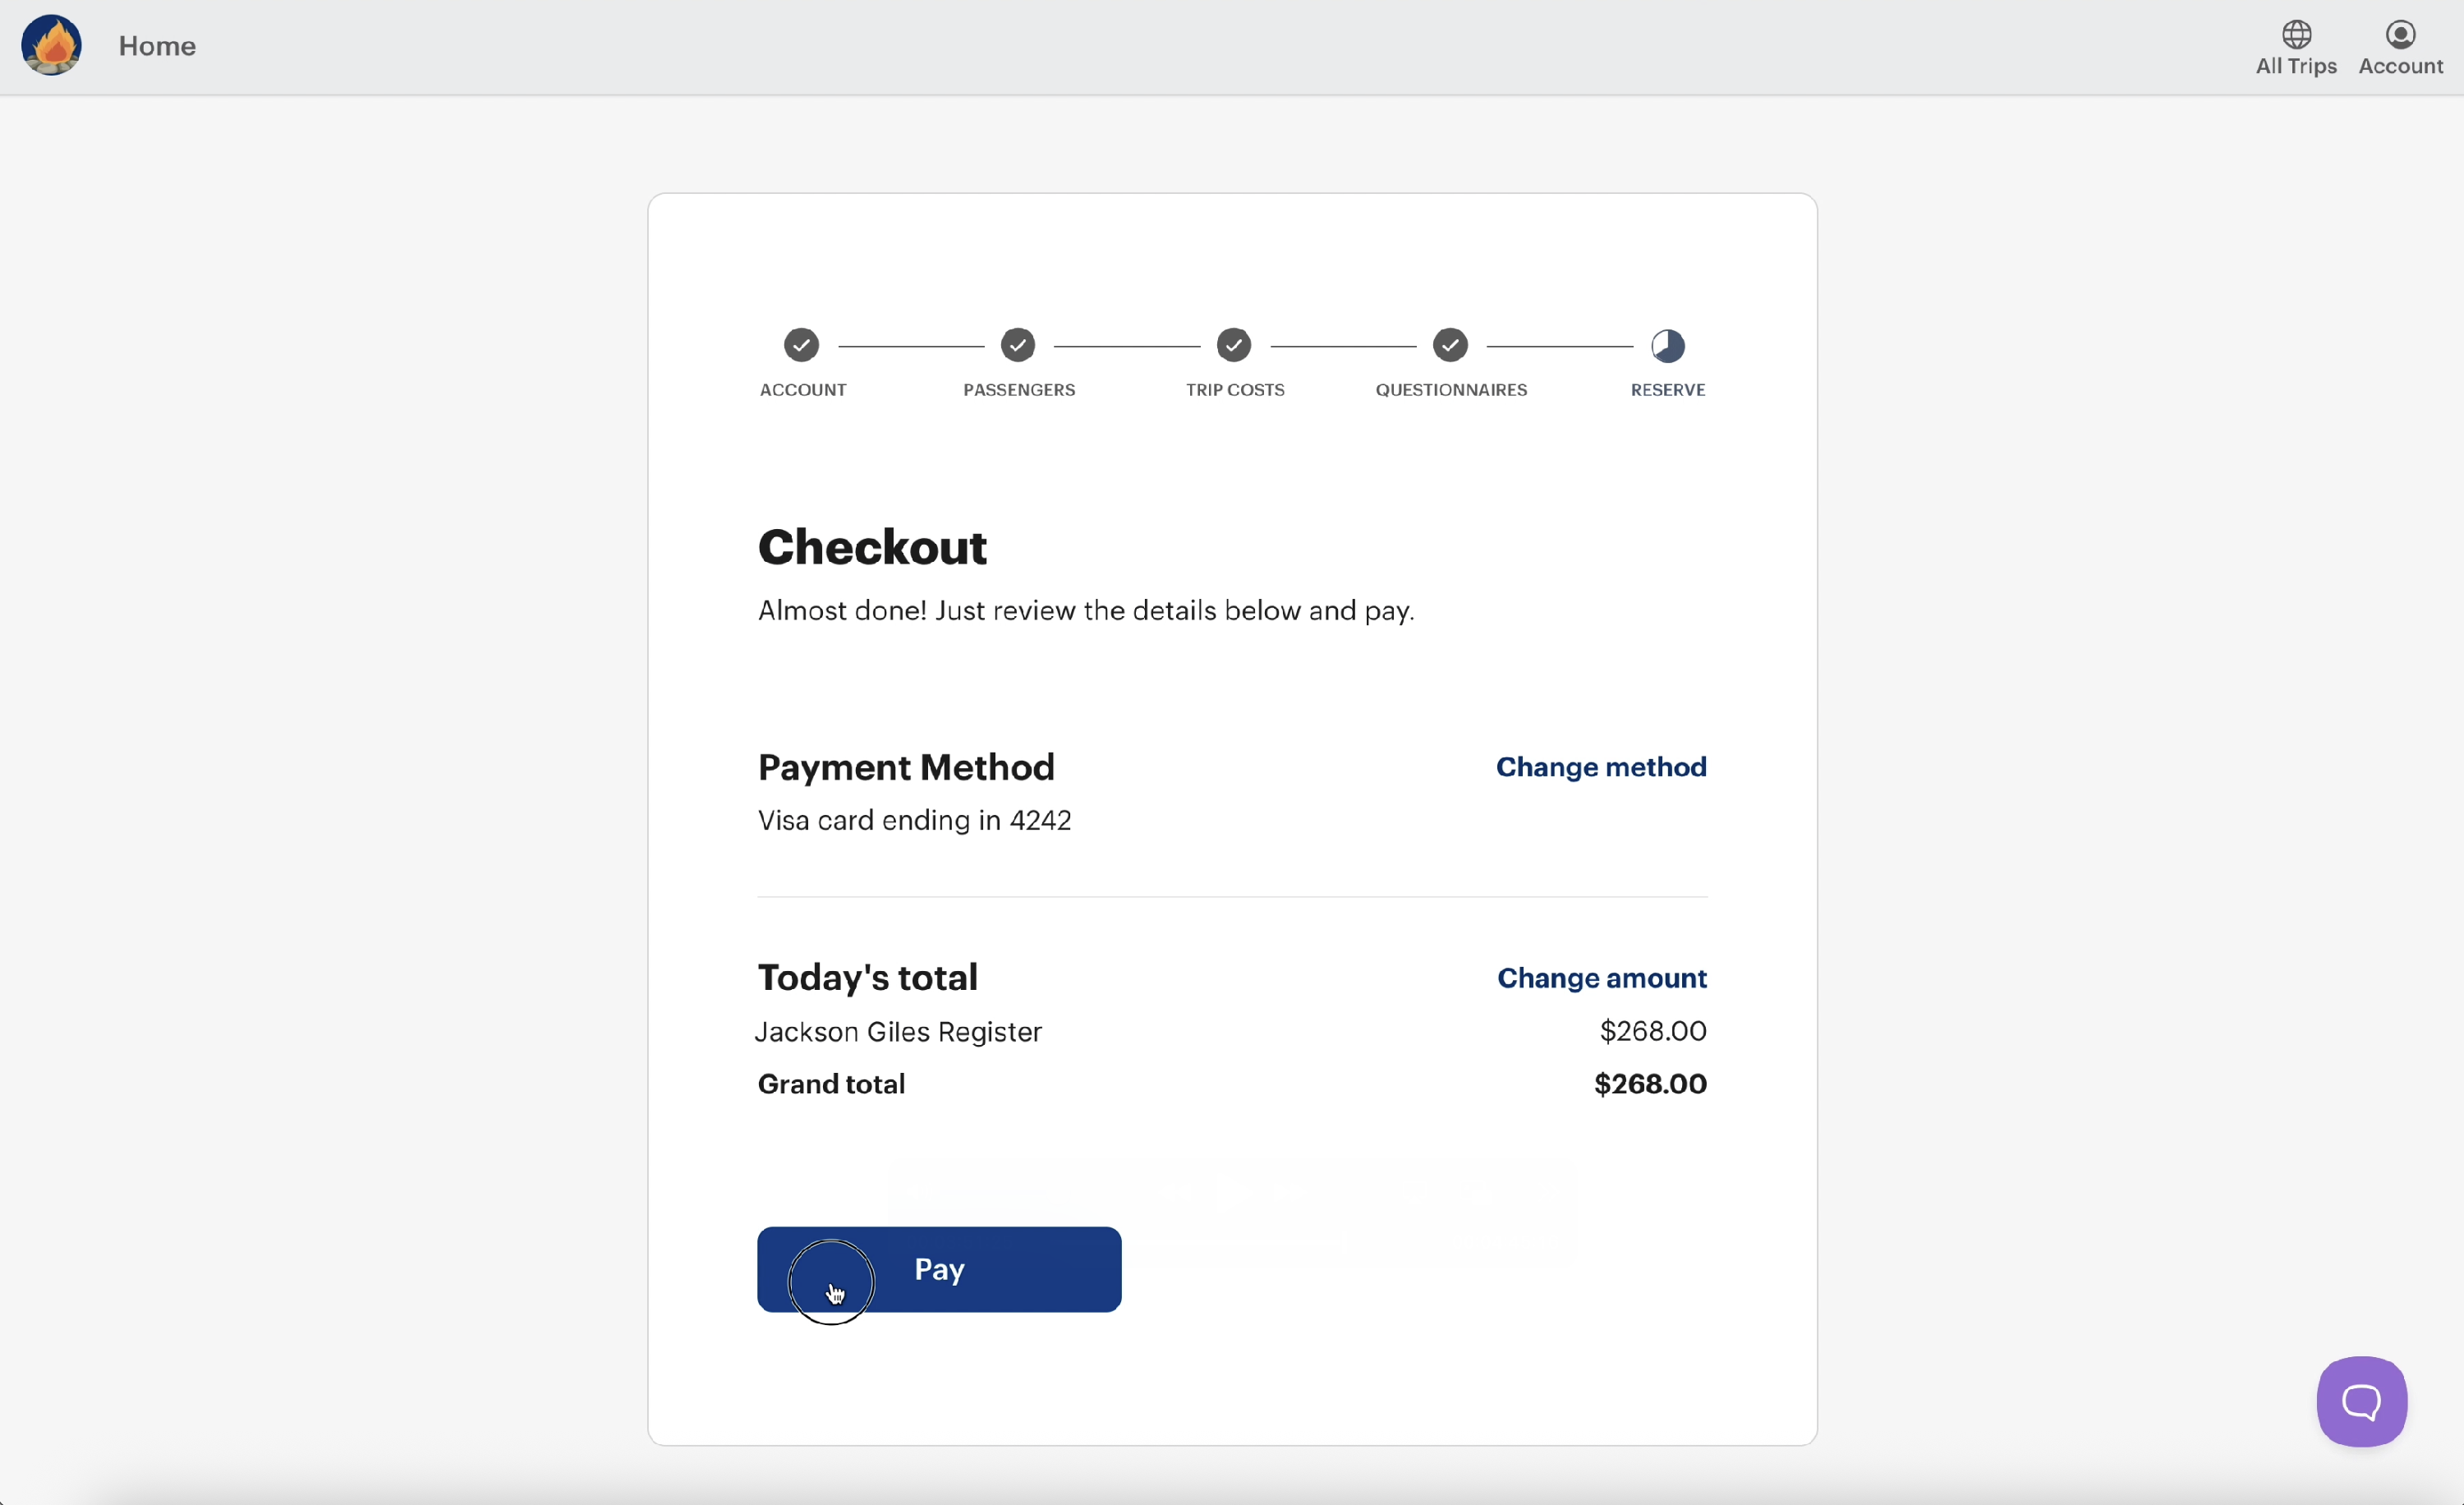
After connecting your payment method, you'll be taken to a checkout screen to review the amount due today to reserve your spot on this trip. When you are ready to execute the transaction, simply click the Pay button.
The next screen will ask if you'd like to enable AutoPay. AutoPay will ensure that you're never late for a payment because you'll be authorizing the system to charge your default payment method each time there is a trip payment due. In the event AutoPay is enabled, you'll be notified three days prior to any charge.
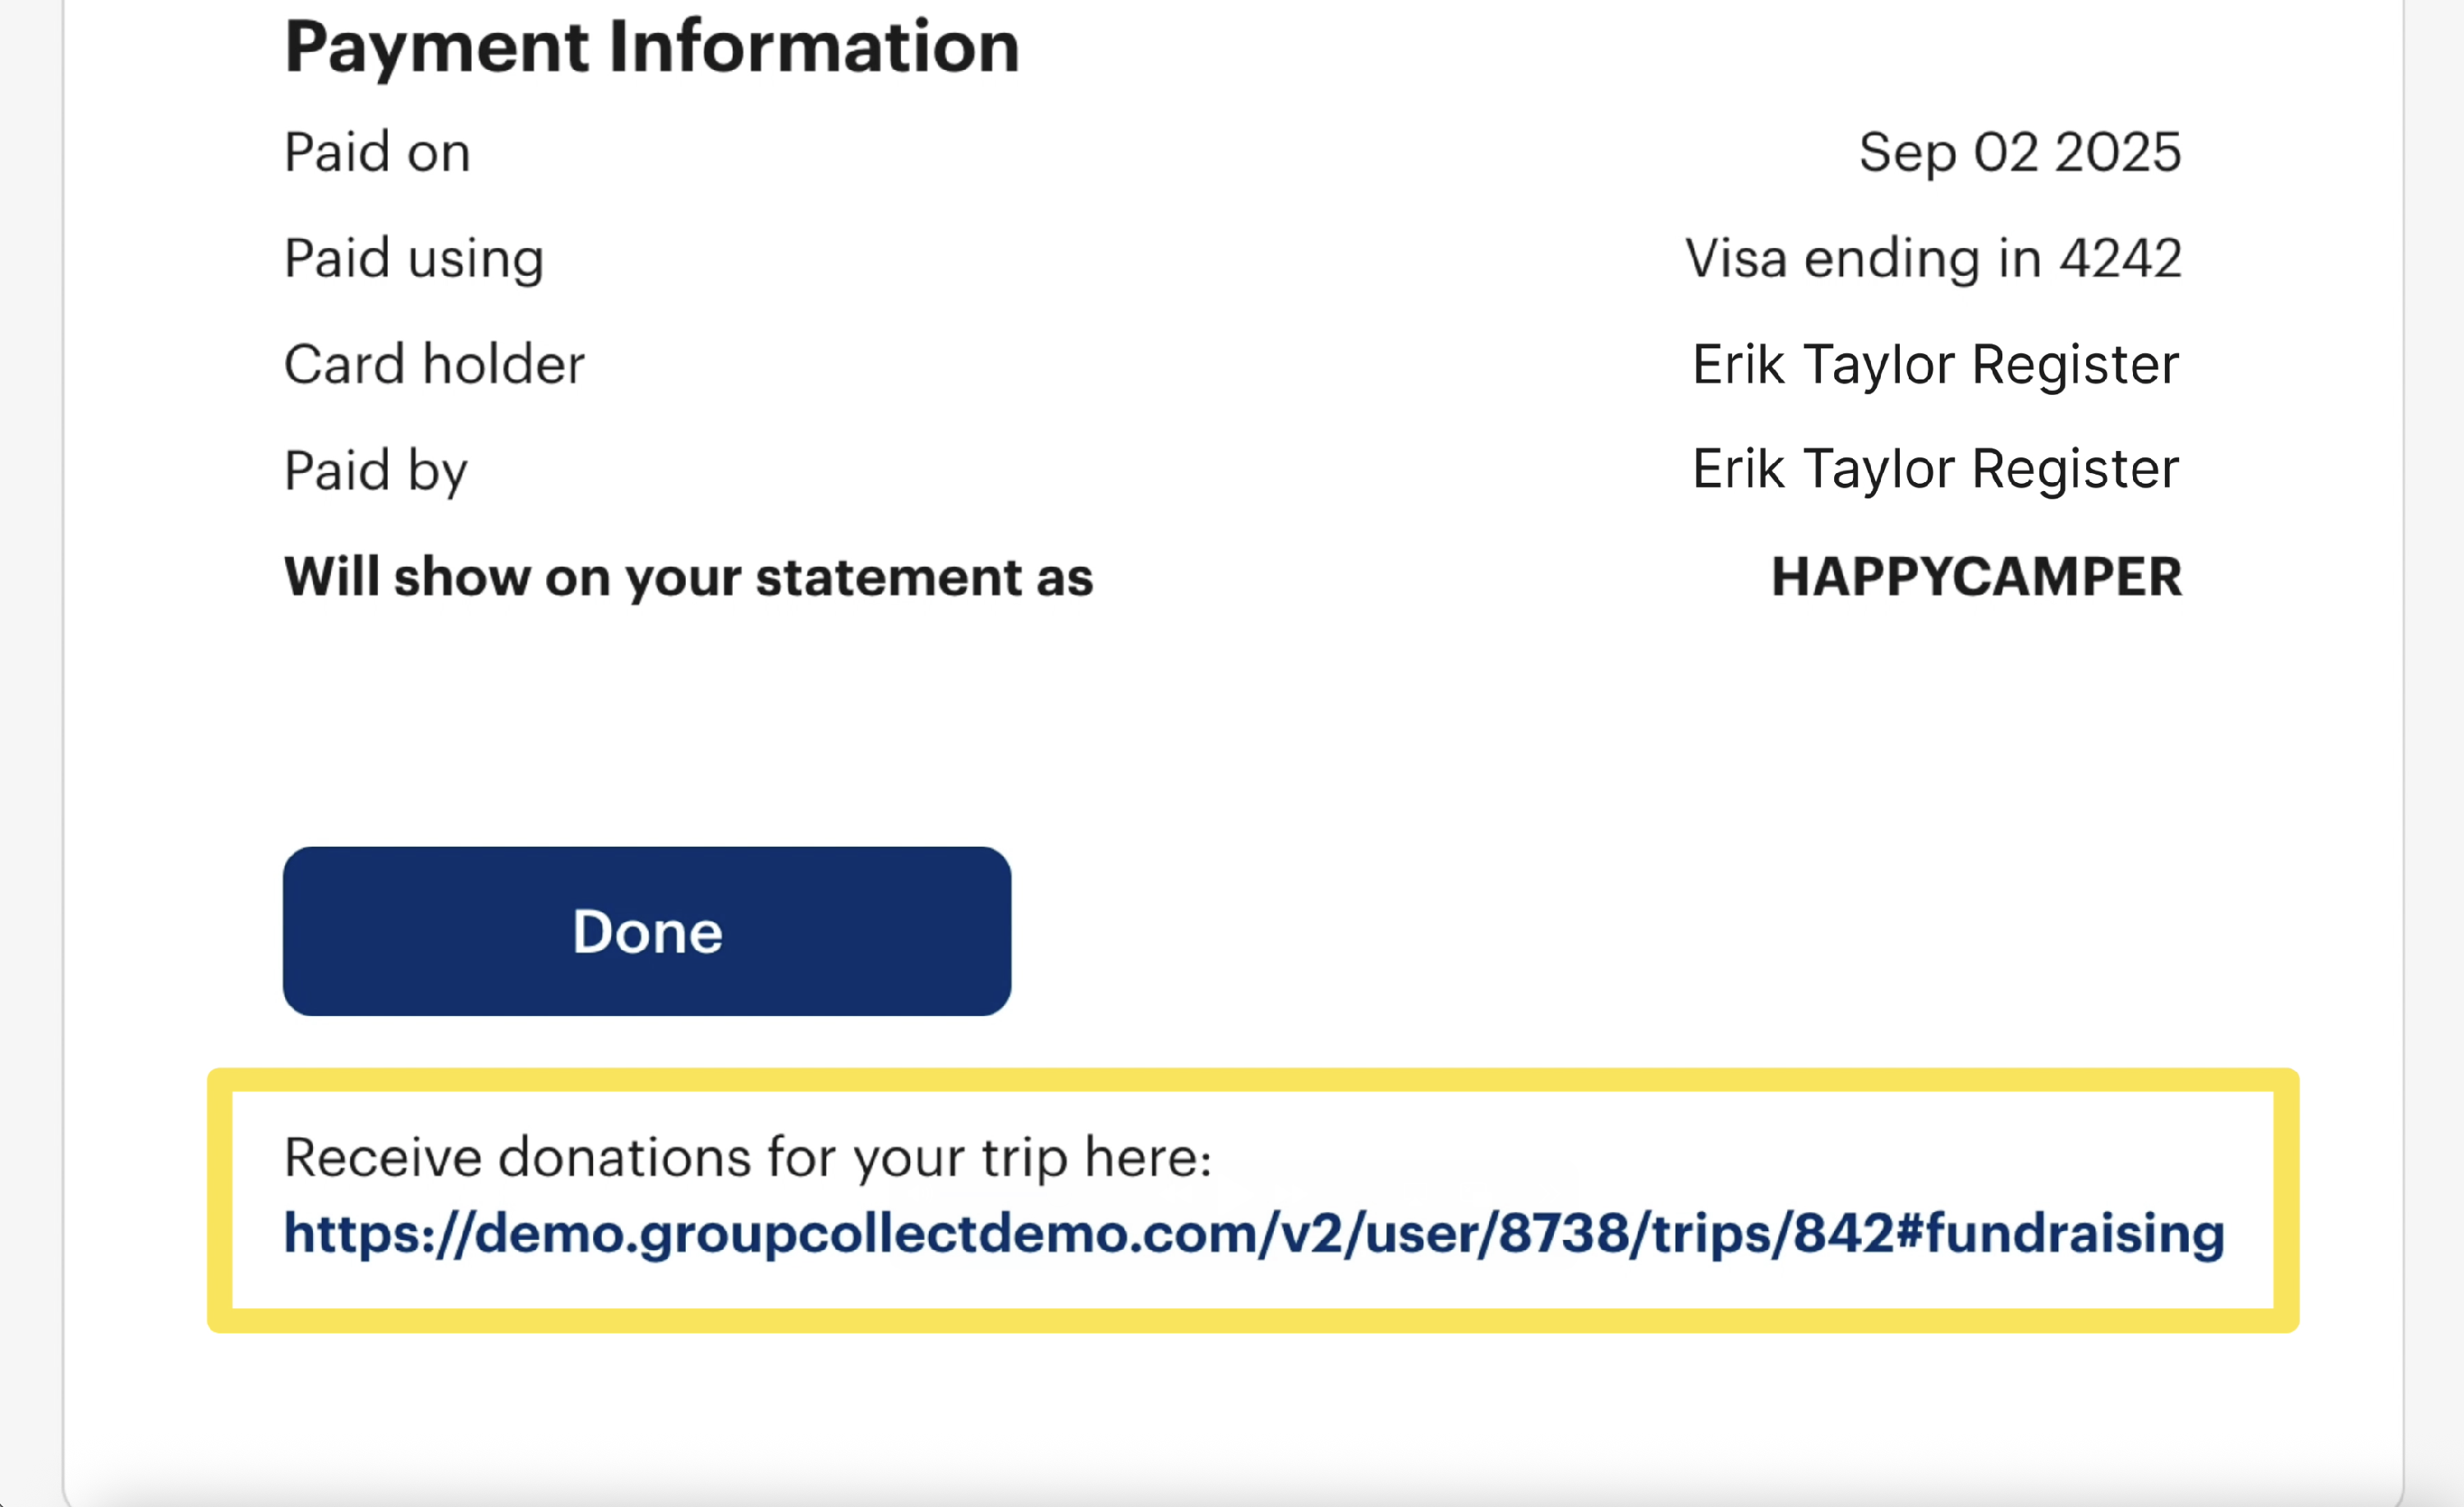
Then you'll see a payment receipt page. It will confirm the amount paid, payment method, date of payment and more. Near the bottom of the screen you'll also see how this payment will show on your bank account or credit card statement. This is so you're less likely to dispute the payment through your financial institution.

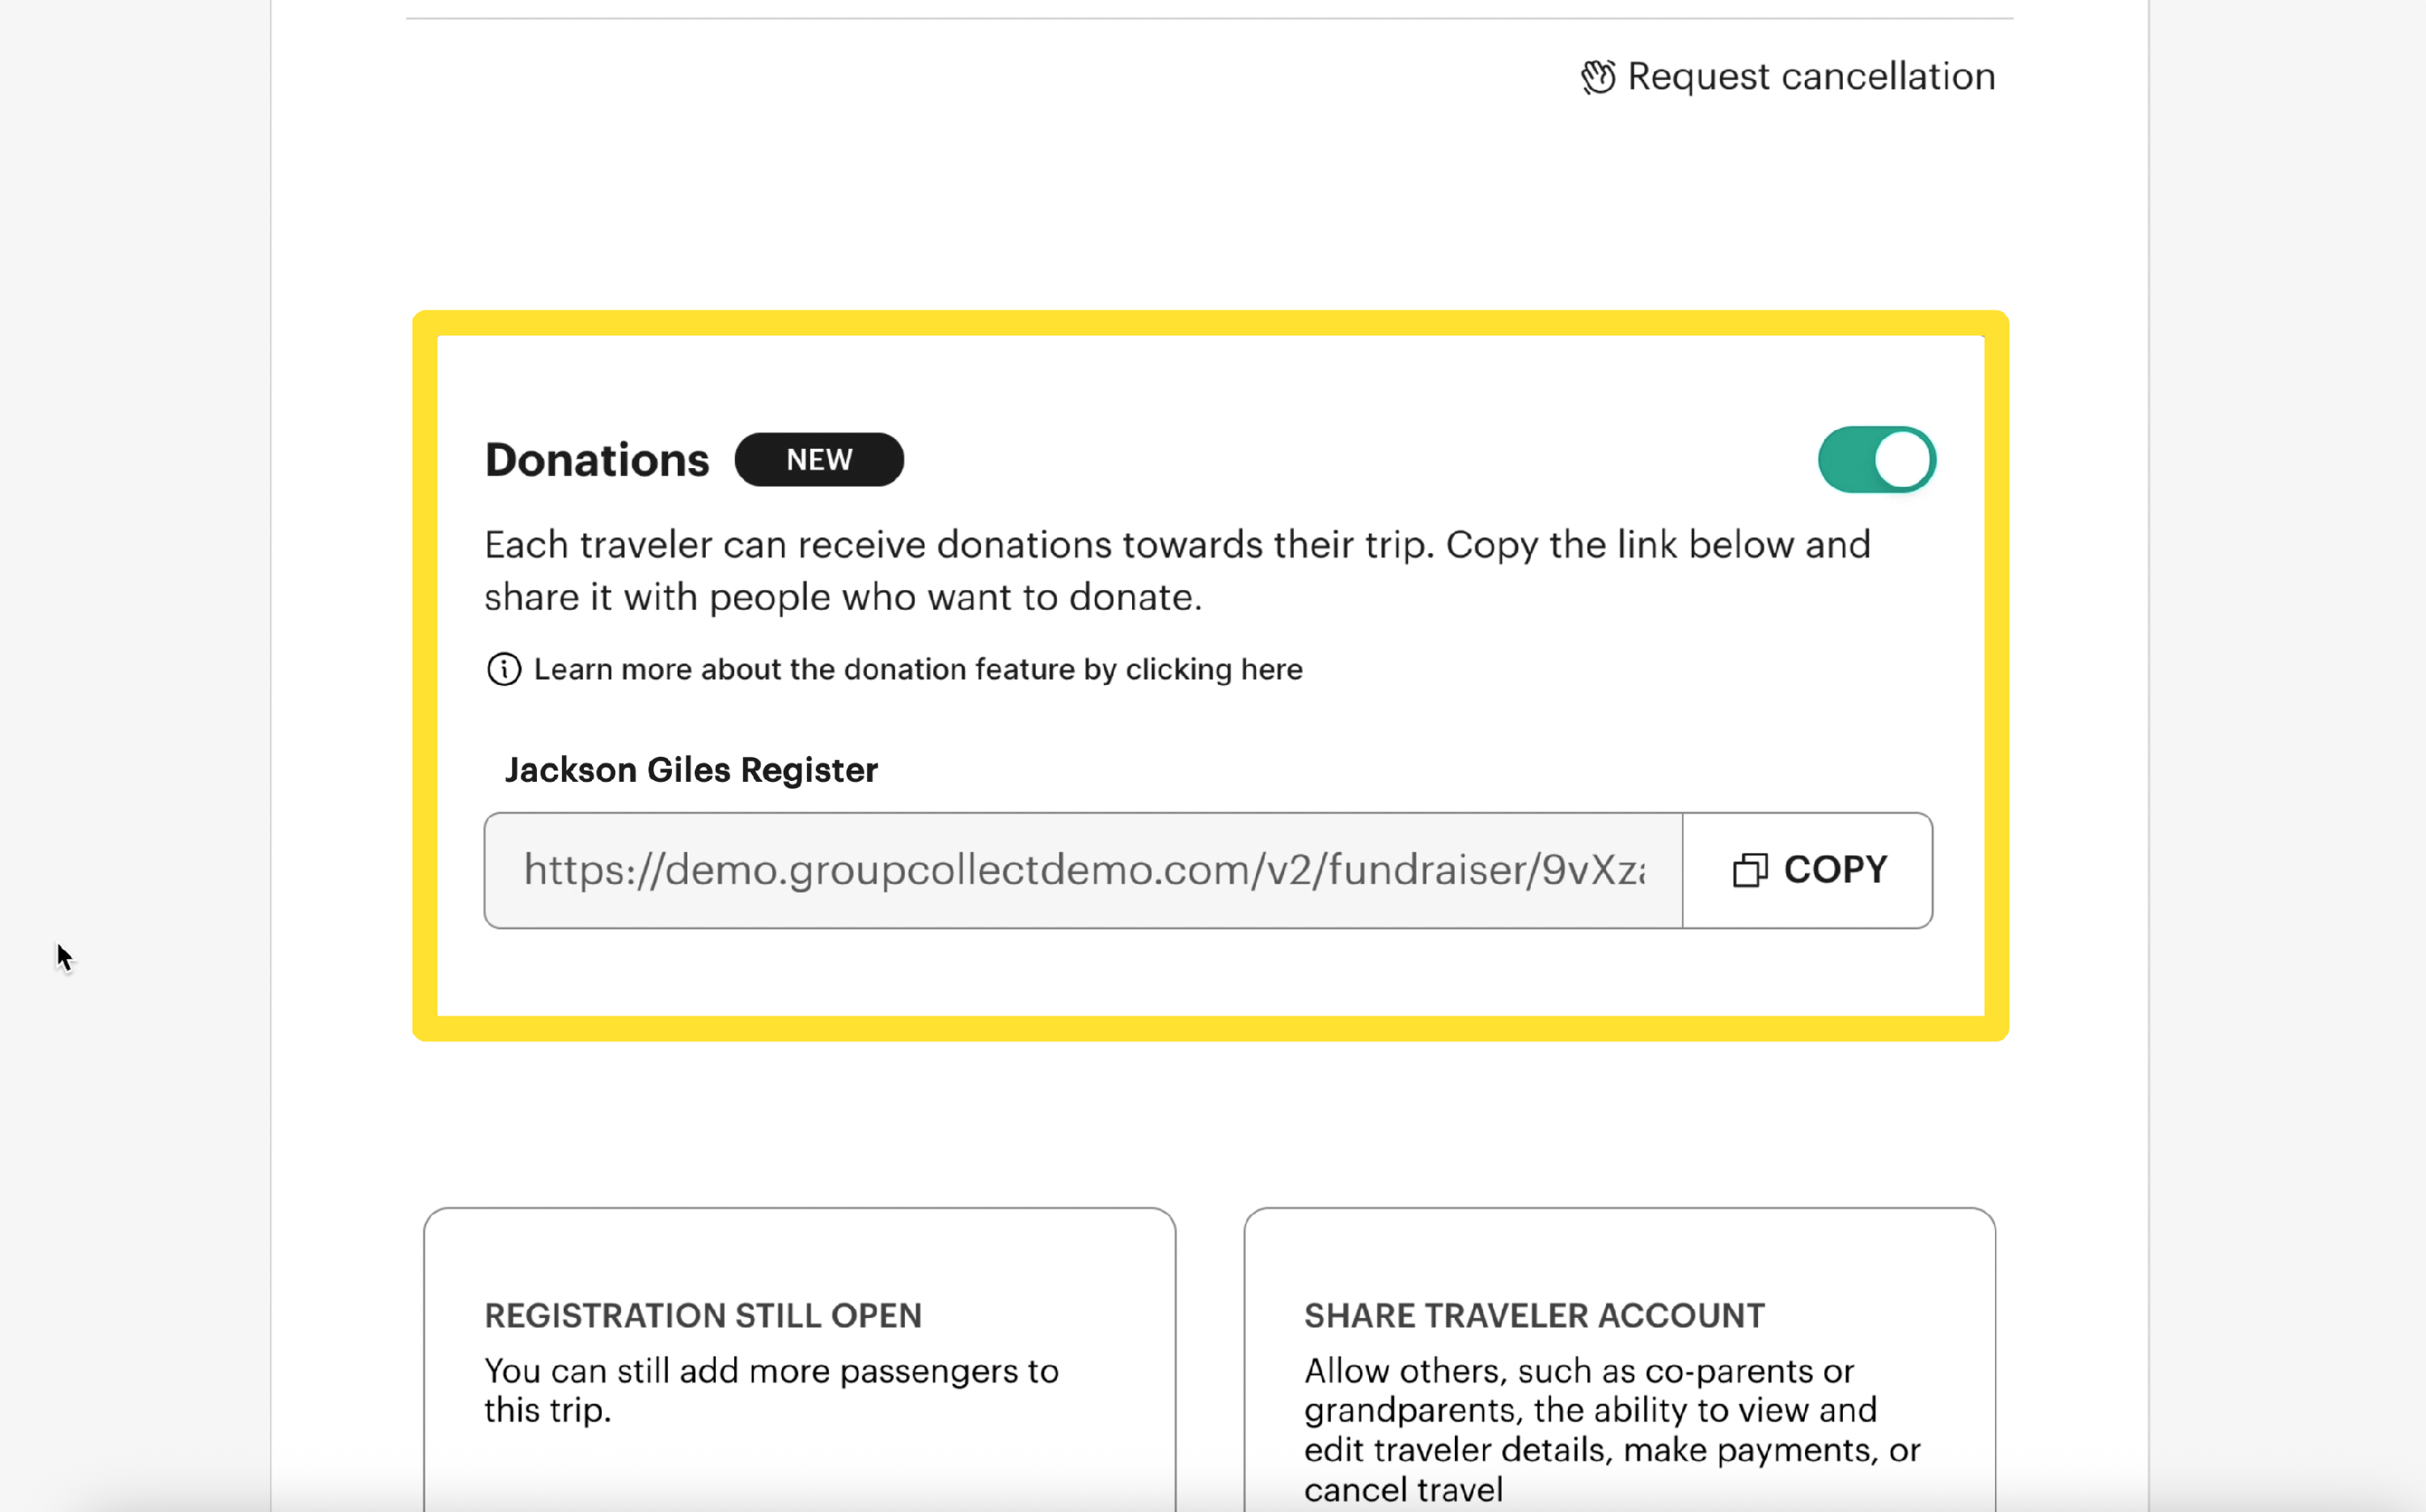
Individual Fundraising Link
Now that you're registered, you'll also have access to your individual fundraising link. If you share this link, generous family members and friends will be able to contribute to the cost of this trip by making an simple and secure online payment. The donor will not need to create a profile to make their contribution.
Passenger Dashboard
Congratulations! You've successfully completed the registration process! Now you can get acquainted with managing your passenger account and the passenger dashboard- which is where you'll return each time you need to make a payment for this trip and do other things.

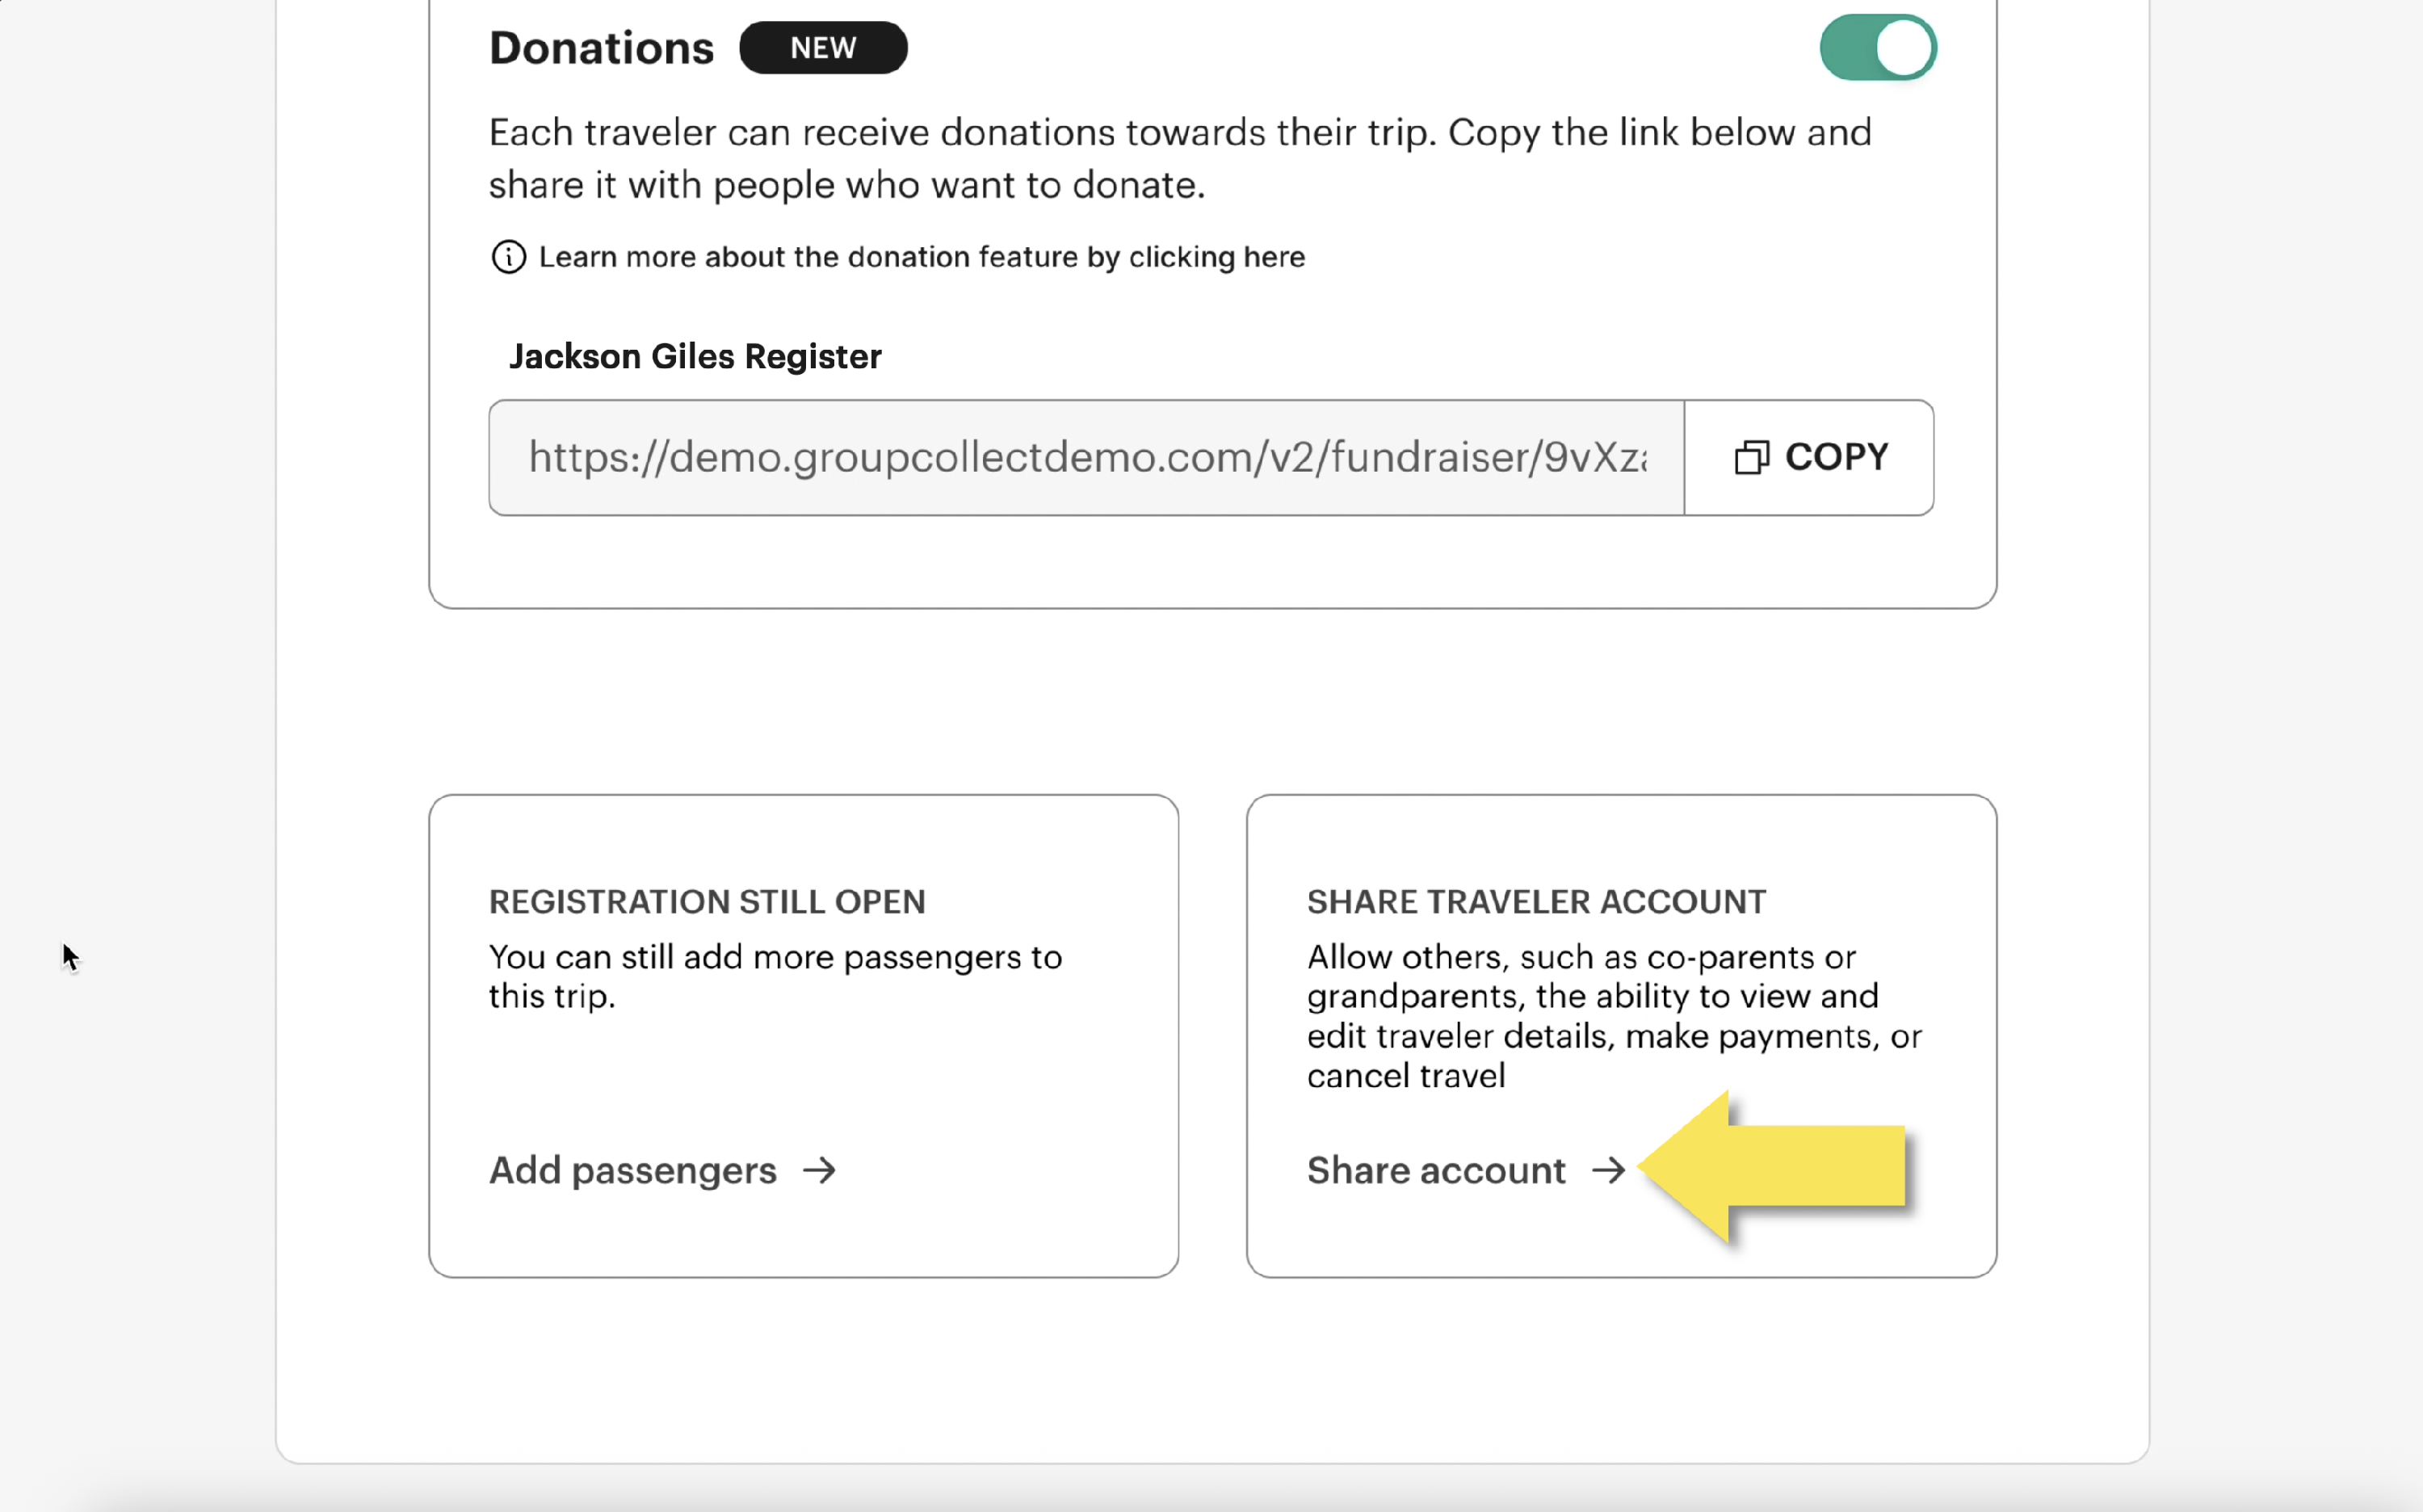
Invite Another User To This Account
If you'd like someone else to be able to
- Edit information
- Make payments
- Cancel this account
You may invite an additional user. You can find the option to invite another user near the bottom of the screen.
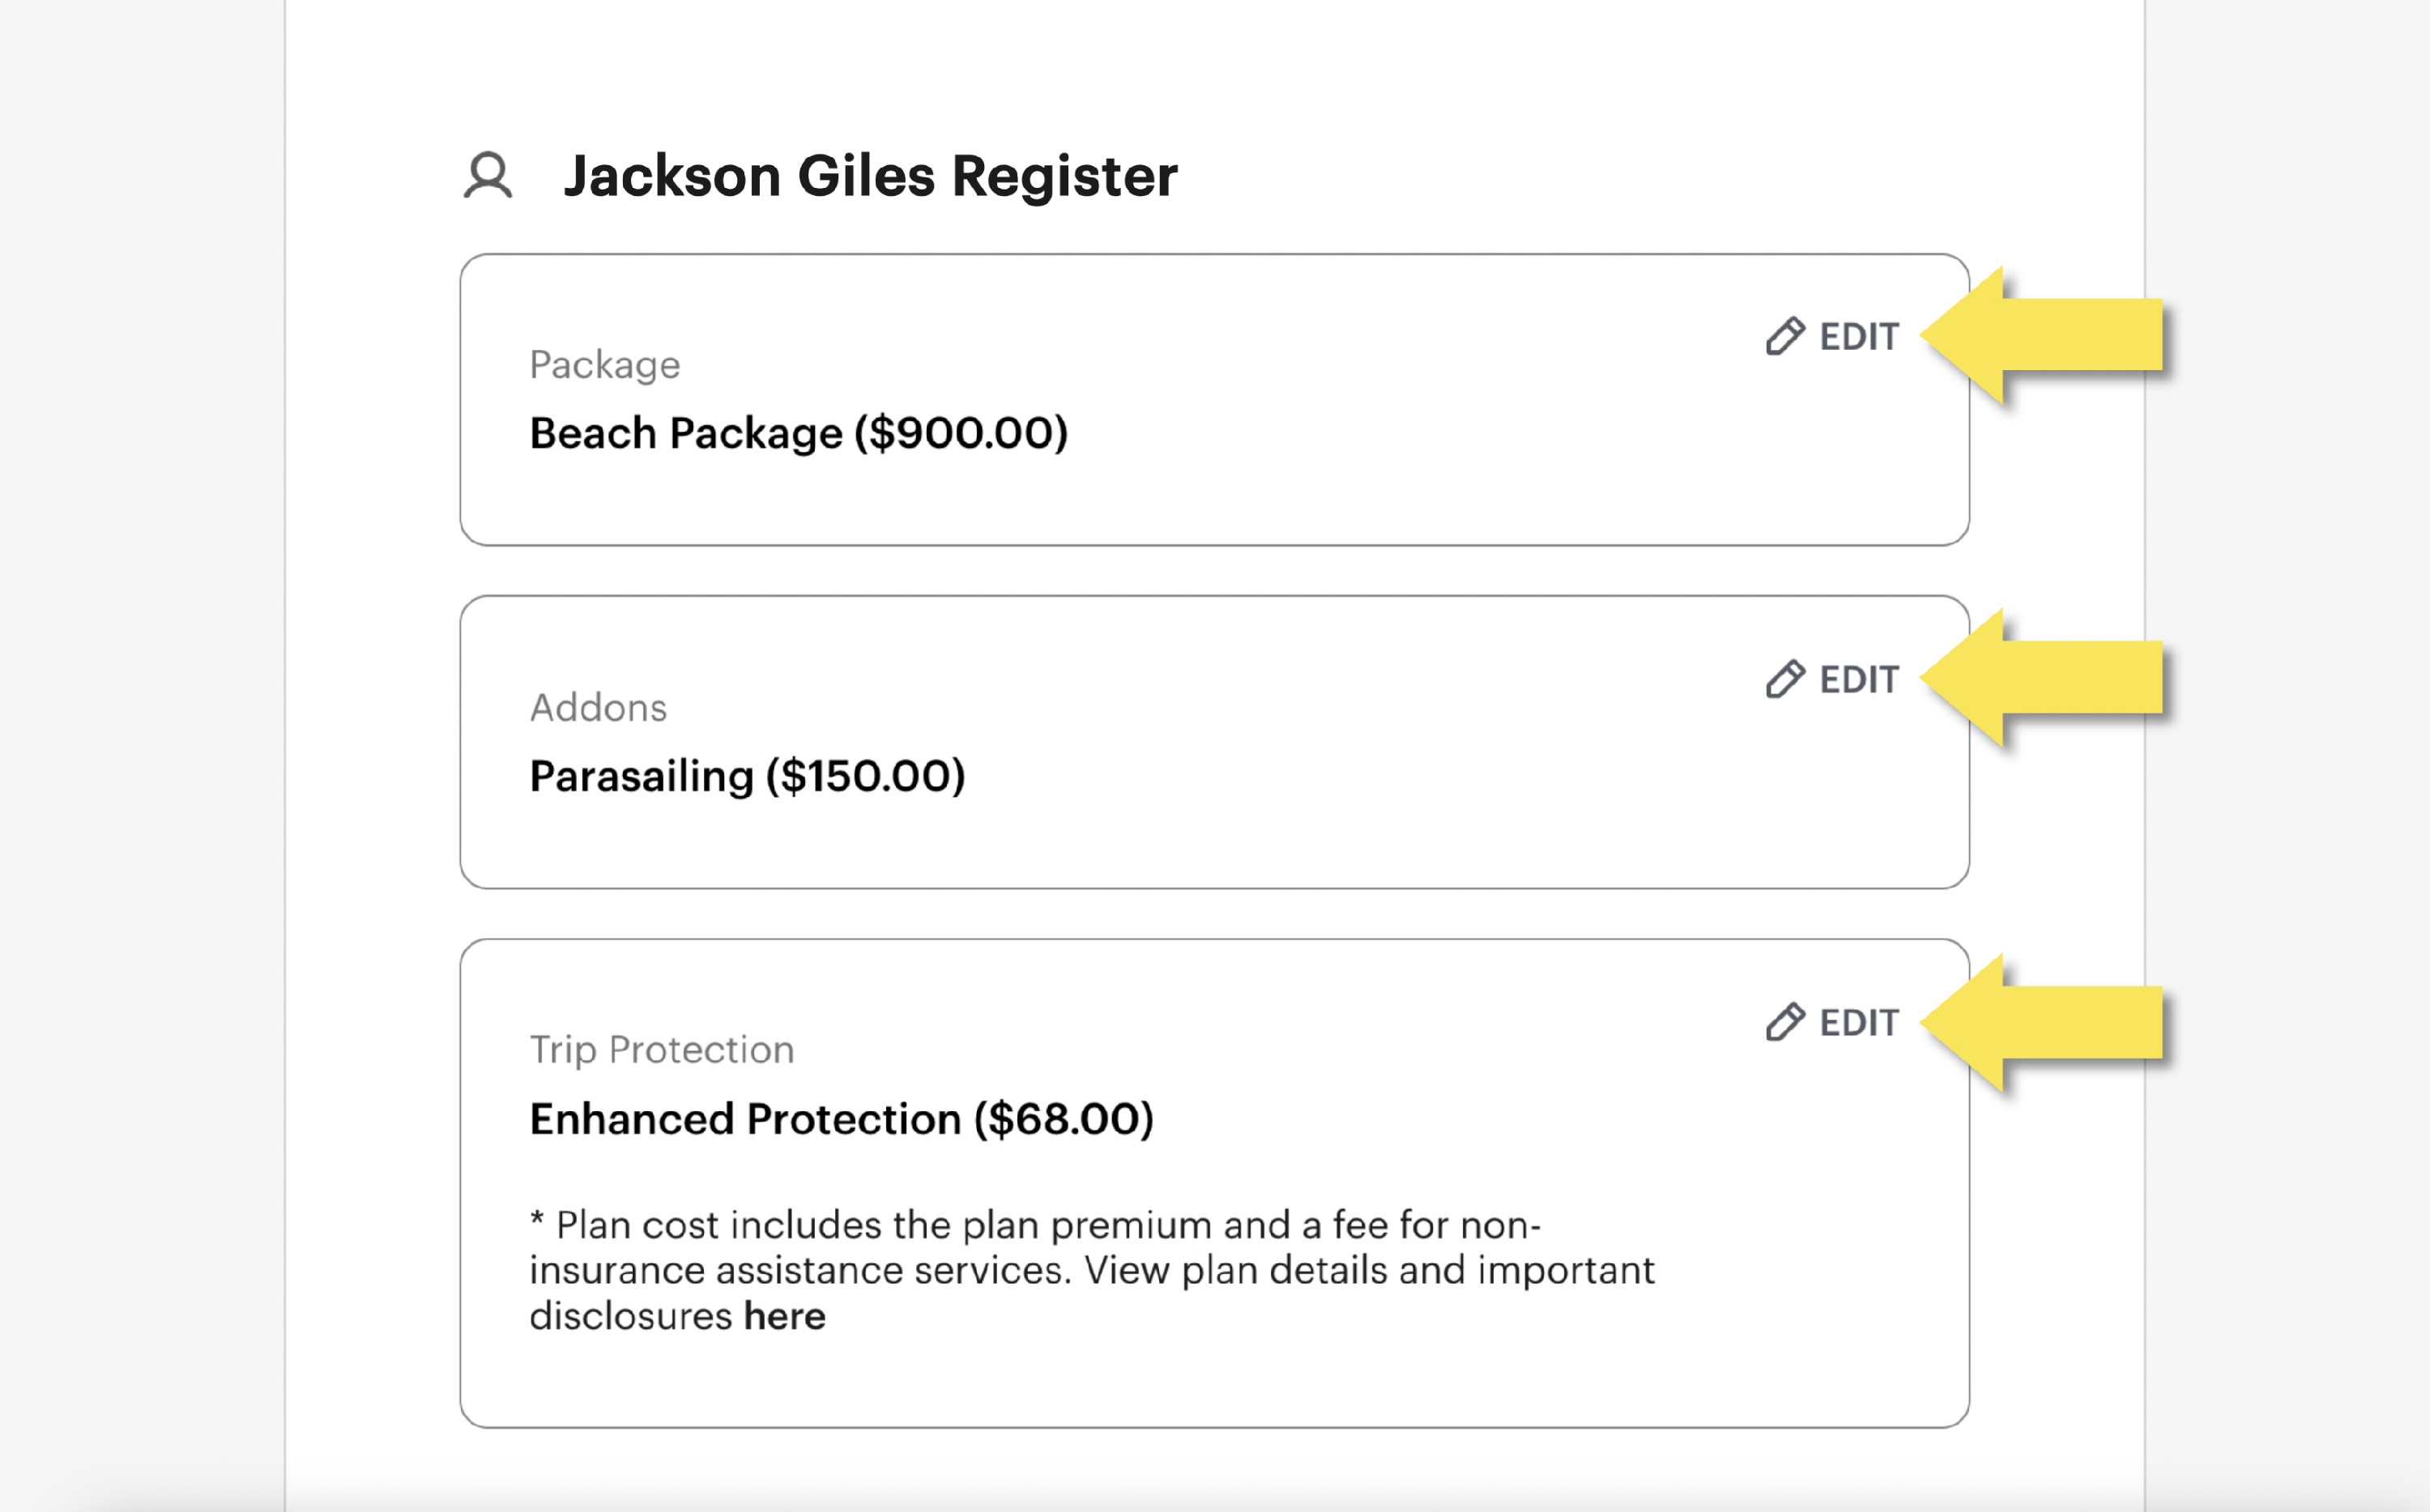
Edit Passenger Information
Need to edit anything about the info you entered while registering? You may do so by clicking the icons next to the information here in the middle of the page.
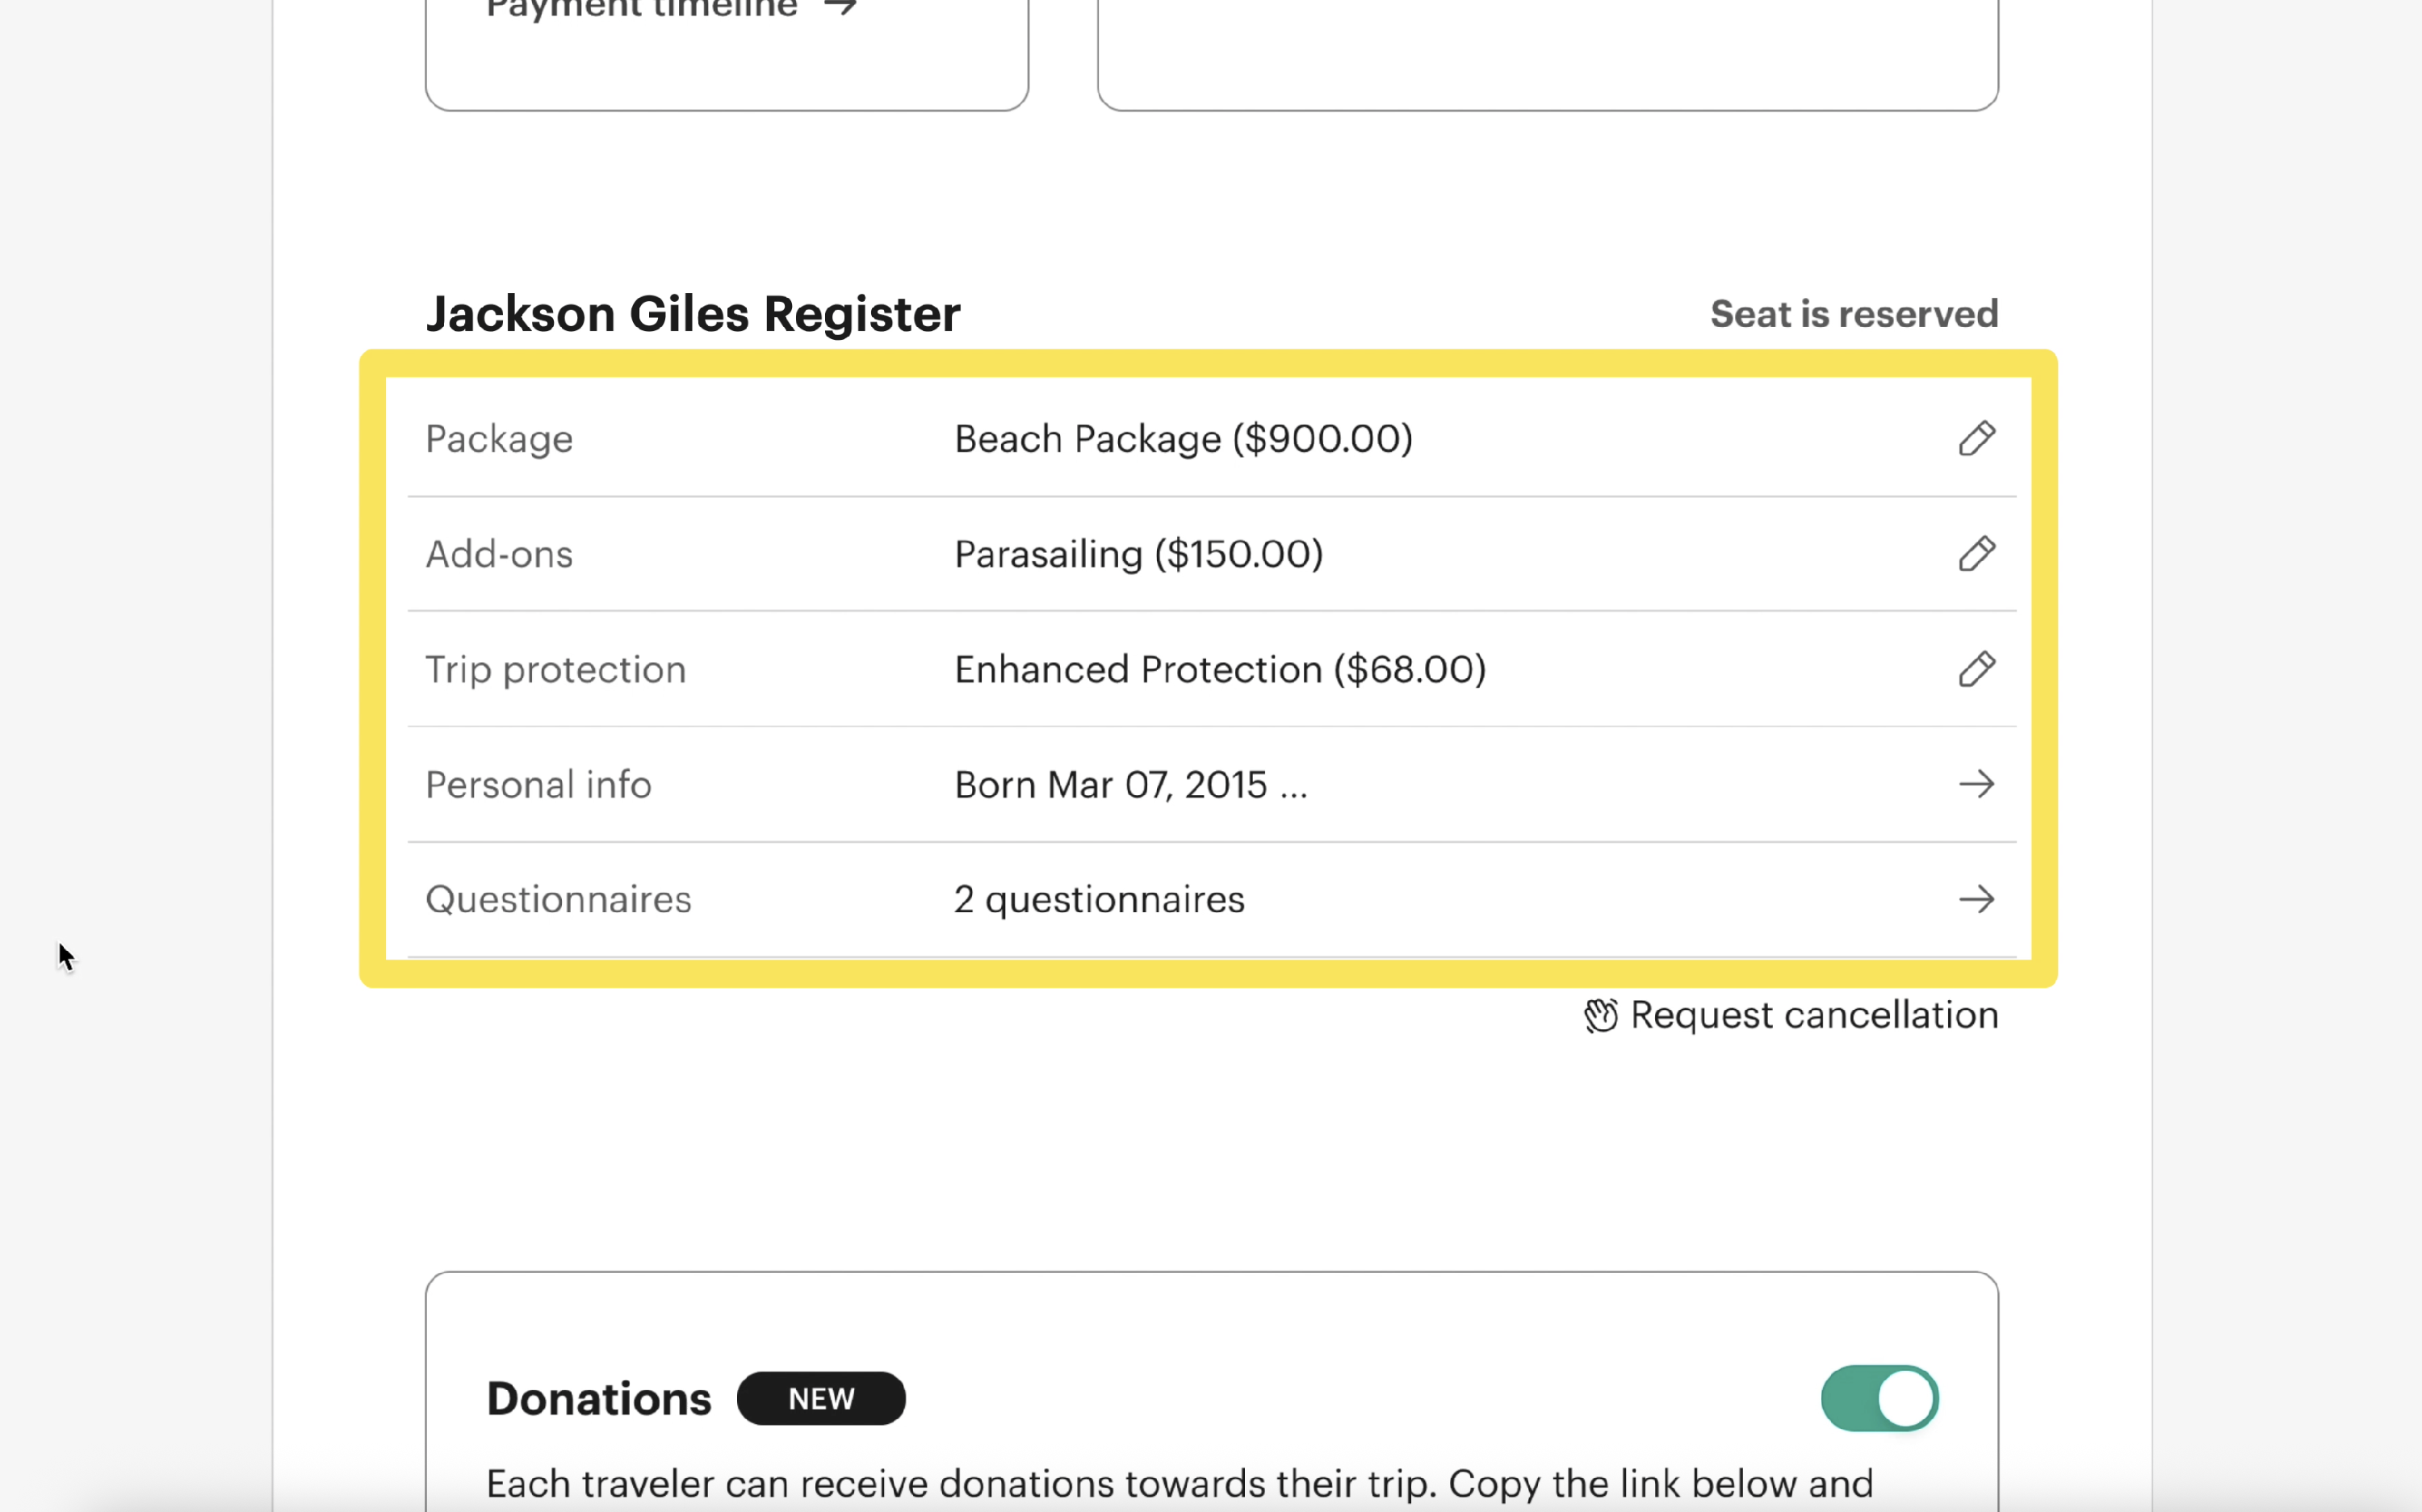
Fundraising Link
Need to see that individual fundraising link again? Copy it here from the passenger dashboard for easy pasting and sharing.
Your Journey Begins Now
That's it! You've registered, paid for the deposit of your trip, and are now familiar with the passenger dashboard so you can continue to pay and prepare for the trip. If you have any other questions, please contact your tour operator, travel coordinator, or reach out to help@groupcollect.com.